OVERSIZED COAT KNITTED WITH NEEDLES
Added: 24.08.2017 в 07:00 Views: 65427
OVERSIZED COAT KNITTED WITH NEEDLESKlubokhttp://klubok.work/1/125/7011/Klubokhttps://klubok.work/css/image/top-logo-en.png

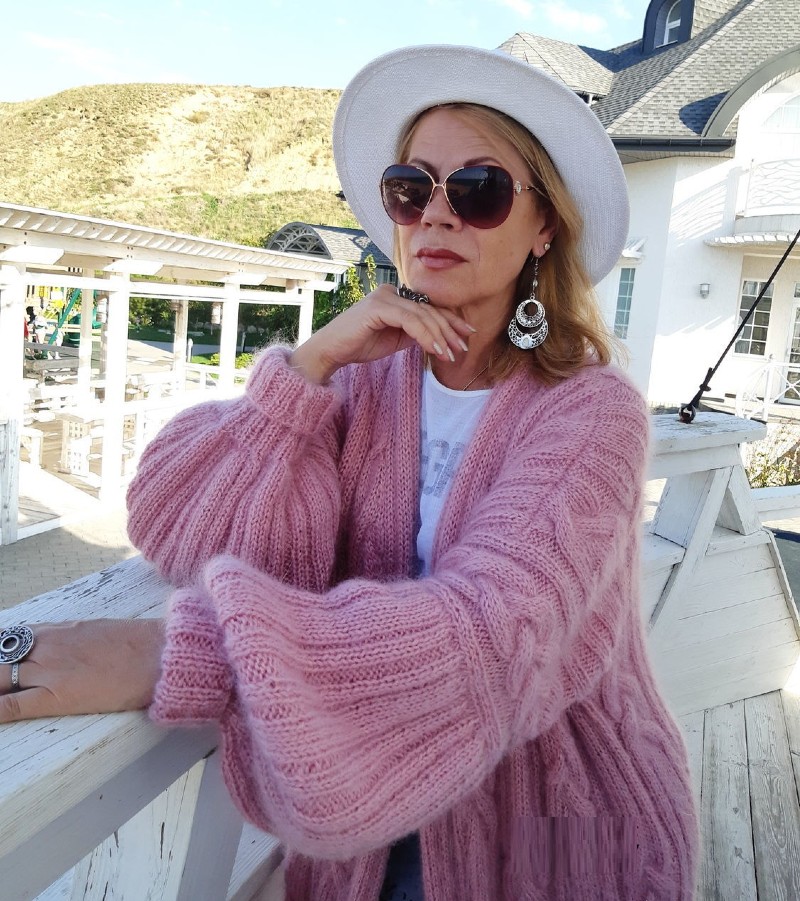
We are knitting a coat from yarn of 100 grams 100 meters ("Alize" superlano maxi, color "powder"). Using size 6 needles. I knitted for a girl - height 164 cm, hip circumference 96 cm, waist 70 cm, bust circumference 89 cm. It took 12 skeins of 100 g/100 m in total. In general, I knitted like this:


The back - I cast on 66 stitches, increasing 1 stitch on both sides every 6 rows until there were 74 stitches (this is to make it slightly tapered at the bottom), knitted to the armhole - 63 cm.
For the armhole - I closed 4 stitches on both sides and knitted straight for another 25 cm. Closed 22 stitches for the shoulders on both sides. Left stitches for the neck (22 stitches) on the needles!
The front pieces - (I knitted both at the same time on the same needles), I cast on 46 stitches, after 6 rows I increased 2 times by one stitch from the outer side. There were 48 stitches on the needles. Knit another 63 cm. Close 4 stitches for the armhole.
Knit straight for 12 (13) cm. Close 26 stitches from the neck side (for the English collar), leaving 22 stitches. And knit straight again for 13 (or 12) cm. Close the stitches.
Sew the shoulders.
Sleeves - I knitted from the top down. (Very convenient - you can try them on at any moment and already check the width and length of the sleeve!!!)
We knit the sleeves like this - I cast on 5 stitches from the selvedge near the shoulder, then 1 stitch directly from the shoulder seam, and again 5 stitches from the other side of the shoulder! Knit a row and at the end of the row increase one stitch from the selvedge of the armhole. And do this in every row until all stitches of the armhole are on the needle! (In the front row, knit the added selvedge stitch as a purl, and in the purl row - as a knit!) Well, when all the armhole stitches are on the needle, you knit the sleeve down, making decreases as needed! Before there are 5-6 cm left to the end of the sleeve, switch to smaller needles and knit 5-6 cm with them. Then for the cuff, switch back to the needles you knitted with and finish the cuff! (5-6 cm) (Switching to other needles is necessary so that the cuff does not gather!)
Close the stitches loosely!
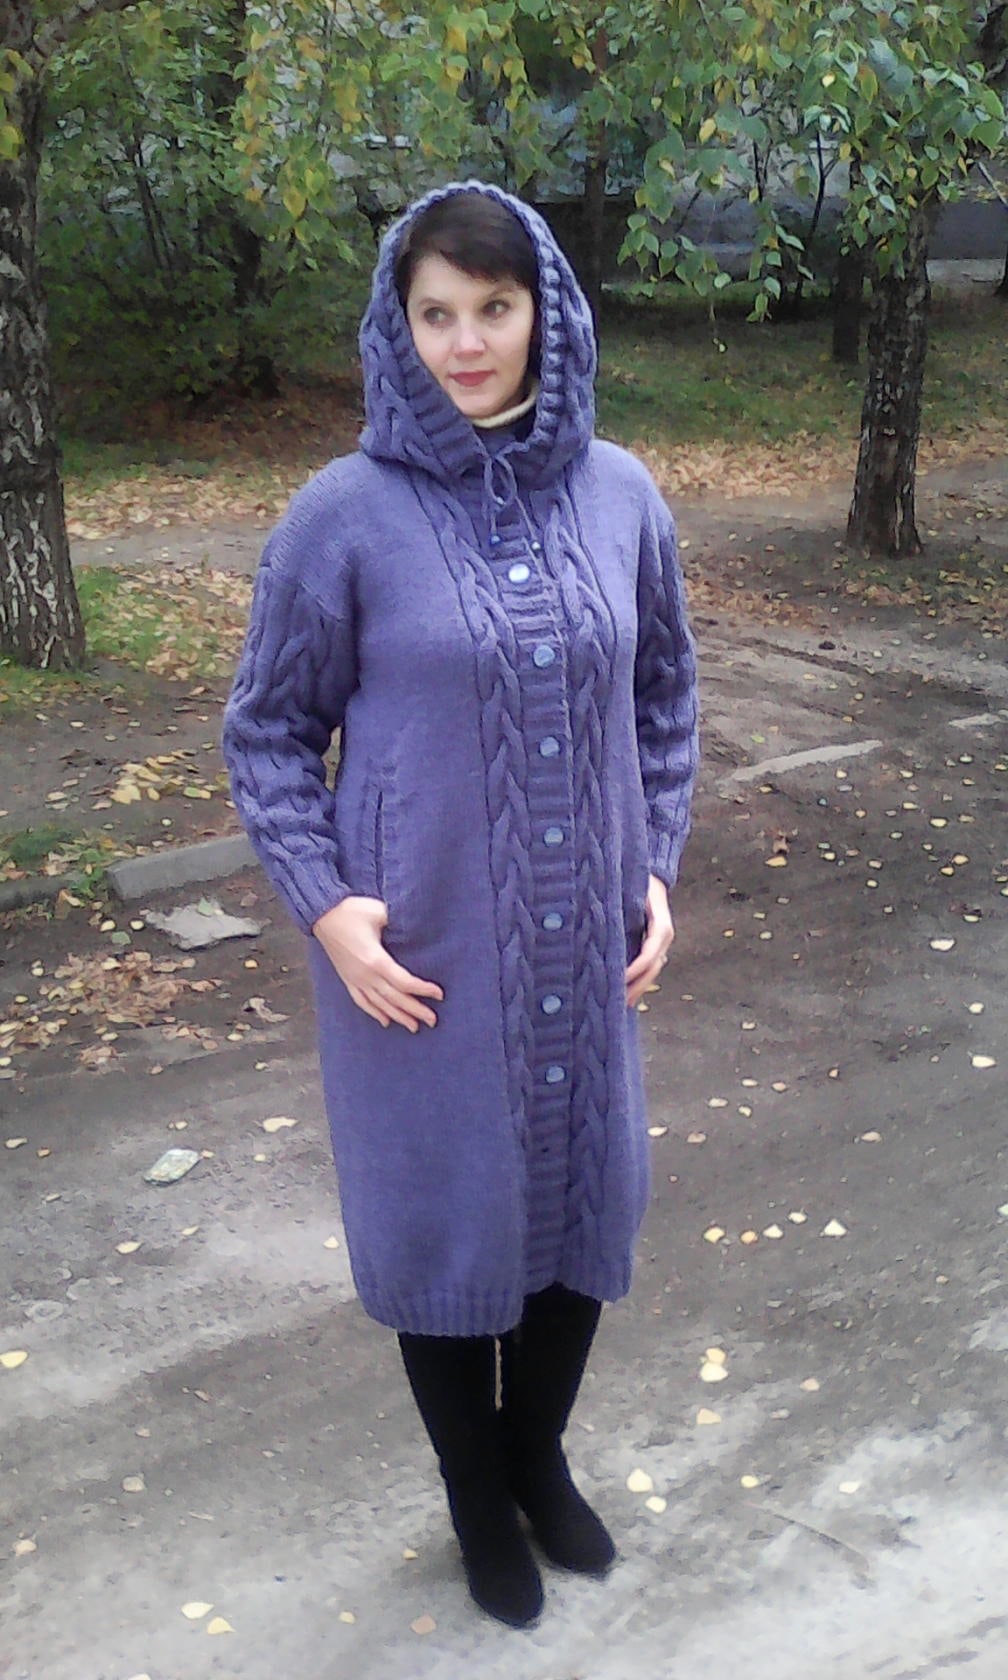
Now - the collar! :-)
So, from the selvedge stitches of the front piece on the neck side (which we closed 26 stitches), we retreat 10 (11 or 12 stitches - depending on the lapel you want) and cast on circular needles (it's more convenient!) starting with one front piece, then the back, and then the other front piece. Knit the collar straight to the desired length! Here we already check, turn down, measure! Close loosely!
Sew the sleeves and the back to the front pieces with one seam!
The coat is double-breasted, the overlap we get is 17-20 cm. I sewed on 2 large magnetic buttons, but you can use buttons too! If buttons, don't forget to make holes for them on the right front piece! (fr)
And when we knit the collar, we need to make sure that the seam that appears when we cast on stitches from the selvedge is not visible! That is, cast on from the front side (since the collar will be turned down!)
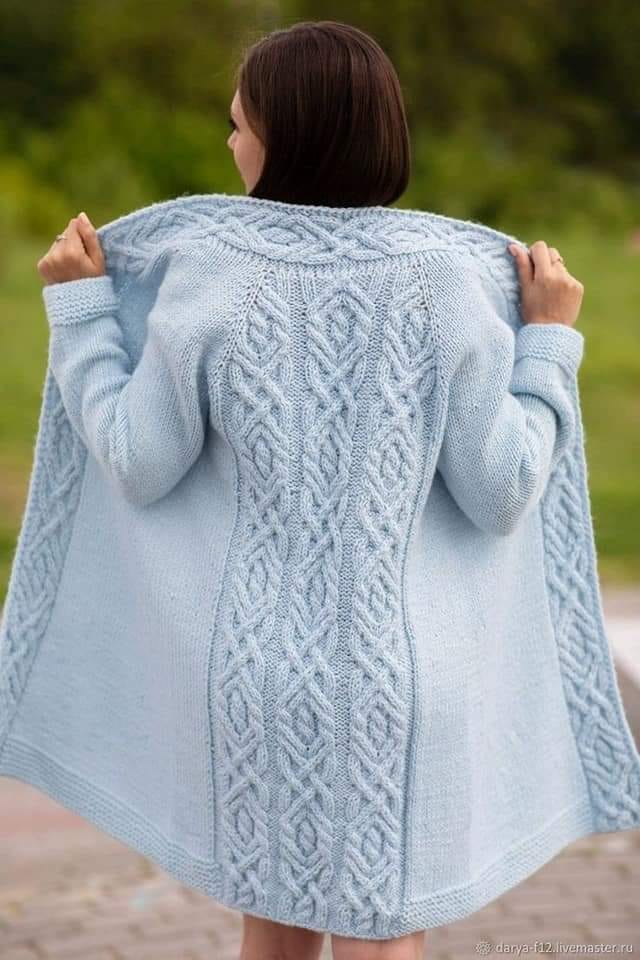
The pattern, of course, can be any, but I would recommend a woven pattern - or a rice pattern (front row - 1 knit, 1 purl; purl row - 1 purl, 1 knit, etc.) or the one I knitted (row 1 - 1 knit, 1 purl; row 2 - by pattern; row 3 - 1 purl, 1 knit, row 4 - by pattern, etc.)