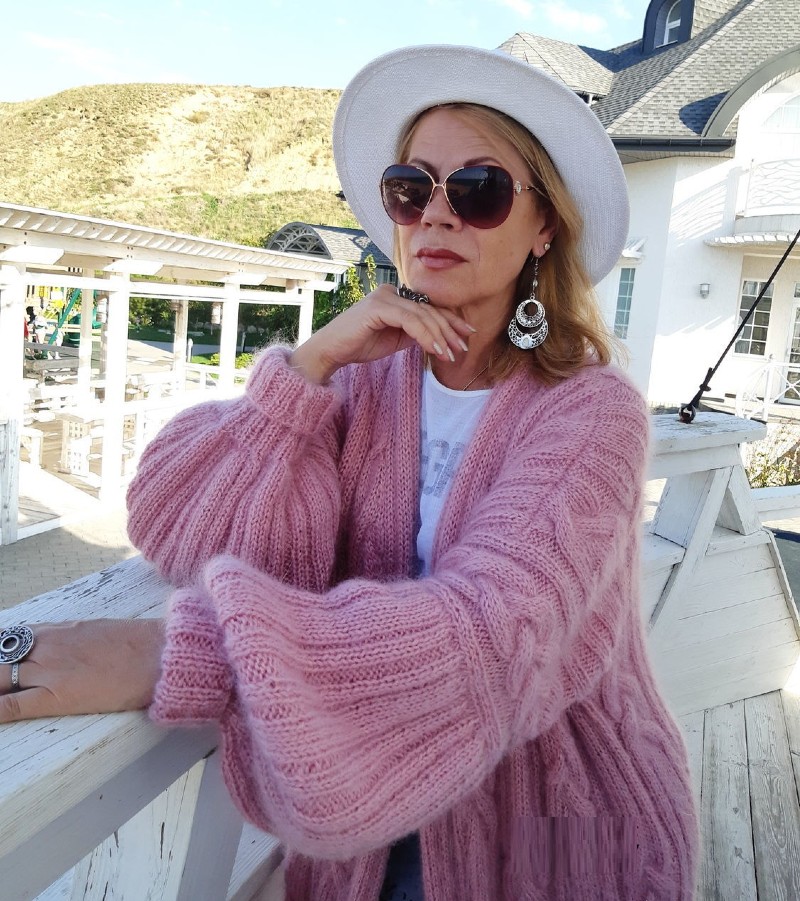
Poncho coat knitted with needles
Added: 02.04.2020 в 02:44 Views: 20855
Poncho coat knitted with needlesKlubokhttp://klubok.work/1/125/8449/Klubokhttps://klubok.work/css/image/top-logo-en.png

Knit the coat-poncho from the bottom up using the pattern below.
Knitting techniques:
-
Ribbing 2x2;
-
Pattern according to scheme A. Repeat from the first to the fifth row;
-
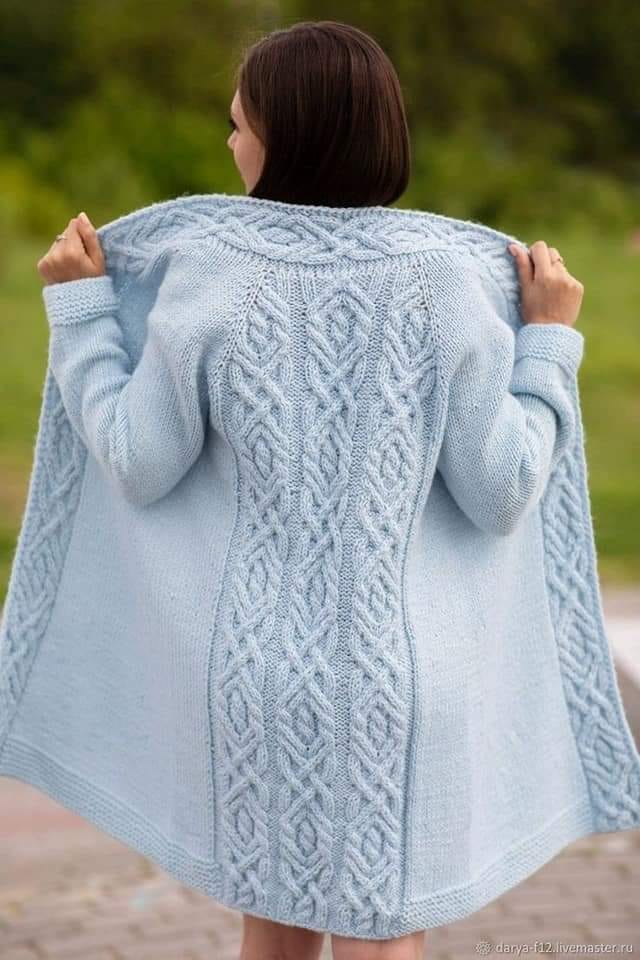
Pattern "braid"
Knit the coat poncho with needles according to the following description.
Cast on 240 stitches and 2 edge stitches. The first and last 9 stitches are for the placket. Knit the remaining stitches in 2x2 ribbing to a height of 6 cm.
SIZE 46-50
Author's knitting gauge is 1.4*1.8. Check if it matches yours. Otherwise, make adjustments to the calculations or change the needle size. Knit the piece from the bottom up following pattern No. 1. Cast on 240 + 2 edge stitches. The first and last 9 stitches are for the placket. Knit it according to scheme A, repeating rows 1 to 5. Knit the remaining stitches in 2x2 ribbing to a height of 6 cm. For further knitting, distribute the stitches as follows: 9 stitches for the placket, 2 purl stitches, 12 knit stitches - braid, 2 purl stitches, 54 knit stitches, 2 purl stitches, 12 knit stitches - braid, 2 purl stitches, 50 knit stitches, 2 purl stitches, 12 knit stitches - braid, 2 purl stitches, 54 knit stitches, 2 purl stitches, 12 knit stitches - braid, 2 purl stitches, 9 stitches for the placket (see fig. No. 1). Knit the braid according to scheme B. After knitting 22 cm of fabric from the ribbing, close the stitches in the middle of the right placket according to the size of the button. Then close every 20th row. At a height of 60 cm from the ribbing, divide the fabric into three parts. It is necessary to knit armholes. Knit the stitches of the placket, braid, and 25 knit stitches of the fabric. The last 5 stitches are knitted according to scheme A. This is the edging for the armholes. With the second needles, knit 29 knit stitches of the front, braid, 50 stitches of the back, braid, 29 stitches of the front. The first and last 5 stitches are according to scheme A. With the third needles - the remaining stitches, starting with 5 stitches according to scheme A. Knit each part to a height of 22 cm. After that, knit two rows as a single fabric. The next stage of knitting is to decrease the fabric according to the principle of raglan on the left and right sides of the braids (see fig. 1). On the front pieces, make decreases in every knit row. On the back piece, the number of knit stitches is four less than on the front, so make the decrease twice in every fourth row, then in every second row. Then the number of stitches in the fabric will equalize and they will finish in the same row. At a height of 105 cm from the ribbing (12 rows before the end of the decreases), start forming the neckline with partial knitting: row 1 - do not knit the placket stitches and 2 purl stitches, row 2 - do not knit 4 stitches. Row 3 - do not knit 3 stitches. Rows 5, 7 - do not knit two stitches each. Rows 9, 11 - do not knit one stitch each. After completing these rows, knit the fabric completely. Do not break the yarn. Remove the stitches of the plackets and edge braids and one purl stitch onto additional needles or knitting pins. Secure the yarn and knit the remaining stitches, adding yarn overs until there are 48 stitches. Knit 35 cm of fabric. Divide the fabric into three parts: 12 stitches for the sides of the hood, 24 stitches for the back part of the hood. Knit the upper part of the hood according to the principle of a sock heel, starting from the knit side.
Row 1: knit 35 knit stitches, two together. Turn the knitting to the purl side.
Row 2: slip the first stitch, knit 22 purl stitches, two together. Turn the knitting to the knit side.
Row 3: slip the first stitch. Knit 22 knit stitches, knit the 23rd knit stitch together with two stitches of the side part. Turn the knitting to the purl side.
Row 4: slip the first stitch. Knit 22 purl stitches. Knit the 23rd purl stitch together with two stitches of the side part. Turn the knitting to the knit side.
Row 5: slip the first stitch. Knit 22 knit stitches, knit the 23rd knit stitch together with one stitch of the side part. Turn the knitting to the purl side.
Row 6: slip the first stitch, knit 22 purl stitches. Knit the 23rd purl stitch together with one stitch of the side part. Repeat from rows 3 to 6. The idea is that when knitting 4 rows of the middle part, you need to capture and knit 3 stitches of the sides. When you finish knitting the main part of the hood, proceed to knit its edging. Take the reserved skein and knit from it the stitches of the placket and braids. Knit the last stitch (which was a purl stitch) by inserting the needle through it and the edge stitch of the side part of the hood. When the knitting reaches the middle part of the hood, capture 2 stitches. Then knit along the second side part to the neckline and seam the stitches with the stitches of the placket and braids on the additional needles. Sew on the buttons.


Category: Coat