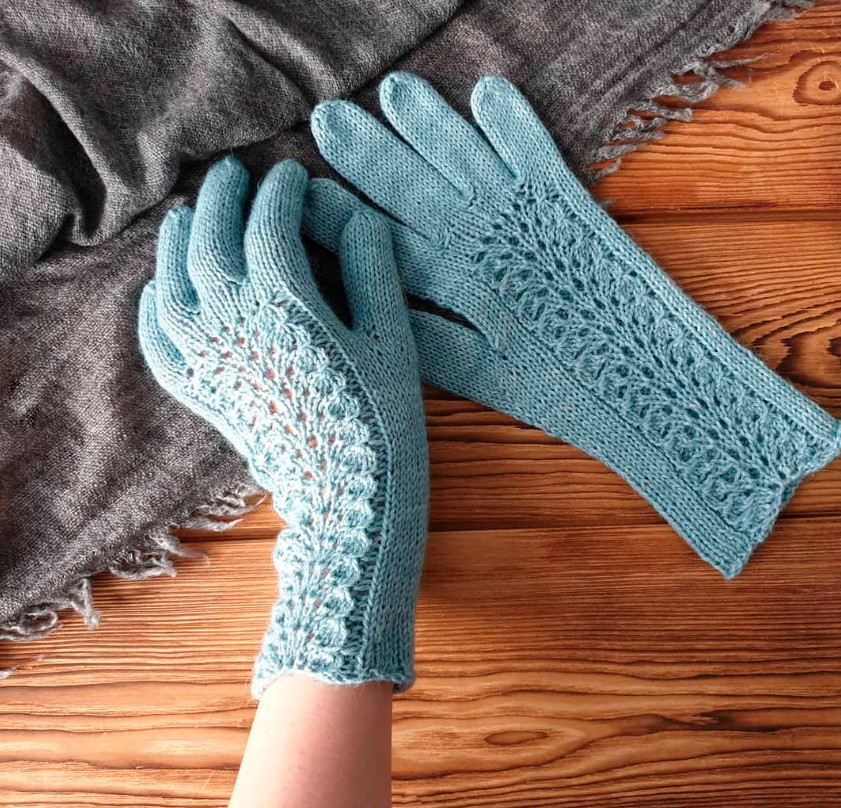
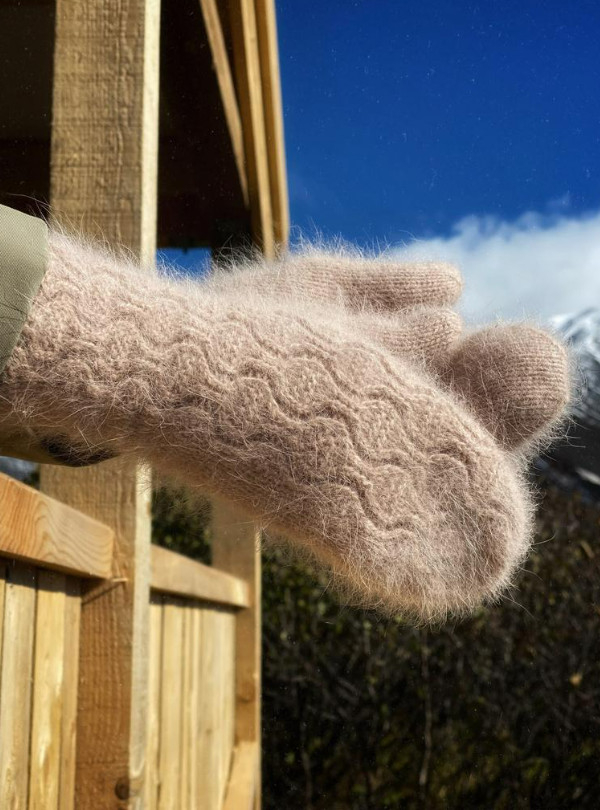
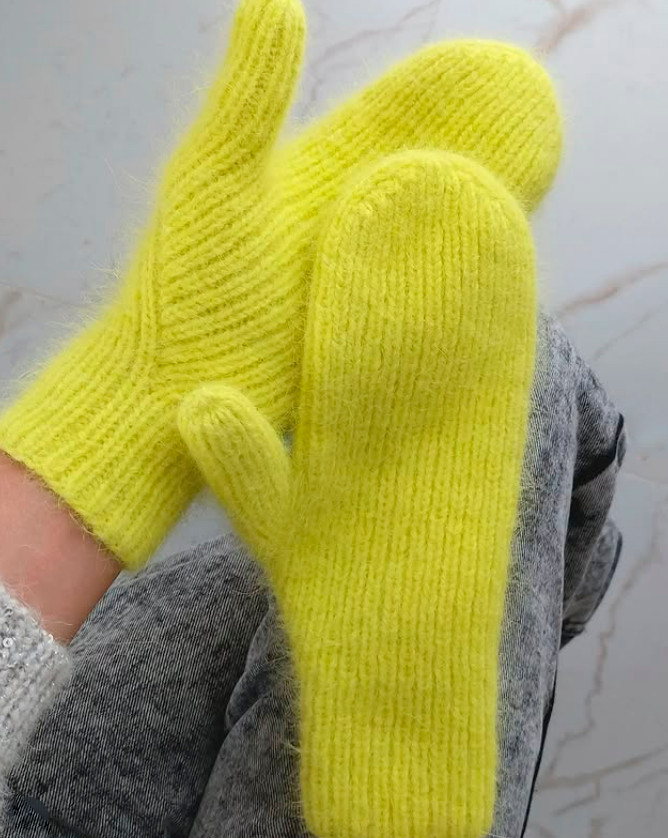
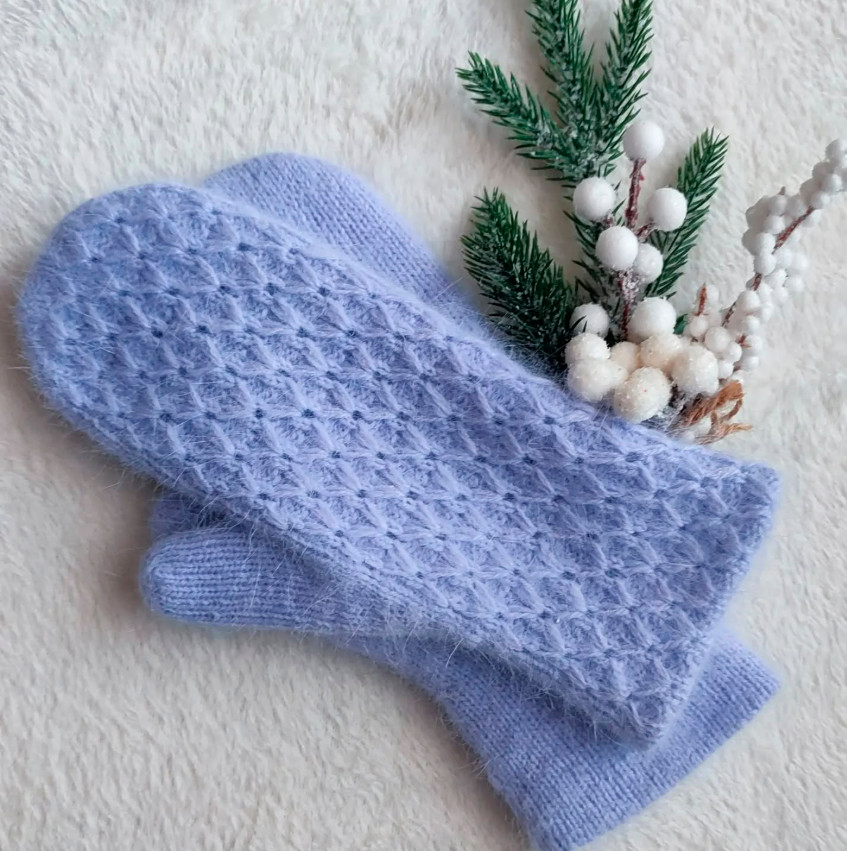
Lacy mittens with fluffy cuffs
Added: 13.12.2014 в 12:05 Views: 132759
Lacy mittens with fluffy cuffsKlubokhttp://klubok.work/1/135/5542/Klubokhttps://klubok.work/css/image/top-logo-en.png
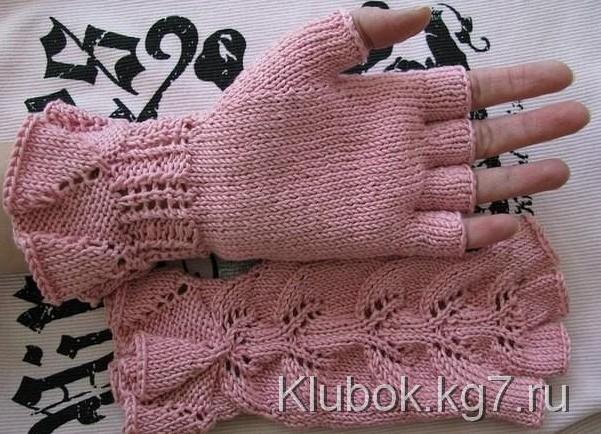

Sizes: wrist circumference 19 cm (at the widest part of the palm, above the thumb); length 19 cm (from the lower edge of the cuff to the base of the fingers)
You will need: 2 skeins of Aslan Trends Glaciar Del Cielo yarn (50 g /125 m, cotton) in light pink color; a set of double-pointed needles (4 pcs.) size 3.25 mm or needles corresponding to the specified knitting density; auxiliary threads or additional needles, marker
Main pattern: knit according to the chart.
Legend:
P1P - with the left needle lift the back horizontal thread between the last knitted and the next stitch on the left needle.
Knit through the front loop of the stitch.
P1L - with the left needle lift the front horizontal thread between the last knitted and the next stitch on the left needle.
Knit through the back loop of the stitch.
PM - place the marker
Knitting density: 26 sts x 32 rows = 10 x 10 cm when knitting in stockinette stitch with size 3.25 needles.
Carefully measure the knitting density!
LEFT MITTEN
Note: The cuff is knitted separately in the round, after which the stitches are closed. The stitches for the wrist of the mitten are picked up from the cast-on edge of the cuff.
Cuff: Cast on 48 sts, PM, connect the beginning and end of the round, continue knitting in the round. Start knitting according to chart 1 Start knitting from row 1 of the chart, knit in the round 6 repeats of 8 sts. Knit according to the chart for 14 rows—120 sts. Close the sts according to the pattern.
Wrist: Starting from the 5th st from the beginning of the round, pick up 48 sts along the cast-on edge of the cuff, the 4th, 12th, and 20th sts should be picked up from the knit sts at the tops of the first three wedges of the cuff from the knit sts, and the 36th st from the knit sts at the top of the fifth wedge, PM at the beginning of the round. Then knit in the round. Start knitting according to chart 2 and chart 3. Row 1 knit according to chart 2, starting from the first st, knit according to the chart until the start of the repeats of 8 sts, repeat the repeat 2 times, then knit 1 row according to chart 3. Knit according to the pattern for 12 rows.
Thumb:
Next row 23 sts in stockinette stitch (palm), remaining 25 sts (back) knit according to chart 3. Knit straight for 1 row.
Thumb gusset: Next row inc 20 knit, PM, P1P, 1 knit, P1L, PM, 2 knit, then knit 3 rows according to chart 3. Knit according to the pattern, inc 2 sts between markers every 4 rows, inc sts knit knit. Continue to knit until the number of stitches between the markers is 13 and 36 rows are knitted according to chart 3—60 sts. Next row 20 knit, slip 13 sts onto a holding thread and set aside for the thumb, cast on 7 sts, knit according to the pattern to the end of the round—54 sts. Knit 1 row straight, knit the cast-on sts knit. Next row dec 20 knit, pass slip stitch over, 3 knit, 2 knit together, knit according to the pattern to the end of the round. Next row dec. 20 knit, pass slip stitch over, 1 knit, 2 knit together, knit according to the pattern to the end of the round. Knit 1 row straight. Next row dec. 20 knit, double pass slip stitch over, knit according to the pattern to the end of the round—48 sts. Then continue to knit straight for 4 repeats according to chart 3.
Fingers:
Pinky: 6 knit, slip 17 sts onto a holding thread, cast on 3 sts onto a new needle, slip the next 19 sts, remaining 6 sts of the back knit—15 sts. Evenly distribute sts on 3 needles. Knit straight knit until the pinky measures 2 cm in height or reaches the desired height. Close the sts.
Ring finger: Slip the next 5 sts of the palm onto a needle, slip the next 6 sts of the back onto the 2nd needle. Start knitting from the palm side, knit 5 knit, inc 1 st, cast on 3 sts, 6 knit, inc 1 st, with a new needle cast on 3 sts from the cast-on edge of the previous finger—19 sts. Evenly distribute sts on 3 needles. Next row dec. 5 knit, pass slip stitch over, 1 knit, 2 knit together, 9 knit—17 sts. Knit straight until the finger measures 2.5 cm in height or reaches the desired height. Close the sts.
Middle finger: Knit the same as the ring finger.
Index finger: Slip the next 7 sts from both sides onto 2 needles. Start knitting from the palm side, 7 knit, inc 1 st, 7 knit, inc 1 st, with a new needle cast on 3 sts from the cast-on edge of the middle finger—19 sts. Evenly distribute sts on 3 needles. Next row 7 knit, pass slip stitch over, 1 knit, 2 knit together, 7 knit—17 sts. Knit straight until the index finger measures 2.5 cm or reaches the desired height. Close the sts.
Thumb: Slip the 13 held sts onto 2 needles, 13 knit, with the 3rd needle inc 1 st, cast on 7 and from the cast-on edge of the previous finger, inc 1 st—22 sts. Next row 13 knit, pass slip stitch over, 5 knit, 2 knit together—20 sts. Knit straight knit until the thumb measures 2 cm or reaches the desired height. Close the sts.
RIGHT MITTEN
Knit the same as the left mitten until the thumb gusset. Next row inc. 2 knit, PM, P1P, 1 knit, P1L, PM, 20 knit, knit row 3 according to chart 3. Then knit according to the pattern, inc sts the same as for the left mitten—60 sts. Next row 2 knit, slip the next 13 sts, cast on 7 sts, 2 knit, knit according to the pattern to the end of the round—54 sts. Knit 1 row straight, knit the cast-on sts knit. Next row dec. 2 knit, pass slip stitch over, 3 knit, knit 2 together, knit according to the pattern to the end of the round. Next row dec. 2 knit, pass slip stitch over, 1 knit, 2 knit together, knit according to the pattern to the end of the round. Knit 1 row straight. Next row dec. 2 knit, double pass slip stitch over, knit according to the pattern to the end of the round. Then knit straight until the last repeat is knitted according to chart 3.
Fingers:
Pinky: Next row 17 knit, slip these sts, 6 knit, with the 2nd needle knit 6 knit from the back, slip the remaining sts, cast on 3 sts—15 sts. Knit the same as for the left mitten. Knit the remaining fingers the same as for the left mitten.
ASSEMBLY Weave in loose ends, sew up gaps between fingers if necessary. 
![]()
knit
![]() purl
purl
![]() yarn over
yarn over
![]()
pass slip stitch
![]() 2 knit together
2 knit together