Иммитация втачного рукава спицами
Добавлено: 31.05.2016 в 07:38 Просмотров: 57632
Иммитация втачного рукава спицамиKlubokhttp://klubok.work/1/203/6409/Klubokhttps://klubok.work/css/image/top-logo-en.png
Short Description:
For the shoulders: in each row, increase 1 stitch on either side of the central stitch for each shoulder (a total of 4 increases per row).
For the sleeves: stitches are added inside the sleeve area.
More Details:
This is just a method, not a pattern. You still need to shape the front neckline, join in the round where needed, and separate the sleeves at the appropriate point...
Abbreviations:
-
Pm – place marker
-
sm – slip marker (from left to right)
-
& – required number of stitches
Cast on the stitches for the back neckline (take the width of the back neckline and multiply it by your gauge in width) + add 4 more stitches.
Row 1:
K1, pm, k1, pm, knit to last 2 stitches, pm, k1, pm, k1.
Row 2:
K1, purl through front and back loop, sm, p1, purl through front and back loop, sm, purl to marker, purl through front and back loop, sm, p1, purl through front and back loop, sm, p1, purl.
Row 3:
K1, knit through front and back loop, sm, k1, knit through front and back loop, sm, knit to marker, knit through front and back loop, sm, k1, knit through front and back loop, sm, k1.
(* You can use any increase method of your choice.)
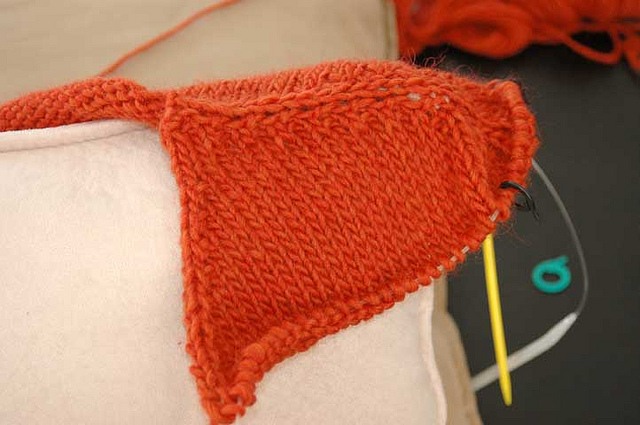
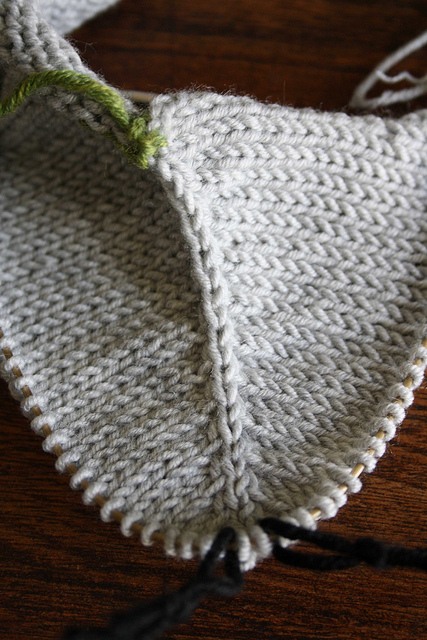
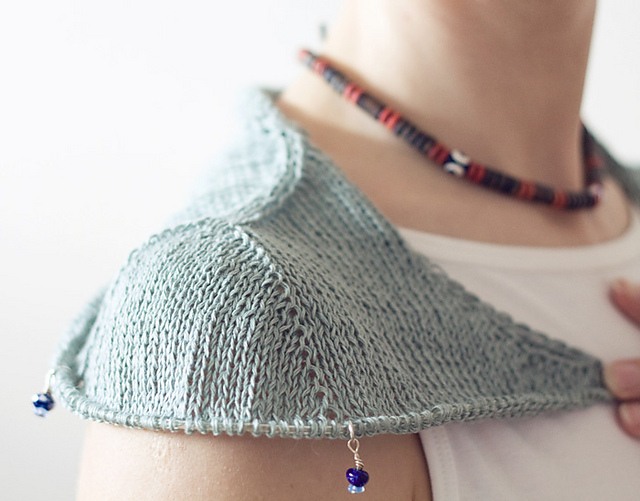
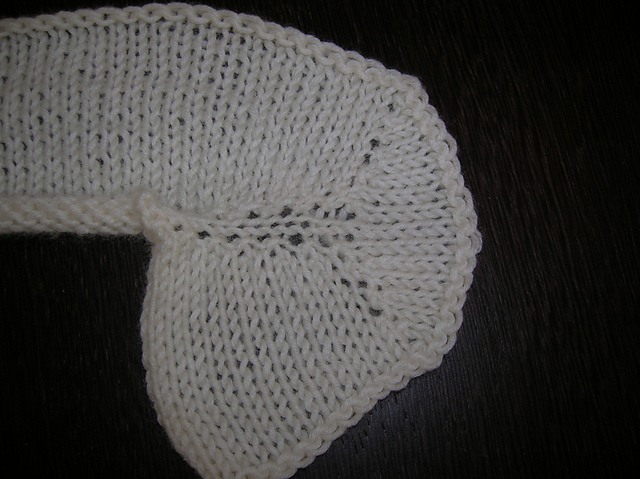
Continue increasing in every row around each marker in the same way until the shoulder height is reached. You can knit short rows to shape the neckline — use your preferred technique. This method can also be adapted for raglan sleeves or other styles. It may require a couple of extra rows or short rows to finish forming the shoulders.
Sleeves:
Now you place additional markers to define the sleeve area. From the central marker on the shoulder, count 5 stitches in each direction. They form the top part of the sleeve cap.
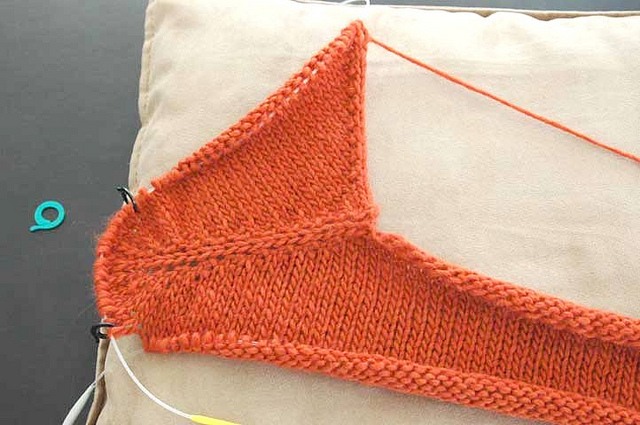
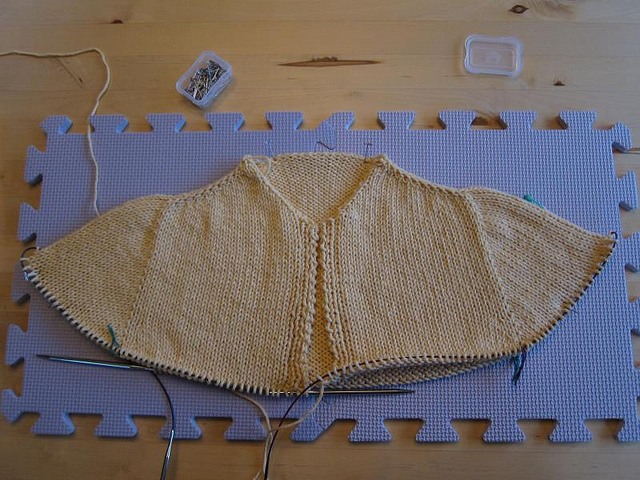
Continue increasing by one stitch on each side of the shoulder marker in every row, and now also increase on each side of the sleeve area (4 new stitches per row in total). Increases are done on the outer side of each sleeve marker.
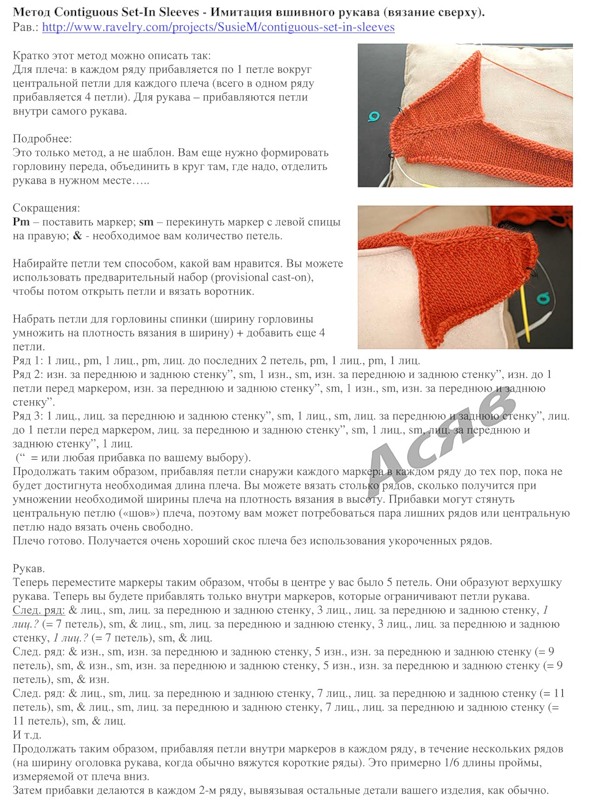
It should look something like this:
Row A (right side):
K1, inc, sm, k1, inc, knit to 1 stitch before the next shoulder marker, inc, k1, sm, k1, inc, knit to sleeve marker, inc, sm, knit to next sleeve marker, inc, knit to shoulder marker, inc, k1, sm, k1, inc, knit to 1 before sleeve marker, inc, sm, knit to next sleeve marker, inc, knit to end.
Row B (wrong side):
Purl all stitches (or knit in pattern, if applicable).
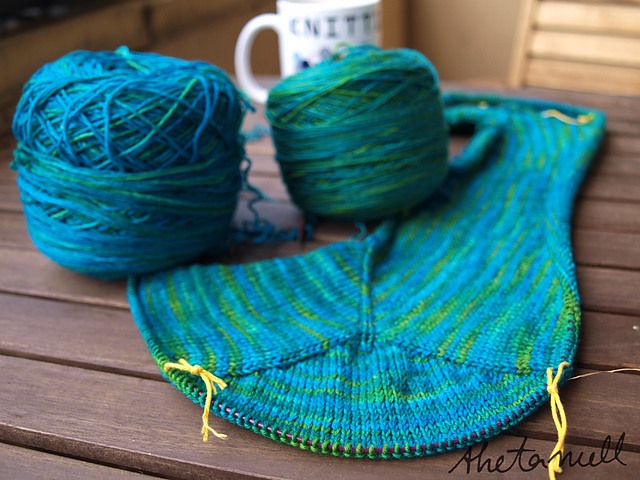
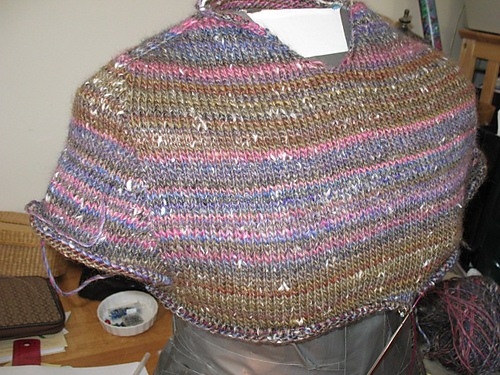
Repeat these two rows, increasing in each row around all markers (shoulder and sleeve), until the sleeve cap is formed (i.e., the sleeve is wide enough).
Then continue working the body and sleeves separately.

