


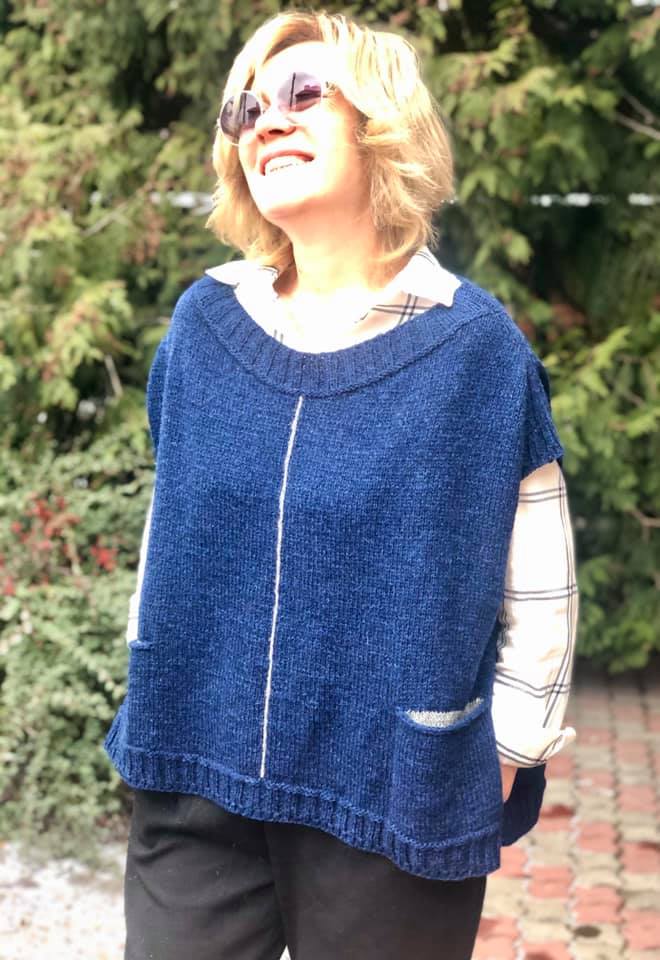
Connect the sleeve from the top. Master class.
Added: 28.09.2016 в 00:27 Views: 54681
Connect the sleeve from the top. Master class. Klubokhttp://klubok.work/1/203/6546/Klubokhttps://klubok.work/css/image/top-logo-en.png
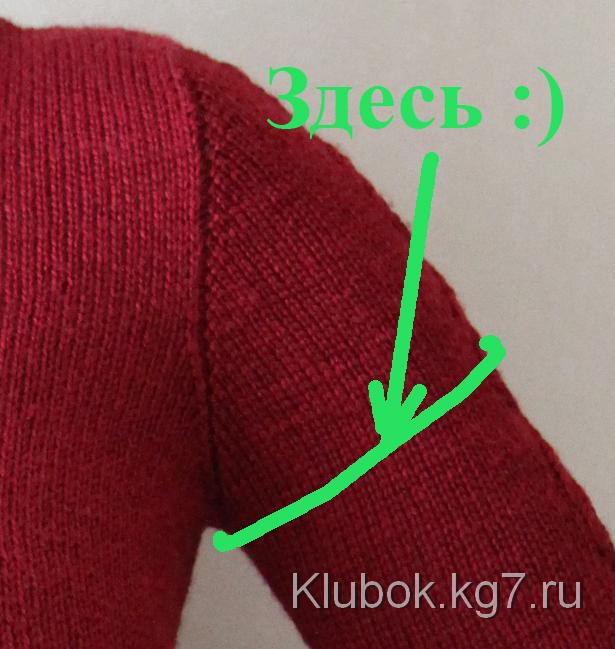
We cast on stitches around the entire armhole, starting from the "side seam", going up the front to the shoulder, then continuing down the back, back to the "side seam". Mark the beginning of our row.

How many stitches to cast on? Strangely enough, it depends on the future width of the sleeve. The number of stitches you cast on will equal the total number of stitches for the width of your sleeve at the "armpit" (below is my attempt to show this), so determine in advance how many you need.

Mark the central stitch, the one at the shoulder seam. (You will see 2 more markers with me; this is because there was a pattern of 9 stitches in the center of the sleeve, markers for it, but you can easily navigate by them as my rows increased.)

We start our row, knitting from the "side seam" to the marked stitch and beyond, as usually indicated in descriptions, in my model it was another 8 stitches, or 2.5 cm, beyond the center. Stop. Now we begin working with short rows, the "wrap and turn" method. I love it, it's simple and there are no holes afterwards. We wrap the next, my 9th stitch from the center. We do this as follows: bring the yarn forward, to the front of the work.

Slip the next stitch purlwise onto the right needle.
Bring the yarn to the back, behind the work.
Return the stitch to the left needle.
Turn our work to the purl side.
Knit the purl row, that is, in the opposite direction. We stop at the same distance from the central, "shoulder", stitch as on the front side, that is, again 8 stitches from the center for me. We wrap the next, my 9th, stitch in the same way.
Turn the work to the front side.
We start including other stitches in the work.
Step 1. Knit a front row, that is, in the opposite direction, but now one stitch further than the first time. Stop.
Step 2. Wrap the next stitch, my 10th from the center, in the same way.
Step 3. Turn the work to the purl side.
Step 4. Knit the purl row. Also one stitch more than in the previous purl row. Stop.
Step 5. Wrap the next, my 10th, stitch.
Step 6. Turn the work to the front side.
Repeat steps 1-6 until all previously cast-on stitches are gradually included in the work, excluding the first and last 4 stitches. This means that at the end of each front and purl row, we include one more stitch in the work. We wrap the next time the 11th, then the 12th, then the 13th stitch, and so on.
After a few rows, your work will look like this:
After about 20 rows, it will look something like this:

A little later, it will look something like this:
Let's measure!!!!
Cool, let's keep working! (In my case, unfortunately, I saw that I had too many stitches and the sleeve would be too wide, so I had to rip it out and start all over again. The green face is okay, you can't make mistakes if you don't do anything. I hope you will get it right. green face) When all stitches are included in the work, except for the first 4 and last 4, after step 6 we will join the work in the round, that is, we knit all the stitches of our round and join them.
We continue to knit our sleeve in the round. If necessary, making decreases for tapering.
You can knit with circular needles, but I used my favorite magic loop method, which I talked about here.
Once you have the sleeve at the desired length, bind off all stitches. Ta-da!!! The sleeve is ready!!!