Kettlewka - many methods and master class
Added: 20.11.2017 в 08:13 Views: 53228
Kettlewka - many methods and master classKlubokhttp://klubok.work/1/203/7121/Klubokhttps://klubok.work/css/image/top-logo-en.png
This method of finishing is called "false kitchener stitch". We need two pairs of needles of the same size and 1 hook to work.
Finishing the neckline. False kitchener stitch

At the edge of the neckline, we crochet a "chain stitch". For this, we insert the hook into the fabric at the desired distance from the edge of the neckline on the front side, grab the yarn and pull it out - a loop forms on the hook.

We insert the hook into the next stitch of the neckline, pull out a loop again and pull it through the loop on the hook. This way we crochet the entire neckline.


As a result, we get a chain of loops on the front side of the work and a row on the back side.

Next, we pick up stitches on the front side of the work behind the back side of the "chain stitch". We knit 6 rows of knit stitches in a circle.

Then we take an additional pair of needles and pick up stitches from another ball of yarn from the inside of the item (we pick up stitches from the resulting row on the inside), and knit 6 rows of knit stitches.

Next, we align the needles and knit one stitch from each needle together (in pairs).

Thus, we get a row of knit stitches on one needle.
Now we close all the stitches, or (as in my case) knit the band to the required height.
That's it. With this finishing, we get a beautiful, even, neat neckline.
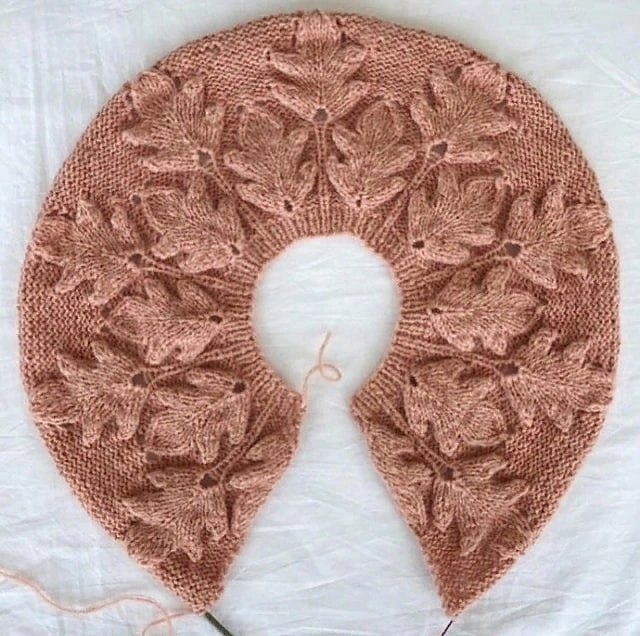
How to "kitchener" the bottom of the sleeve if it is knitted from top to bottom. Master class.
Notice that the row to which we "kitchener" the knitted seam at the bottom of the sleeve is marked, i.e., we knit 1 unit weaker, so that when performing the seam, it does not pull too much. To prevent the stitches from running away and unraveling, before you kitchener or hem the item, you need to steam these stitches with an iron together with the waste thread. This method of finishing the hem is very convenient if there are open stitches left, or if the sleeve hem was not done immediately, or when knitting the sleeve from the top.


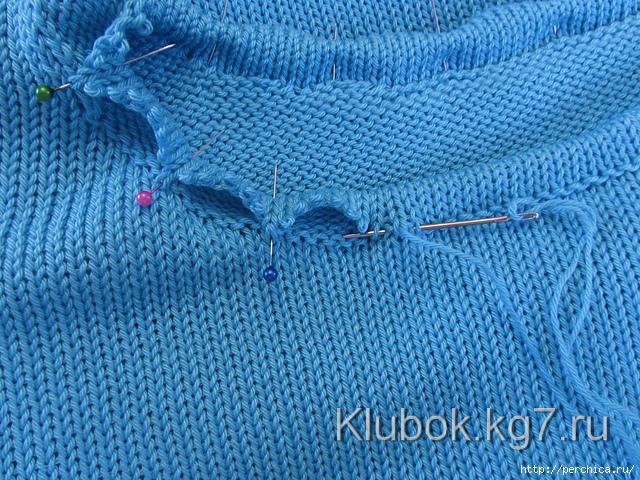
The neckline of the item is prepared for finishing

.We lay a chain stitch along the edge with a contrasting thread (this is important and convenient for further work).


We pick up stitches on the needles from the chain stitch on the inside.


Knit about 2 cm, close with a contrasting waste thread and fold to the front side.

From the inside, we lay a chain stitch with the yarn of the item. This will be a decorative connecting seam, externally similar to the kitchener stitch, but significantly simpler (the kitchener stitch is done with a needle). "We follow" strictly along the first row of stitches.

View from the inside.
Remove the white thread (chain stitch thread), then the waste thread that closed the edge.

5. That's it, just hide the threads.

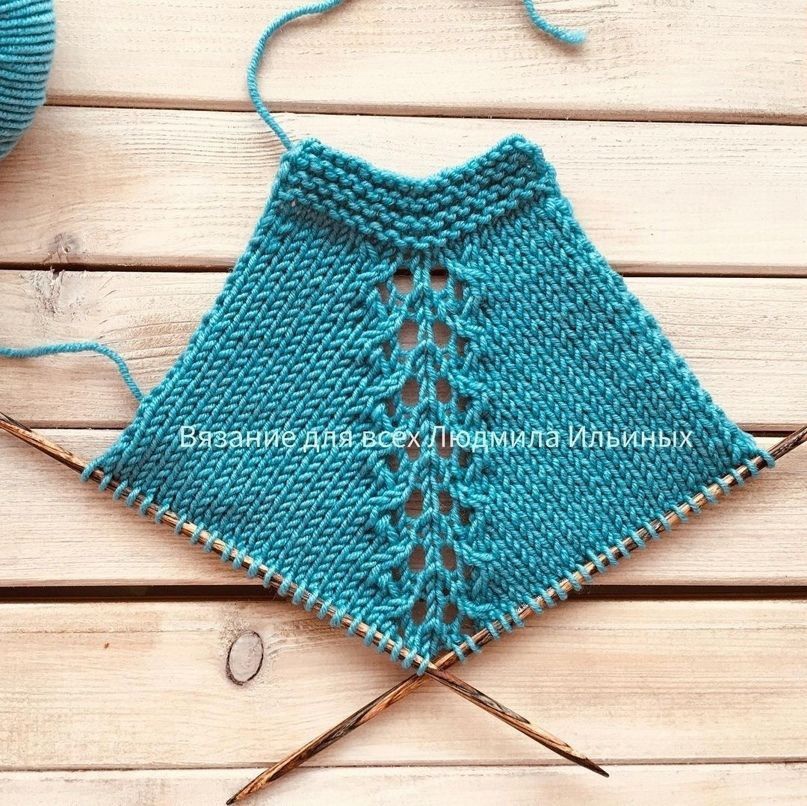
The next technique - imitation of "double" or hollow ribbing. For this, we pick up stitches from both the front and back sides along the chain stitch, knit about 1 cm and combine both fabrics by knitting two stitches together (one stitch from each fabric).

Knit on the front side.

Now knit from the inside.

Combine the front and back fabrics by knitting two stitches together from each fabric.

This is what it should look like

Then knit any option you like:


Laying the chain stitch from the inside:


Remove the waste thread.

Neat inside.

Neat outside.

Finished work!