Exclusively for oneself
Added: 11.01.2021 в 00:12 Views: 22080
Exclusively for oneselfKlubokhttp://klubok.work/1/3/8673/Klubokhttps://klubok.work/css/image/top-logo-en.png


The gusset may seem like a complex mathematical calculation at first glance, but once you understand the principle, it will be simple!
Just like in a raglan, there is a rhythm of increases every second row +8 stitches (this is the general principle of circular knitting for the yoke). We can change it by increasing the number of increases in a row, knitting rows with increases less frequently.
The diagram shows several options for the rhythm of increases for the gusset.
:
Rhythm of Increases
+1 stitch in each section:
If there are 8 sections, every 2 rows
If there are 16, every 4
If there are 24, every 6
If there are 32, every 8
For the sweater, I will have the total number divided into 16 equal parts and every 4 rows I will make +16 increases. The width of the neckline is determined by knowing the knitting density. Mine is 1 cm -2.3 stitches. If I were knitting without a gusset, I would have cast on 8*16=128 stitches. But since I don't want the sweater to slide back and expose half of the back, I will knit the gusset openly. We will knit it using short rows.
Knitting the Gusset for a Round Yoke
Cast on 96 stitches.
- Row 1: knit them all in the front and join in the round.
- Row 2: place 16 markers: M1, 4 stitches, M2, 4 stitches, M3, 4 stitches, M4, 4 stitches, M5, 4 stitches, M6, 5 stitches, M7, 6 stitches, M8, 7 stitches, M9, 8 stitches, M10, 8 stitches, M11, 8 stitches, M12, 8 stitches, M13, 8 stitches, M14, 7 stitches, M15, 6 stitches, M16, 5 stitches.
- Row 3: knit from M1 to M5, turn before the marker.
- Row 4: purl to the midpoint between M1 and M16.
- Row 5: increase row, to the midpoint between M5 and M6 (increases after markers M1, M2, M3, M4, M5).
- Next, continue knitting with short rows.
Increase Scheme for the Gusset on a Round Yoke


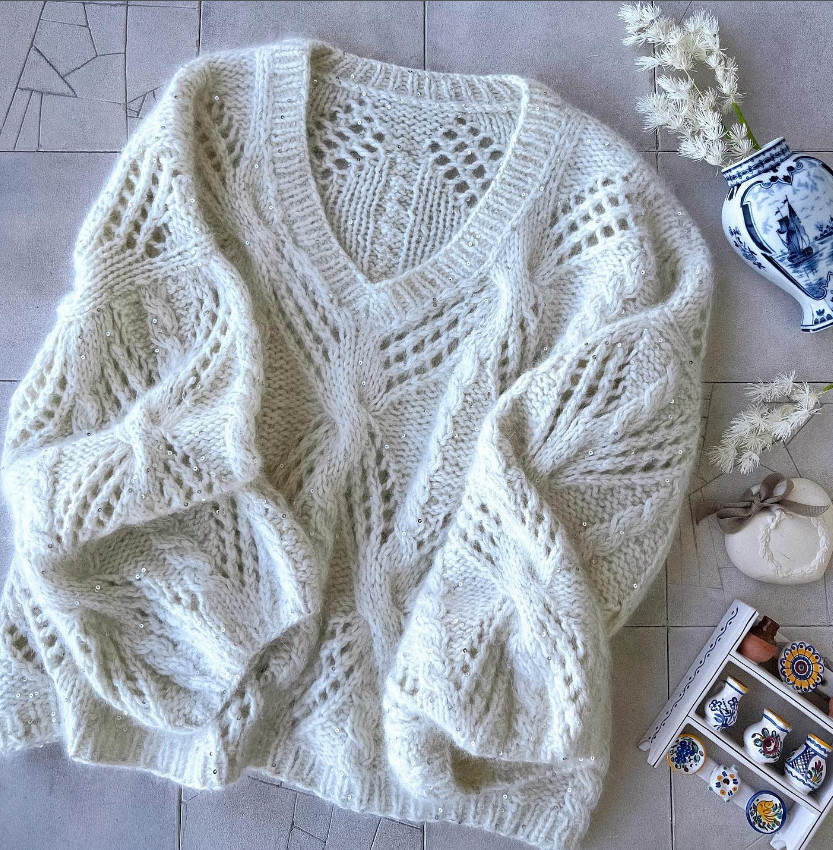
A little lacy pattern - according to the scheme in the description (2 together, yarn over). Although she talks a lot of extra things there)) I finished the edge with an i-cord, I really like it; it makes the piece look complete right away.