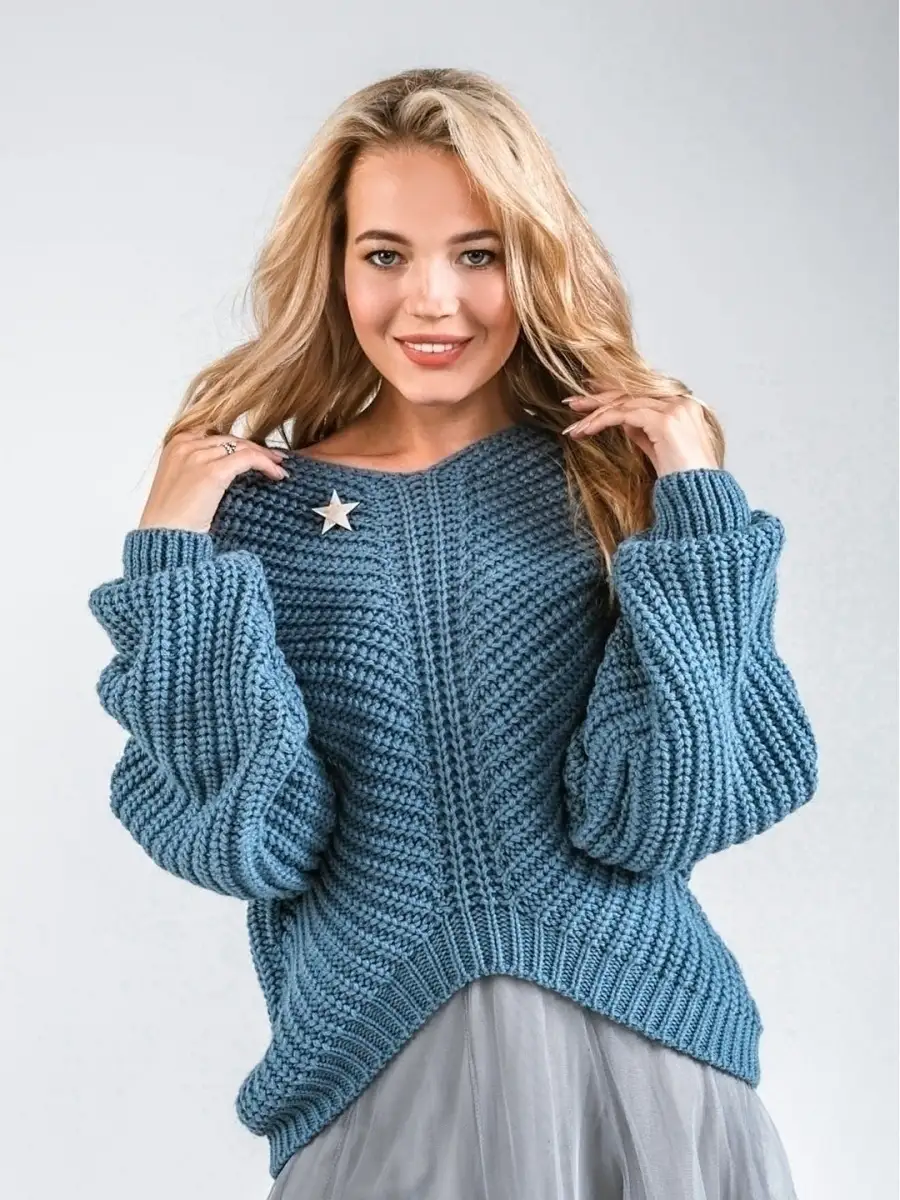
APERO pullover with an unusual cut
Added: 05.09.2025 в 21:51 Views: 2135
APERO pullover with an unusual cutKlubokhttp://klubok.work/1/3/9068/Klubokhttps://klubok.work/css/image/top-logo-en.png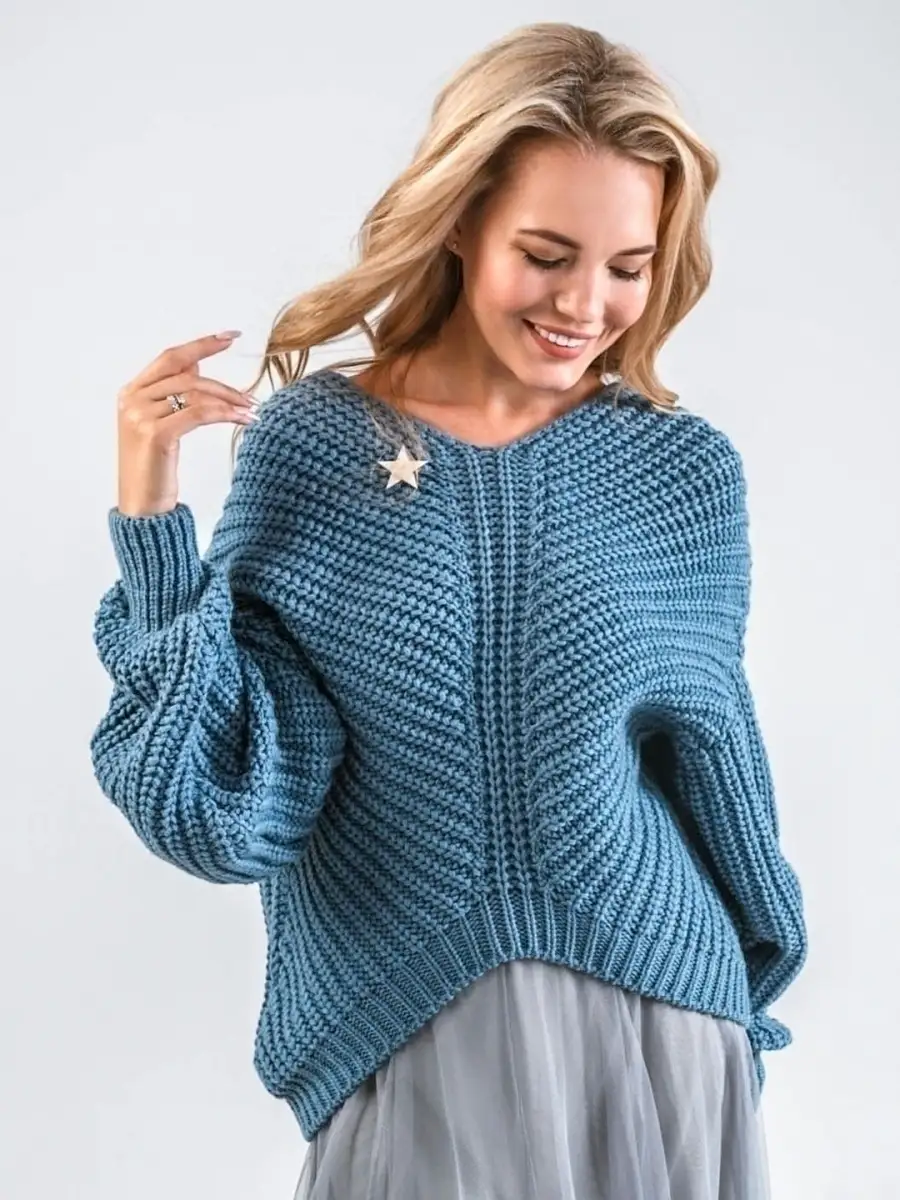
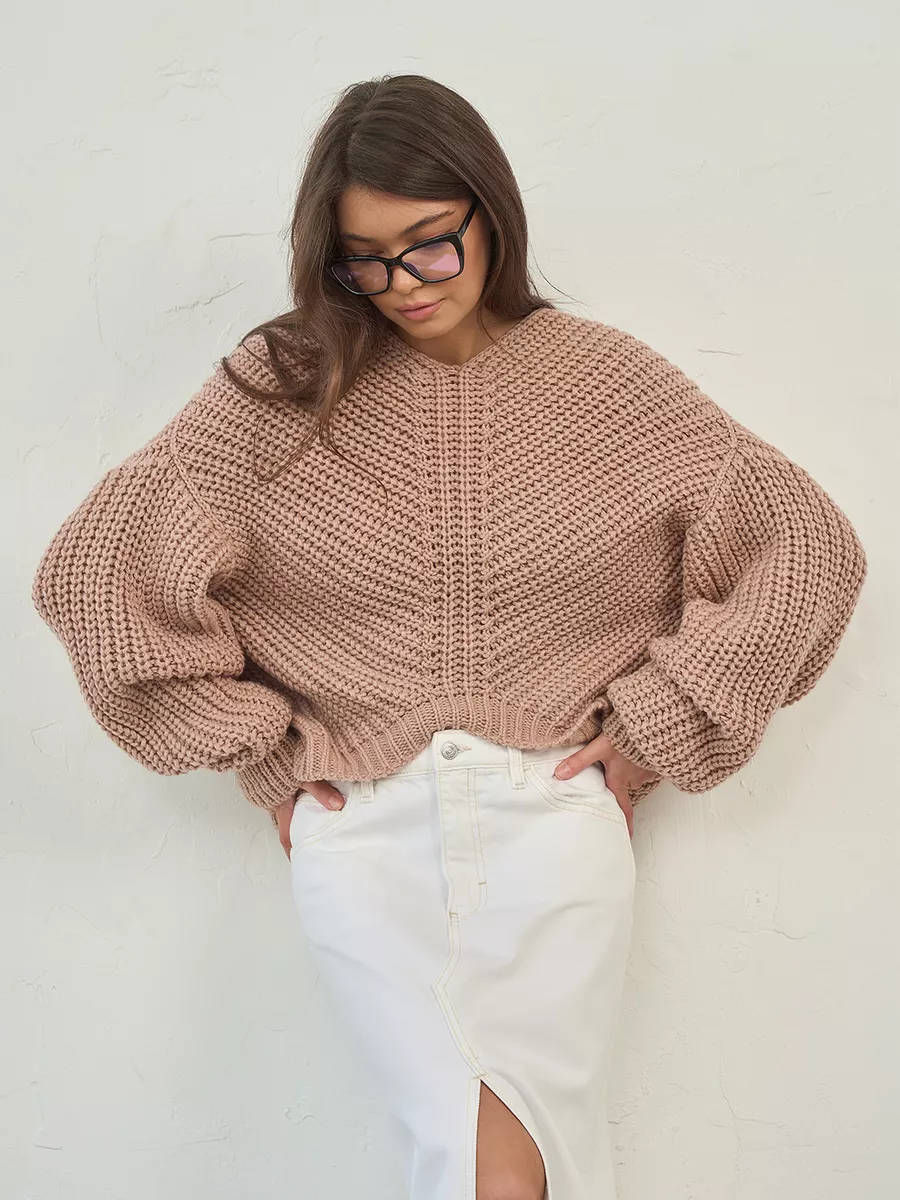
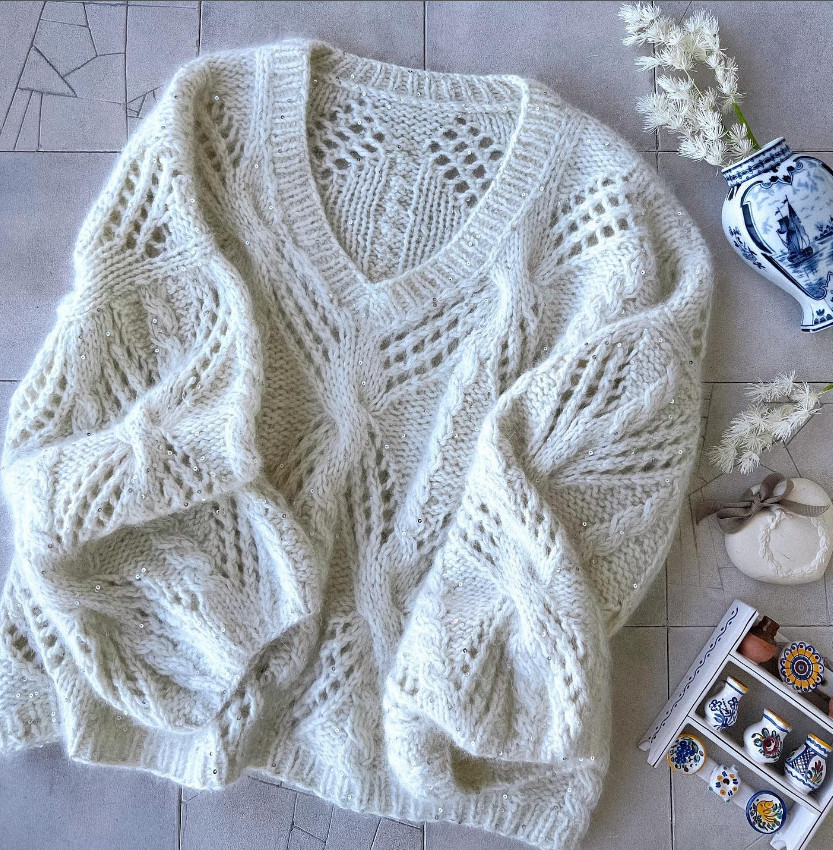
First, we knit the back. It will be a regular rectangle. The width of the piece will be half the bust measurement plus 10-15 cm (depending on how much ease you like). And for the length, you need to consider that the upper part of the back is not the shoulder seams; it will go lower—where it is shown in the photo.
We start knitting the back with a 1x1 ribbing, and then we knit with a relief "puffy" ribbing. I don't remember its name, but it's very easy to knit:
right side row – 1 knit, 1 purl (regular 1x1 ribbing)
wrong side row – all knit stitches are knitted differently, by inserting the needle into the previous row.
Now we knit the front. We start just like the back—with a 1x1 ribbing.
I created a diagram that shows the further principle of knitting the front after the ribbing. In the center of the model is one purl stitch, but you can make two, as I have in my diagram (to later evenly divide the knitting in the center).
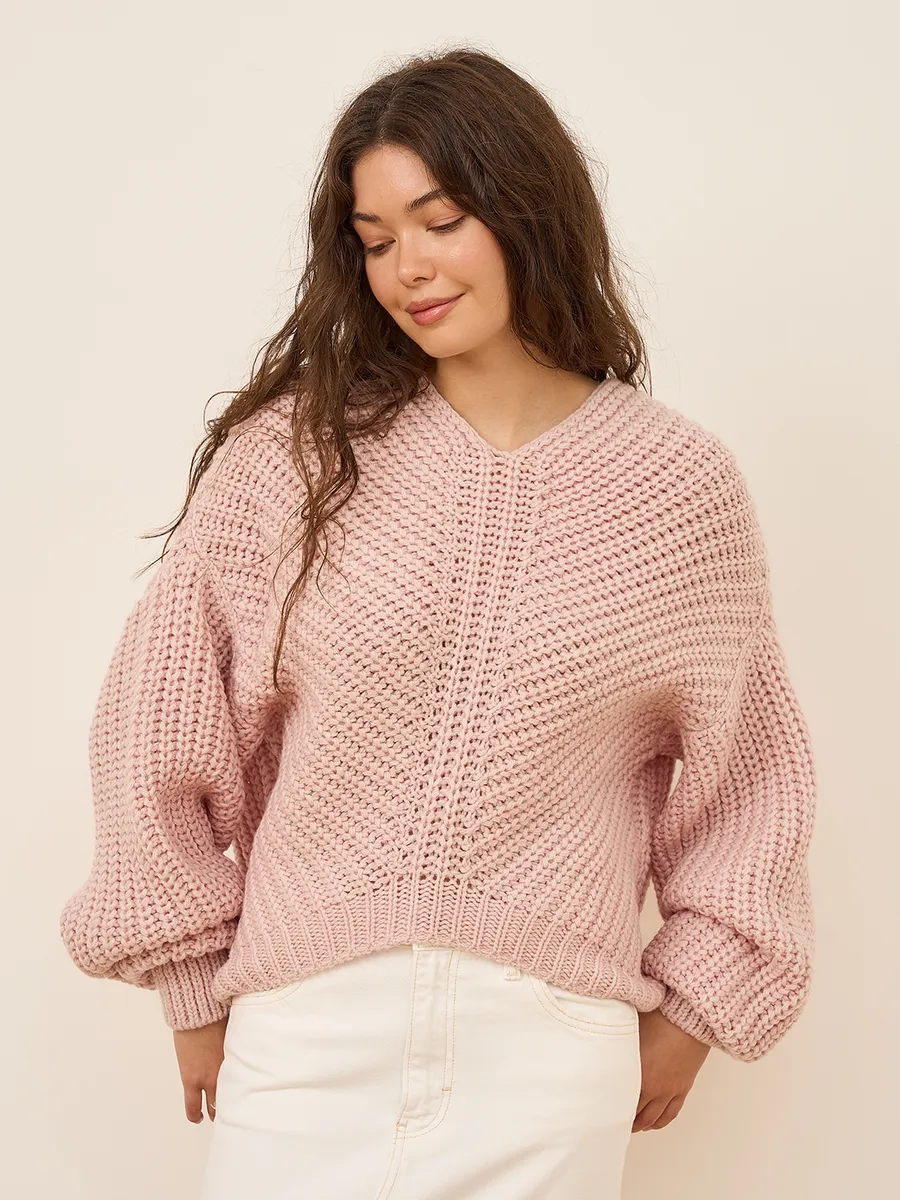
To the right and left of the central stitch (or two central stitches), we knit one knit stitch by inserting the needle into the previous row (as shown in the photo above). At the edges of these knit stitches, we have one purl stitch. On both sides of this central pattern, there will be a puffy ribbing (marked in green).
The number of stitches for the front and back will be equal, so to distribute the stitches for the front, we subtract the central 5 or 6 stitches from the total number and divide by two (they will be on the right and left, respectively).
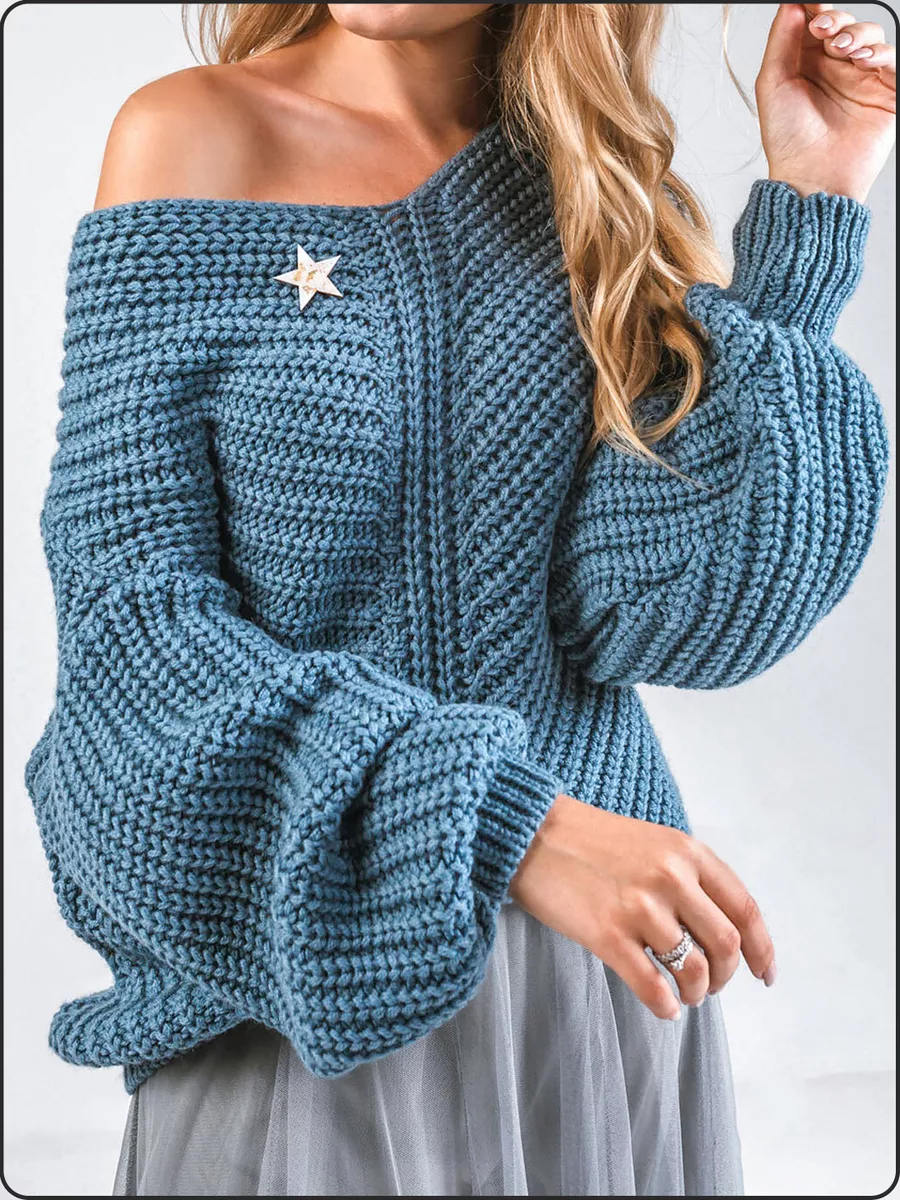
To achieve a piece like in the photo, we make yarn overs to the right and left of the central pattern in each knit row. In the wrong side row, we knit them as twisted stitches and continue knitting with the "puffy" ribbing. And on the right and left of the front in each knit row, we decrease one stitch. As a result of this knitting, the fabric is distorted, and we get the necessary cutouts.
![]()
knit
![]() slant left
slant left
![]() slant right
slant right
![]() yarn over
yarn over
![]()
increase 1 to 2

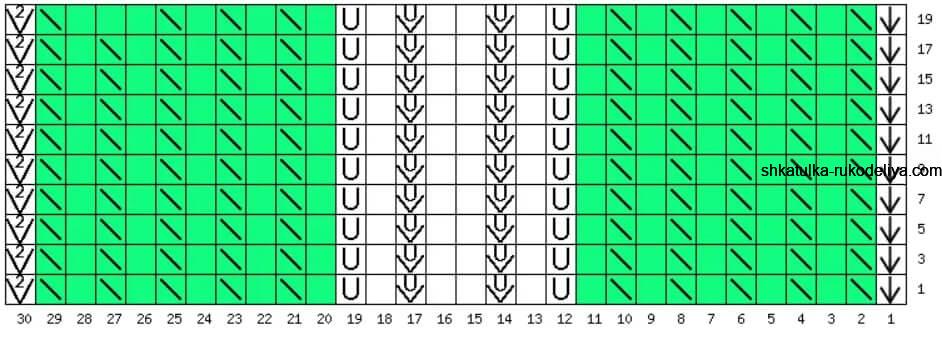
Where the front pattern is marked with a purple line, we divide the fabric into two parts at the center (the purl stitches will become edge stitches) and knit each part separately following the same principle (making yarn overs and decreasing stitches in the same places).
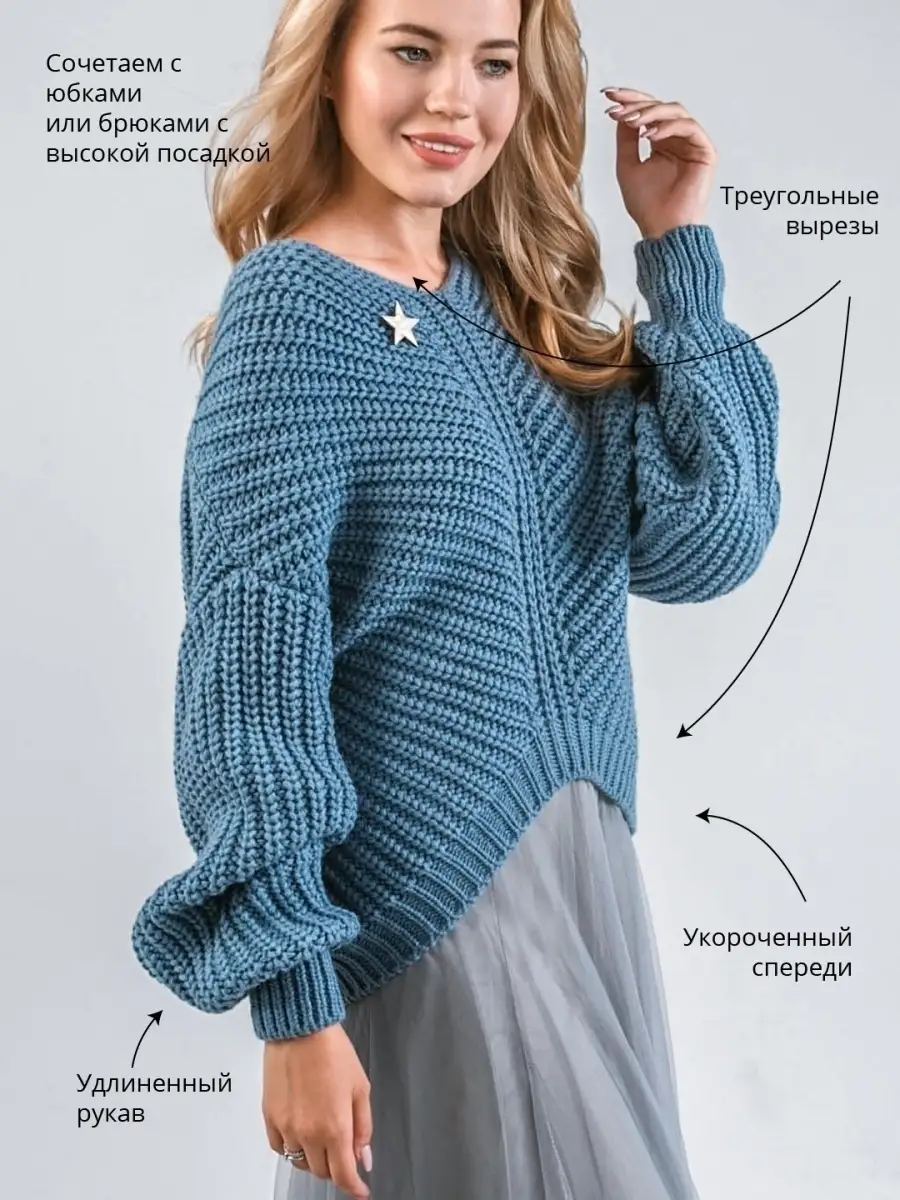
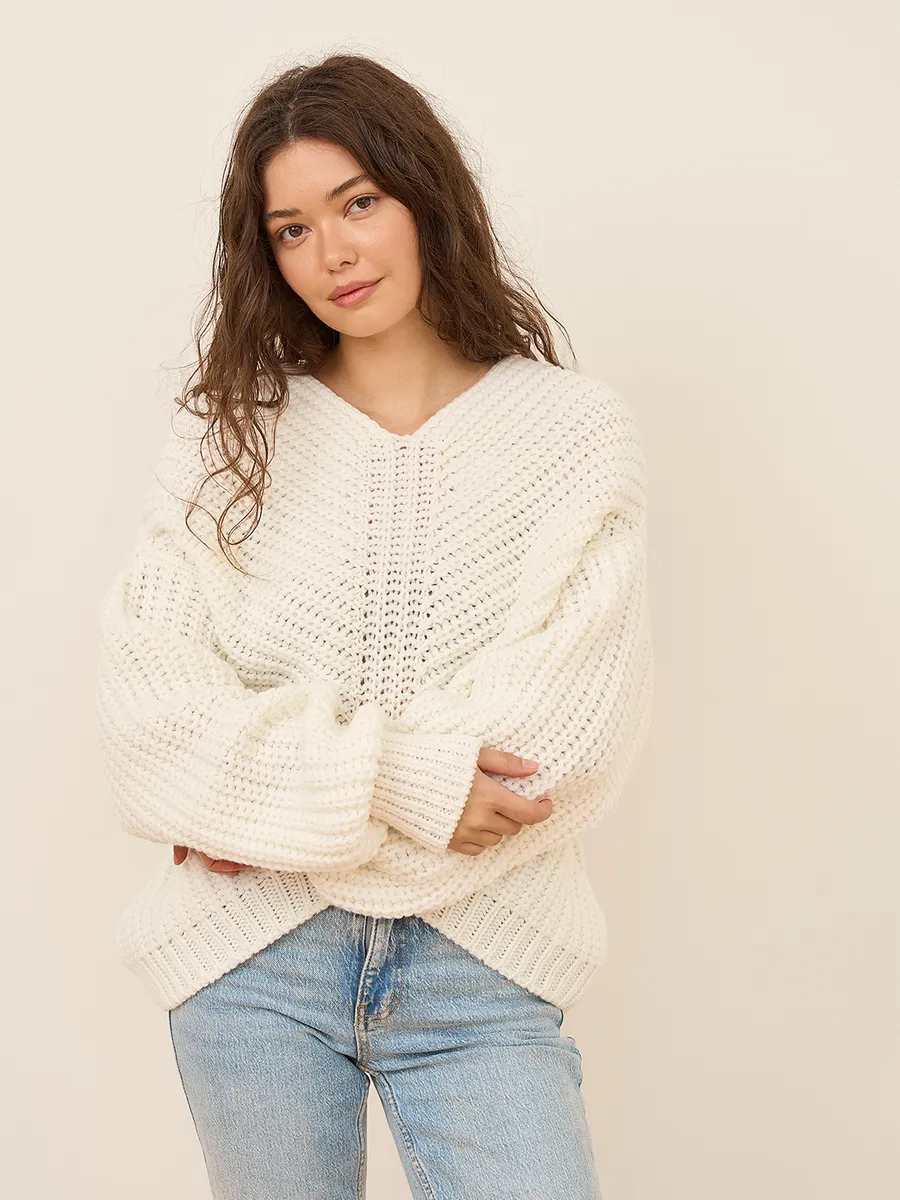
We knit the front to the same length as the back (the same number of rows). Then we bind off all stitches. As a result, the fabric will not be rectangular, but have a V-shaped bottom and a /\ shaped top.
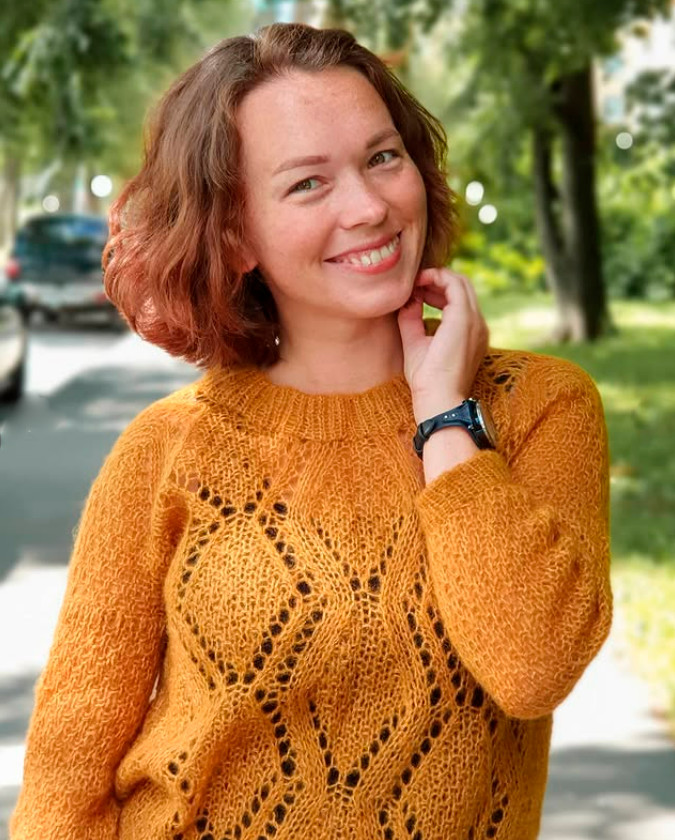
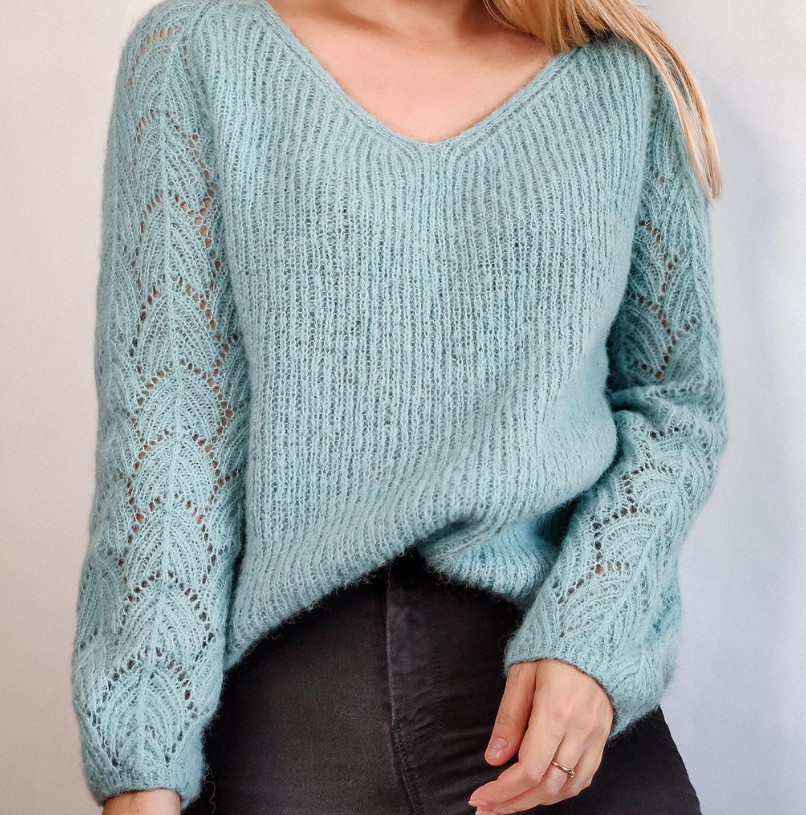
The sleeves can be knitted either simply as a "tube" – a rectangle, gathered at the bottom with a 1x1 ribbing, or as usual – flaring out at the top.
When all the pieces are knitted, we start sewing the pullover. We sew the halves of the front to the back, as marked on the pattern (blue to blue, green to green). We sew the side seams as usual. And as usual, we set in the sleeves, slightly gathering (not stretching) the ribbing to create a little puff.