Learning to knit socks with needles (for beginners), description.
Added: 21.09.2018 в 05:47 Views: 28352
Learning to knit socks with needles (for beginners), description.Klubokhttp://klubok.work/1/53/7491/Klubokhttps://klubok.work/css/image/top-logo-en.pngLearning to knit socks with needles (for beginners), description
step-by-step video workshop

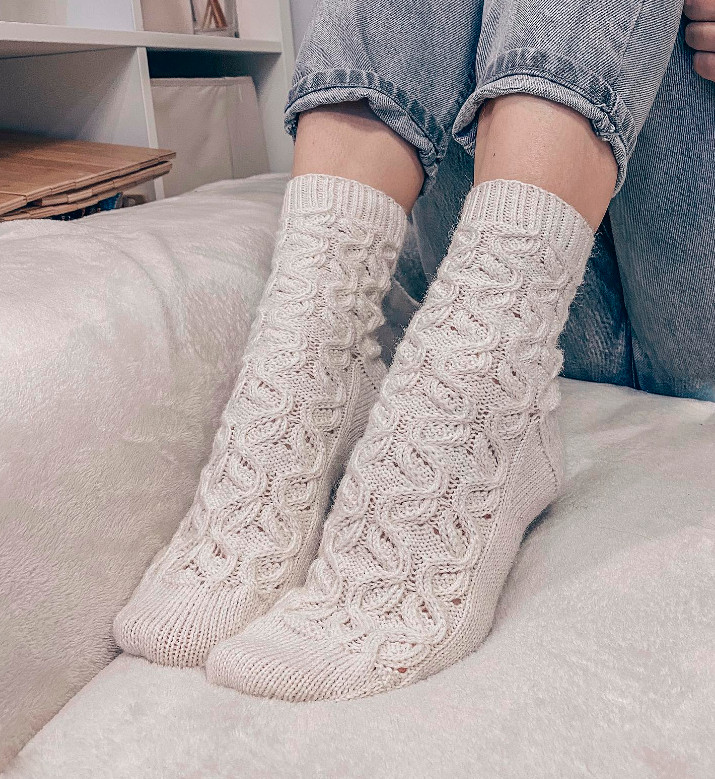
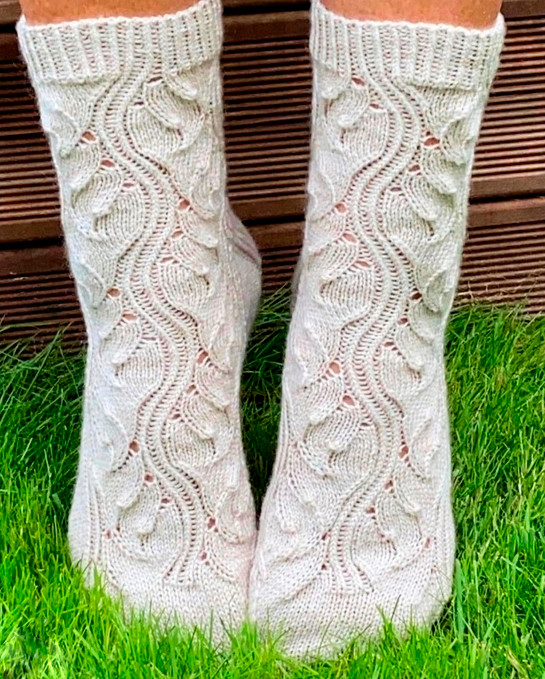
Socks are knitted in the round on 5 needles, most often using stockinette stitch, starting with a patterned cuff or ribbing. A pair of women's socks requires 100-120 g of yarn, men's 120-150 g, and children's - 70-80 g. CALCULATION. Measure the circumference of the leg at the ankle (fig. 1) - 23 cm.

Based on the control sample of the pattern of the main part of the sock (not the cuff), determine the knitting density. For example, 3 stitches in 1 cm, needles No. 2.5. Calculate the number of stitches needed to start: 23 cm x 3 st = 69 st. Round this number (69) to the nearest even number upwards. (It is more convenient if it is divisible by 4 without a remainder, as the stitches are distributed onto 4 needles). In this example, it is better to take the number 72, so there will be 18 stitches on each needle (socks size 36-37). START OF KNITTING THE SOCK. For practice, knit a small sock with 40 stitches. Cast them on 2 needles held together. Free one of them and knit one row of ribbing 1x1 very tightly, simultaneously distributing the stitches onto 4 needles with 10 stitches on each. This way, 4 needles will be introduced into the work, the free 5th will be the working one. Pin a marker to the stitches of the 1st needle or sew a colored thread: this needle will be a reference point in the work. Then tie the end of the yarn left from casting on stitches with the working yarn in a knot, forming a circle (there are no more edge stitches). Next, knit on the outside of the circle in a clockwise direction for 4-5 cm in ribbing 1x1. After completing it, switch to stockinette stitch and knit 5 cm to the ankle. KNITTING THE HEEL. Divide the knitting into two equal parts and then knit only the stitches of two needles: 3rd and 4th (the stitches of the 1st and 2nd do not participate in forming the heel). To make it more convenient to work, first knit the stitches from the two needles onto one (from the 3rd and 4th) and then knit a flat piece in stockinette stitch - the height of the heel. The height of the piece is determined as follows: the number of edge stitches of the piece should equal the number of stitches on one needle. In this example, there should be 10 edge stitches (20 rows). After that, pause the knitting, finishing it with a knit row. Now the piece needs to be shaped into a heel. This is achieved by decreasing stitches within the piece. Divide the total number of stitches, including the edge stitches, into 3 parts. If the number is not divisible by 3, add the remainder to the middle part. In this case, distribute as follows: 6 stitches for the side parts and 8 stitches for the middle. Start decreasing. 1st row (wrong side of the piece) - purl stitches: knit 6 stitches of the first side part, then all stitches of the middle part except the last - knit it together with the neighboring stitch of the second side part (the remaining 5 stitches of the second side part are left unknit). Turn the piece. 2nd row (right side of the piece) - knit stitches: slip the edge stitch and pull tightly to the needle, then knit all stitches of the middle part except the last - knit it together with the neighboring stitch of the first side part knit through the back loop. Turn the piece. Repeat this process until all stitches of the side parts are knitted with the edge stitches of the middle part (the work should end with knitting a knit row). Only the stitches of the middle part (8 stitches) will remain on the needle. When knitting the heel, a nylon thread can be attached to the wool yarn. After finishing the heel, break the nylon thread and continue knitting with only the wool yarn. K N I T T I N G T H E S O C K D E C R E A S E S O N T H E T O P. This part of the sock is knitted again in the round with knit stitches. Start the work as follows: with the needle that has the stitches of the middle part, cast on new stitches on the front side of the sock from the edge stitches of the heel - one knit from each edge stitch, a total of 10 stitches (fig.2).

Next, with the free needle, knit 10 stitches on the 1st needle, then with another needle 10 stitches on the 2nd. Now with the free needle, cast on new stitches from the edge of the piece (the same number as cast on from the opposite side) and with it, knit half of the stitches of the middle part (4 stitches). There are again 4 needles in use, and there must be more stitches on the 3rd and 4th needles than on the 1st and 2nd (the extra stitches are needed so that the sock does not constrict the instep). Now knit in the round and simultaneously decrease the extra stitches on the 3rd and 4th needles by knitting them 2 together purlwise every 2 rows (rounds). To ensure that the feeling from the decreases does not interfere with walking, make them at the edges of the foot, that is, at the beginning of the 3rd needle and at the end of the 4th. When they have the original number of stitches (10 on each), stop the decreases and knit the sock to the end of the toe (in this example - 6 cm). D E C R E A S I N G S T I T C H E S O N T H E T O E. The decreases can be done the same way as on a mitten, or differently: in each row (or every other row) knit 2 stitches together purlwise, and at the end of the next needle - in this case, the toe will be round. Decrease until there is 1 stitch left on each needle. After that, break the yarn, thread it through the stitches, pull tightly, and hide the end of the yarn with a hook on the wrong side of the sock. M.Maksimova (appendix to the magazine "Rabotnitsa". 1983
Category: Slippers, socks, knee socks