Socks with needles
Added: 11.01.2021 в 13:47 Views: 17399
Socks with needlesKlubokhttp://klubok.work/1/53/8682/Klubokhttps://klubok.work/css/image/top-logo-en.png
The foot size is any, as the length can be adjusted while knitting. The main thing is to understand the principle! The text is detailed, but once understood — you will knit almost from memory
Needles #3. Both straight and circular. If you don't have straight ones, one pair of circulars of 80cm will be enough
I used double-pointed and circular needles + a hook from KnitPro.
I can confidently and wholeheartedly recommend KnitPro Zing double-pointed needles!! They are very easy to knit with, stitches do not get stuck, the tip is moderately sharp, the speed is higher, and your hands do not strain. I have the 20-centimeter ones.
Any yarn suitable for the needles, I took Alize Lanagold.
To make it look nice — the transition from ribbing to the side "ribs" (from the word rib, ribbed), use an odd number of stitches.
I recommend knitting with a 1x1 ribbing. It is denser than 2x2, etc.
I decided to make the whole sock with ribbing, but you can change it to another pattern: garter stitch, seed stitch, or even stockinette stitch.
How many stitches to cast on.
With #4 needles about 39-41. With #2.5 needles — 45.
I knit with #3 needles, cast on 43 stitches: 11 for the center, and 16 on each side.
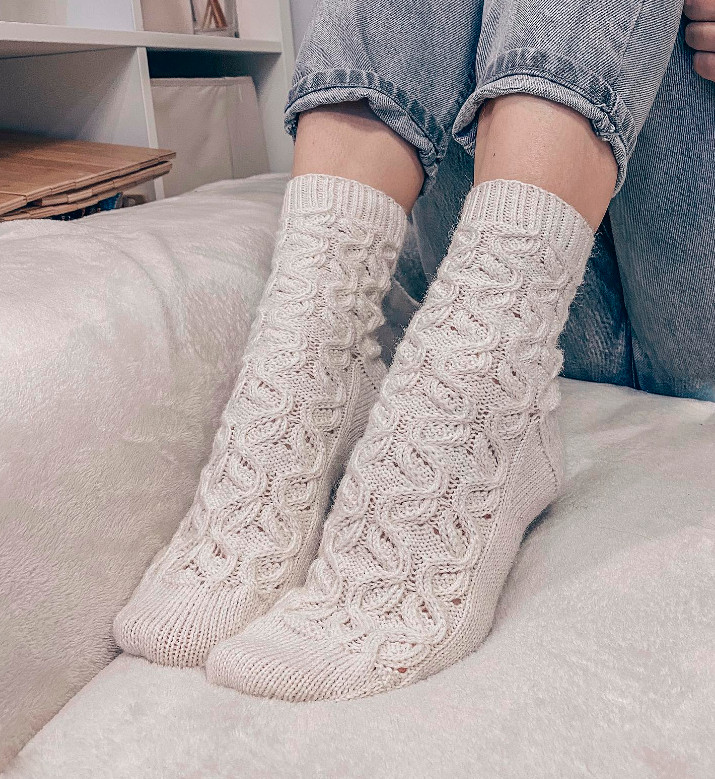
1. First, knit the ribbing to the desired height (photo 1 below).
2. Then mark these 11 central stitches from the others with markers. Next to the markers will be the knit stitches — these will be the ribs (stitches 1 and 11 in the center).
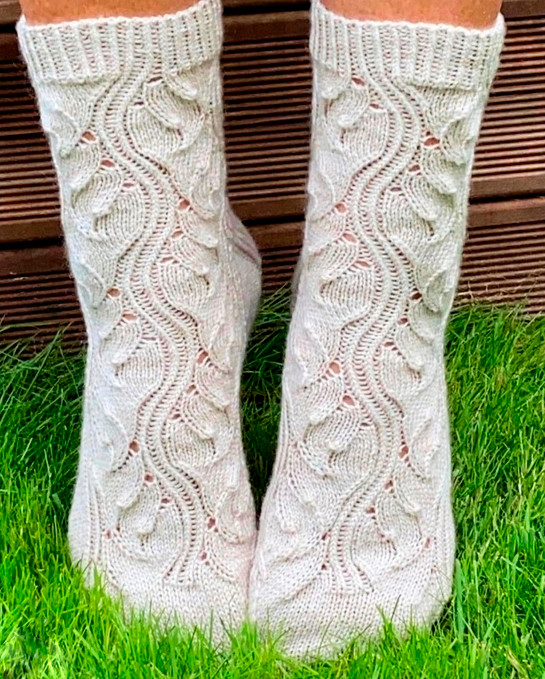
3. And knit the expansion like this: one yarn over on the right and left of the rib stitches (photo 2). Knit the cuff and the leg to the desired height. The "rib" stitches are marked with markers (these are the knit stitches). Scroll
Knit the cuff and the leg to the desired height. The "rib" stitches are marked with markers (these are the knit stitches). Scroll
Yarn overs before and after the rib stitch. Scroll
Knit the cuff and the leg to the desired height. The "rib" stitches are marked with markers (these are the knit stitches). Scroll
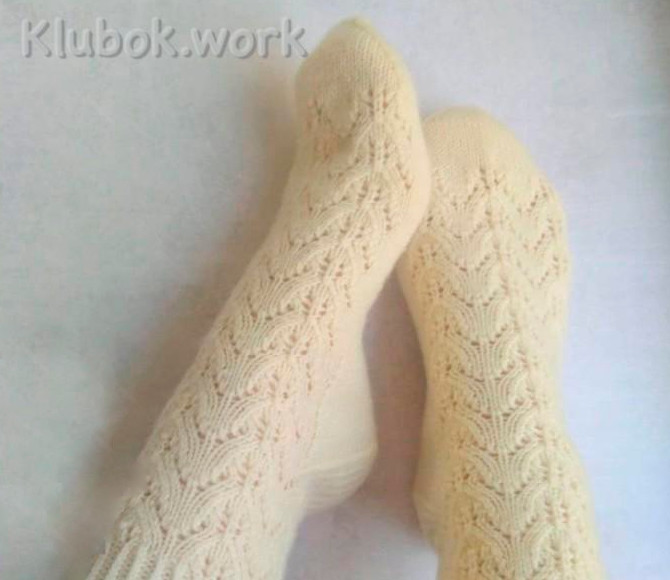
The width of the central part is equal to the width of the front part of the foot.
Knit the cuff and the leg to the desired height. The "rib" stitches are marked with markers (these are the knit stitches). Scroll
To make it look nice, we make yarn overs mirror-like: first towards you, then a knit stitch, then a yarn over away from you (photo 2 above).
So: knit the sides in any pattern, reach the marker, yarn over, knit stitch, yarn over, then knit the center in any pattern (I have ribbing), and at the marker the same: yarn over, knit stitch, yarn over. Finish the second side.

Category: Slippers, socks, knee socks