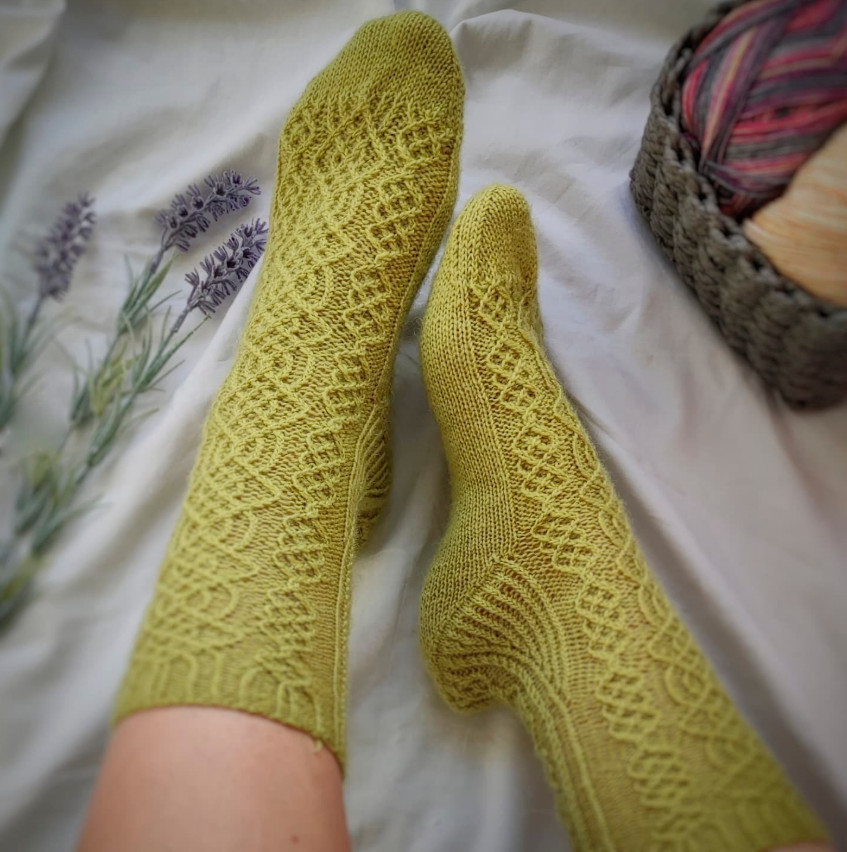
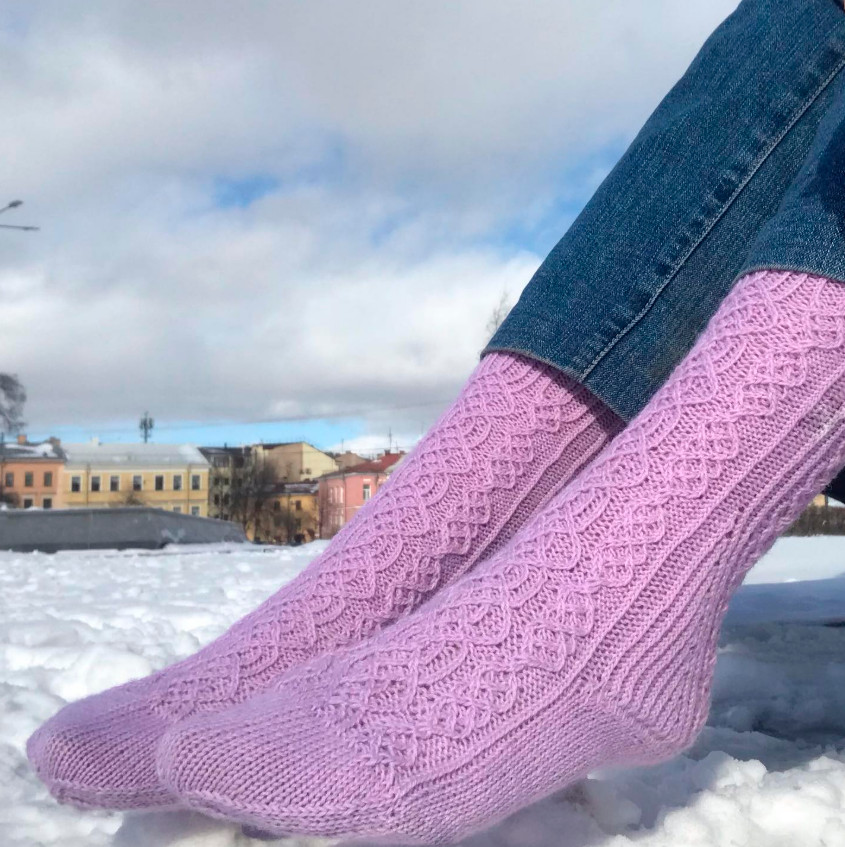
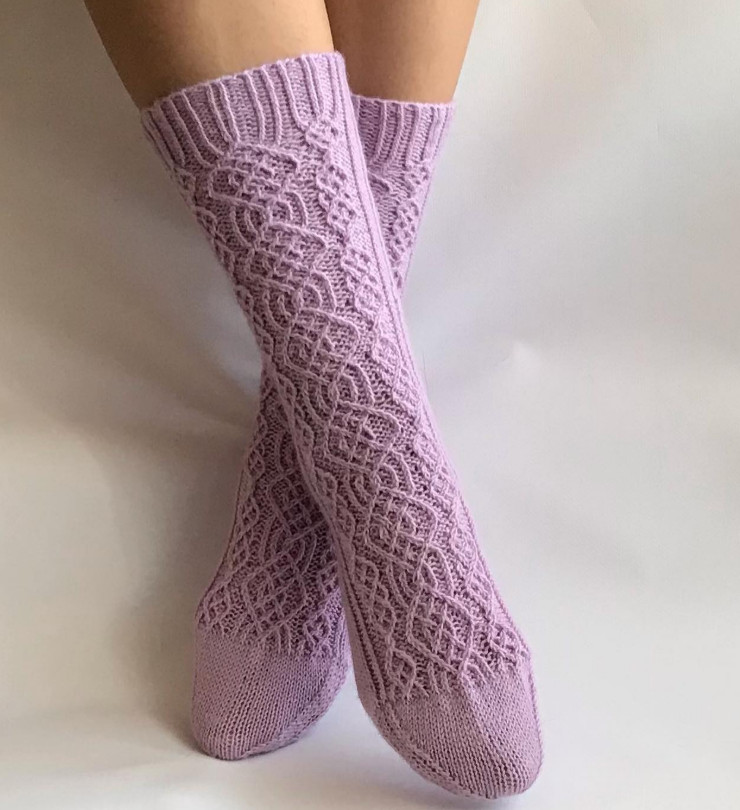
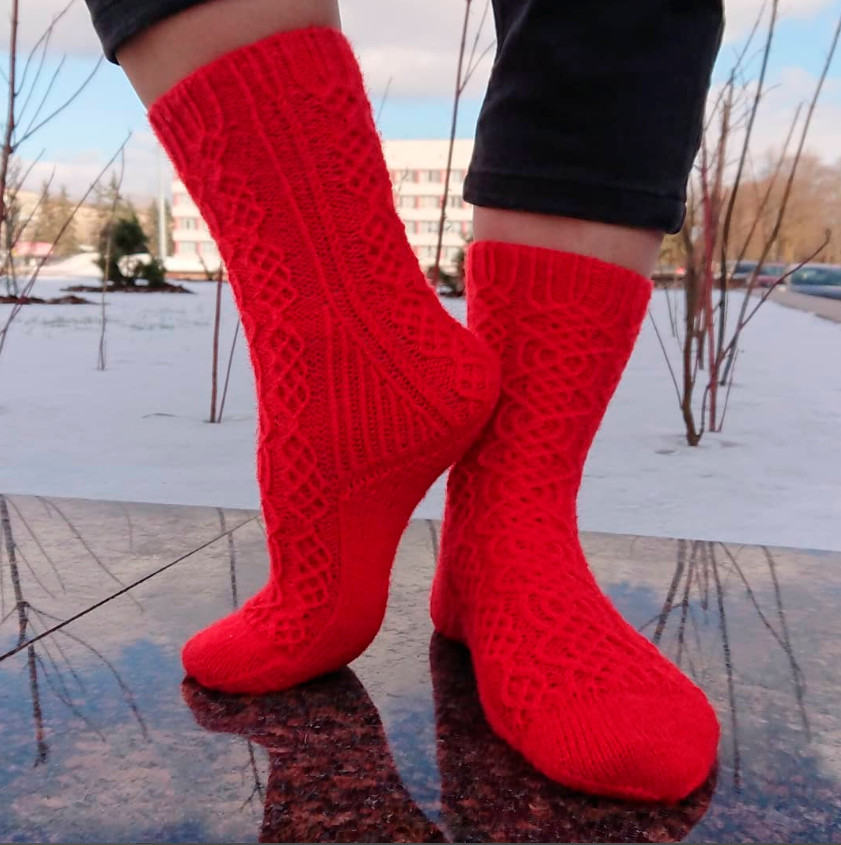
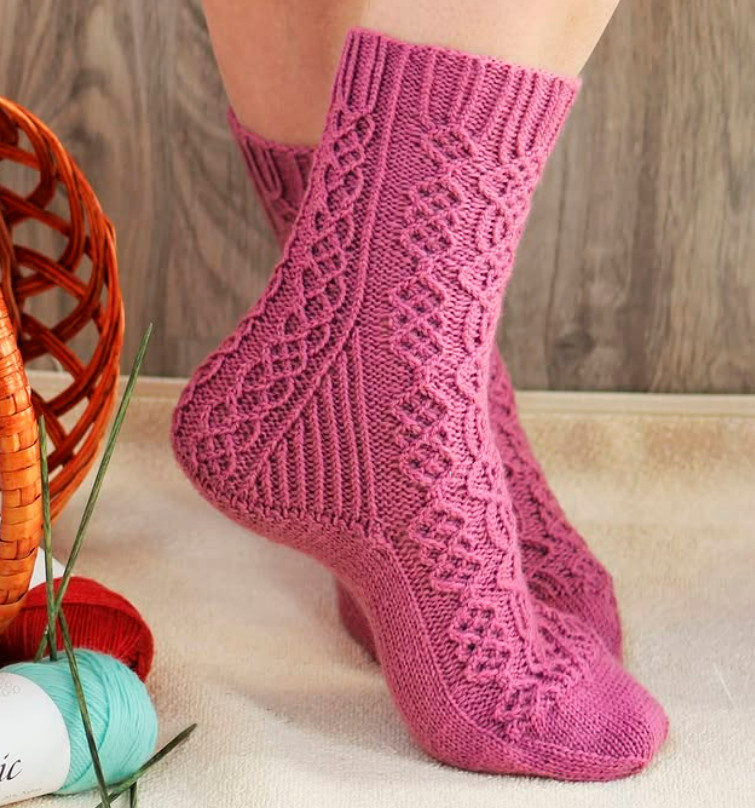
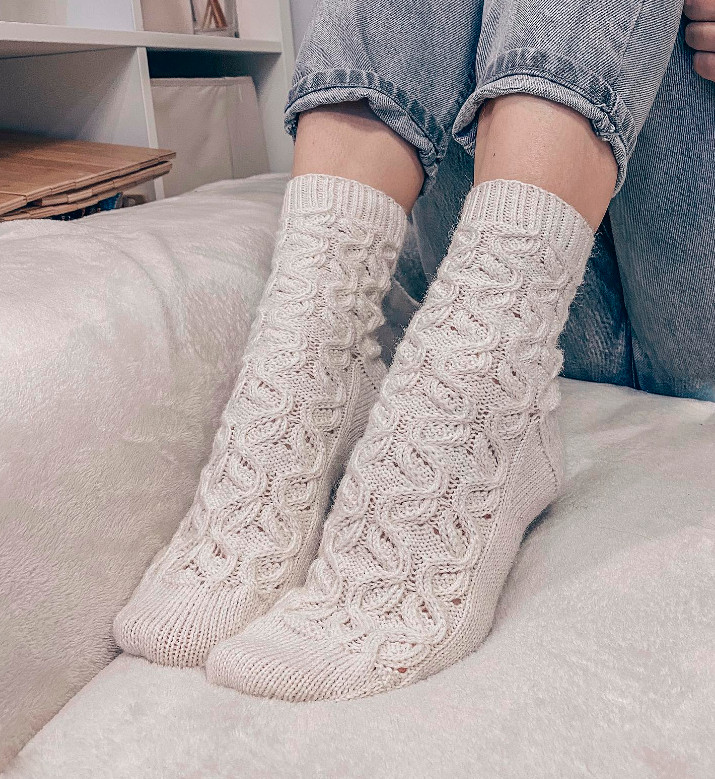
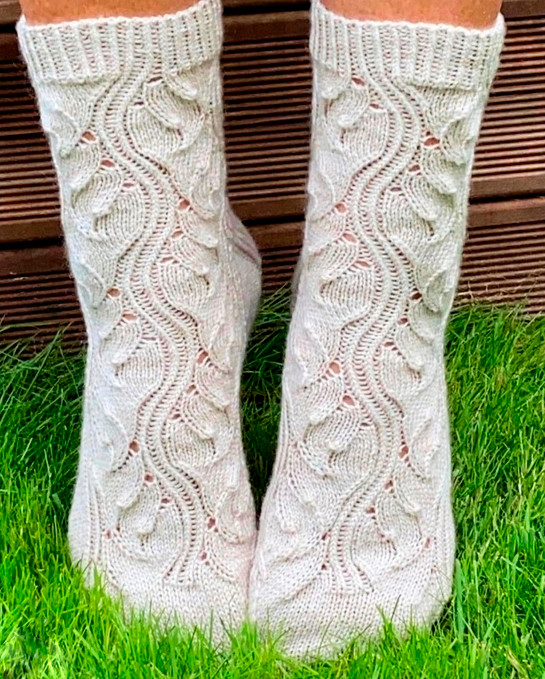
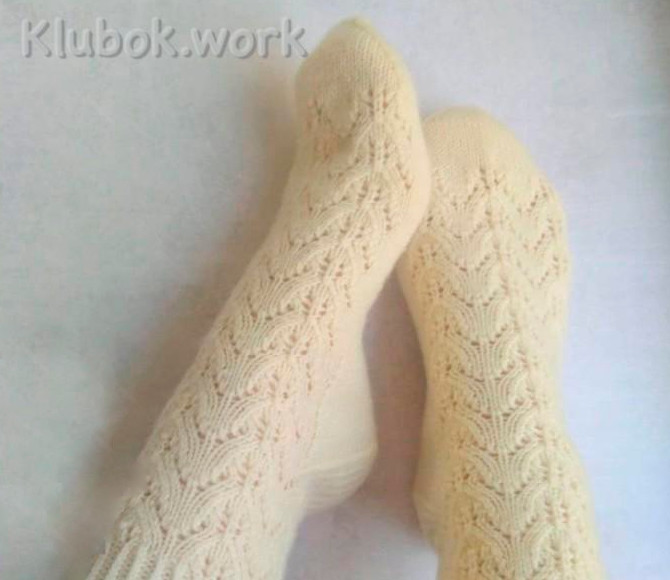
Socks knitted with Aran cables
Added: 17.11.2025 в 18:15 Views: 601
Socks knitted with Aran cablesKlubokhttp://klubok.work/1/53/9308/Klubokhttps://klubok.work/css/image/top-logo-en.png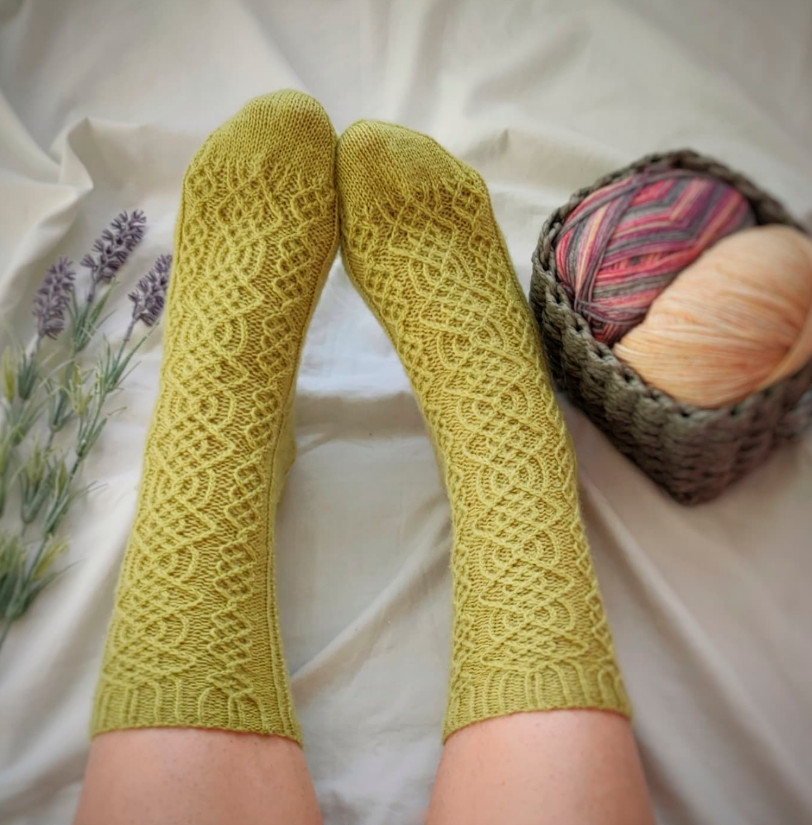
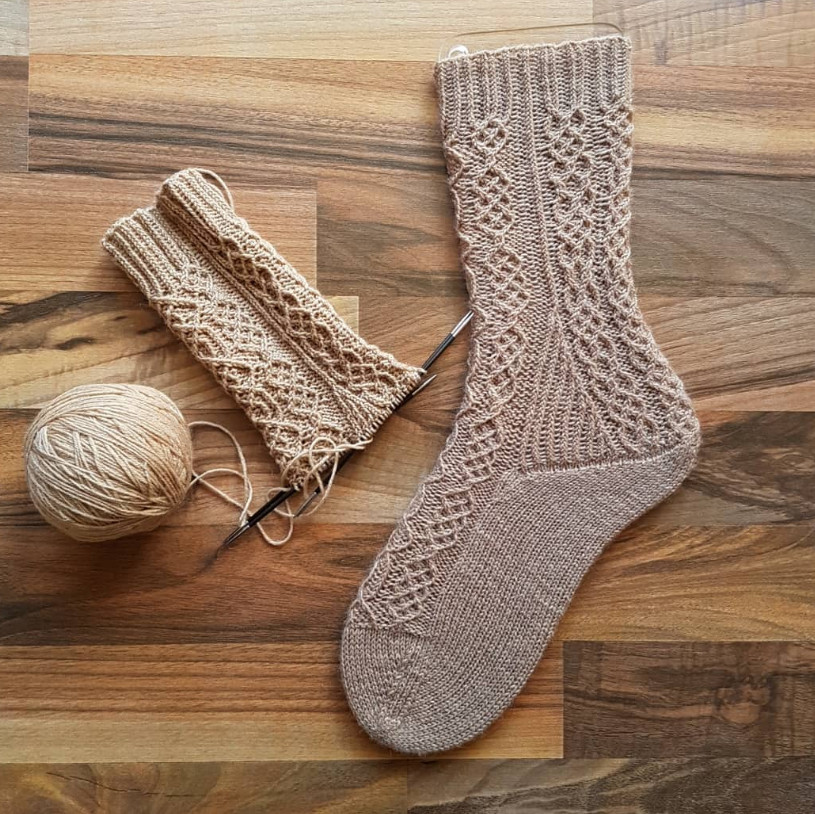
Socks with Aran patterns, knitted from the leg to the toe. Heel construction – Strong.
You will need:
-
65–100 g of sock yarn, 400–420 m per 100 g
-
Needles 2.5 mm, any construction
-
a needle or crochet hook to close off the toe stitches.
Sizes:
There are no specific numbers here; base on your gauge and the ankle circumference. The foot length can be any. Roughly for fullness:
64 sts – women's socks, not full-length leg.
72 sts – men's socks, not full-length, or for a full-length women's sock.
Note that aran patterns made from crossed stitches make the fabric less pliable.
Work steps:
Before starting, determine which pattern you want to knit for the back part of the sock; the front part is the same. Pattern A is placed on needles 1 and 2 – the front part of the sock, Pattern B is placed on needles 3 and 4 – the back part of the sock; for men's and women's socks, Pattern C is placed on needles 3 and 4 – the back part of the sock, suitable only for women's socks.
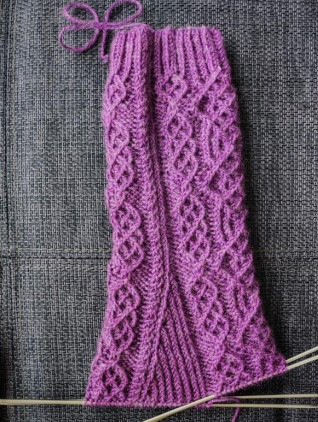
Leg
Cast on 64/68/72 stitches + 1 stitch for joining in the round. Join the stitches and knit in rounds the rib according to your size. On needles 1–2 knit according to rib pattern A, on needles 3 and 4 knit according to rib pattern B or C. Knit a total of 10–14 rounds of ribbing.
All knit stitches in the pattern and in the ribbing are to be worked crossed.
Pattern A ribbing

![]() knit
knit
![]() purl
purl
Pattern B ribbing

Pattern C ribbing

Continue working the leg pattern from Pattern A (for the front part) and B/C (for the back part of the sock). Knit at least 2 full repeats for the leg before starting the heel flap.
Heel
Heel flap
In this model we knit the heel using Strong. Continue working in the round (in pattern), making increases for the wedge on needles 3–4.
Increases for the heel flap and wedge are done as follows:
If you are knitting Pattern B: begin increases for the gusset after knitting the first 6/4/2 rows of the next repeat, that is to start increases on the 7th/5th/3rd row, so that the heel flap ends exactly at the end of the repeat.
If you are knitting Pattern C: begin increases for the gusset after the first 7/5/3 rows of the next repeat, i.e., begin increases on the 8th/6th/4th row, thus the wedge will end when the current repeat ends plus one full repeat plus the first row of the next repeat, so the pattern on the heel will finish nicely.
Make increases as follows:
Row 1: continue the stitches on needles 1 and 2 according to the pattern. Then increases are described the same for patterns B and C.
Needle 3:
-
64 sts: 1 purl, a right-leaning increase into a knit, 1 crossed knit (mark this stitch with a marker; increases will be made along it), then follow the pattern.
-
68 sts: 1 knit, 1 purl, a right-leaning increase into a knit, 1 crossed knit (mark this stitch with a marker; increases will be made along it), then follow the pattern.
-
72 sts: 1 purl, a right-leaning increase into a knit, 1 crossed knit (mark this stitch with a marker; increases will be made along it), then follow the pattern.
Needle 4:
-
64 sts: follow the chart up to the last 2 stitches (knit and purl); work as follows: 1 crossed knit, a left-leaning knit increase, 1 purl.
-
68 sts: follow the chart up to the last 3 stitches (knit and purl); work as follows: 1 crossed knit, a left-leaning knit increase, 1 purl, 1 crossed knit.
-
72 sts: follow the chart up to the last 2 stitches (knit and purl); work as follows: 1 crossed knit, a left-leaning knit increase, 1 purl.
Row 2: stitches on needles 1 and 2 continue in pattern.
Needles 3 and 4: the increased stitches are knit as they look, the aran is continued according to the chart.
Row 3: stitches on needles 1 and 2 knit according to the pattern.
Needle 3:
For all sizes: knit as the stitches lie (all knits are crossed) until the knit stitch marked by the marker; make a right-leaning purl increase, then knit the marked stitch, and continue the aran pattern according to the chart.
Needle 4:
For all sizes: knit the aran according to the chart up to the marked stitch, knit it as a crossed knit (per the chart), a left-leaning purl increase. Then continue to knit all stitches as they face, with the knits crossed.
Continue making increases every other row along the marked stitches on needles 3 and 4, alternating knit and purl increases, so that the wedge forms a nice ribbing.
Make increases the necessary number of times so that on needles 3–4 there are in total 62 / 66 / 70 stitches.
In total, 30 / 32 / 34 stitches will be increased.
Finish the increases stage by knitting a plain row; for Pattern B the increases stage ends at the end of the second repeat, for Pattern C — at the end of the second repeat plus one row.
Part 3
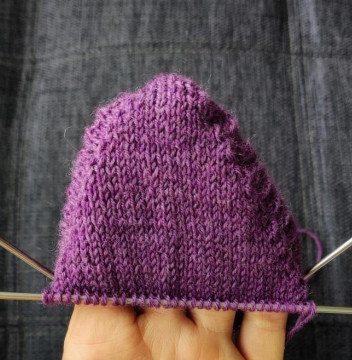
Heel turn
After knitting the last row of the heel wall, turn the work with the wrong side facing you as for knitting a turning row and knit the stitches on needles 3 and 4 purlwise.
Yarn at the beginning of needle 3. Knit the heel according to the “horseshoe heel” method as follows:
1st row: 32/34/36 knit, k2tog, 1 knit, turn the work to the purl side.
2nd row: slip the first stitch, 3 purl, 2 together purl, 1 purl, turn the work to the knit side.
3rd row: slip the first stitch, 4 knit, 2 together knit, 1 knit, turn the work to the purl side.
4th row: slip the first stitch, 5 purl, 2 together purl, 1 purl, turn the work to the knit side.
5th row: slip the first stitch, 6 knit, 2 together knit, 1 knit, turn the work to the purl side.
6th row: slip the first stitch, 7 purl, 2 together purl, 1 purl, turn the work to the knit side
Continue working in a similar fashion: each row increasing by 1 stitch, knit to the place where the stitches seem to diverge (a gap forms between stitches), 2 together, knit 1 more stitch and turn the work.
At the end of all short rows on the needles there will remain 32/34/36 stitches — the original number of stitches.
Knit 1 plain row across all remaining stitches. Leave the yarn between the heel and the start of the pattern on the upper part of the foot (before the first needle).
The heel looks pointed, nevertheless it fits the foot very well, and its depth is just enough to prevent the wedge from puckering and the foot from pulling.
Foot
Continue working in rounds, continuing the upper part of the foot according to the pattern from where you stopped.
Between the heel and the held stitches of the upper part a gap formed to avoid a hole — pick up 1–3 stitches, leaving them with the heel stitches.
The held stitches of the upper part of the sock are to be worked in the pattern. From the gap also pick up 1–3 stitches and knit half of the remaining stitches from the heel.
Now this is the new start of the row — the middle of the foot, the aran motifs are on needles 2 and 3, and the bottom part of the sock is knitted in stockinette, this is needles 1 and 4.
In the following rows the stitches that were picked up along the sides of the heel should be decreased as follows:
Needle 1: knit to the last 3 stitches, 2 together with a left-leaning decrease, 1 knit.
Stitches on Needles 2 and 3: knit as established.
Needle 4: 1 knit, 2 together with a right-leaning decrease, knit to the end.
Repeat decreases in every 3rd row until the picked-up stitches from the gaps are decreased.
The original number of stitches on the needles will remain 64/68/72 stitches.
Knit the foot, repeating the pattern of the upper part aran until the desired length. Finish the aran by knitting the 1st or 10th row of the pattern.
The toe should start approximately at the height of the toenail on the little toe. If after finishing the aran the height is not sufficient, you can knit a few rows of stockinette and switch to the toe.
Toes
Tip: purl stitches when transitioning from the foot to the toe are better worked twisted (that is, as if turning the purl) to avoid holes.
The first row of the toe on needles 2–3 is knitted twisted.
Decreases:
Needle 1: knit to the last 3 stitches, 2 together with a right-leaning decrease, 1 knit.
Needle 2: 1 knit, 2 together with a left-leaning decrease, knit to the end.
Needle 3: knit to the last 3 stitches, 2 together with a right-leaning decrease, 1 knit.
Needle 4: 1 knit, 2 together with a left-leaning decrease, knit to the end.
Next row is knitted without decreases.
Knit these 2 rows until there are 8/8/9 stitches left on each needle. Then perform decreases in every row. When on each needle there are 2–3 stitches left, sew them together with the "loop to loop" seam or pull tight — your choice.
Finish
Secure and weave in all ends. Do a wash-and-block: soak the socks in warm water with wool detergent for about 10 minutes, gently wash, rinse in warm water and dry on blockers of the appropriate size.
Legend
![]() — purl stitch. In the chart, most purl stitches are omitted to make the pattern easier to see.
— purl stitch. In the chart, most purl stitches are omitted to make the pattern easier to see.
![]() — knit stitch.
— knit stitch.
 — 1 stitch left on an extra needle in front of the work, 1 knit, the stitch from the extra needle knit.
 — 1 stitch left on the extra needle behind the work, 1 knit, knit the stitch from the extra needle knit.
 — 1 stitch left on the extra needle behind the work, 1 knit, knit the stitch from the extra needle purlwise.
 — 1 stitch left on the extra needle in front of the work, 1 purl, knit the stitch from the extra needle.
All knits in the pattern are worked crossed!
Chart A
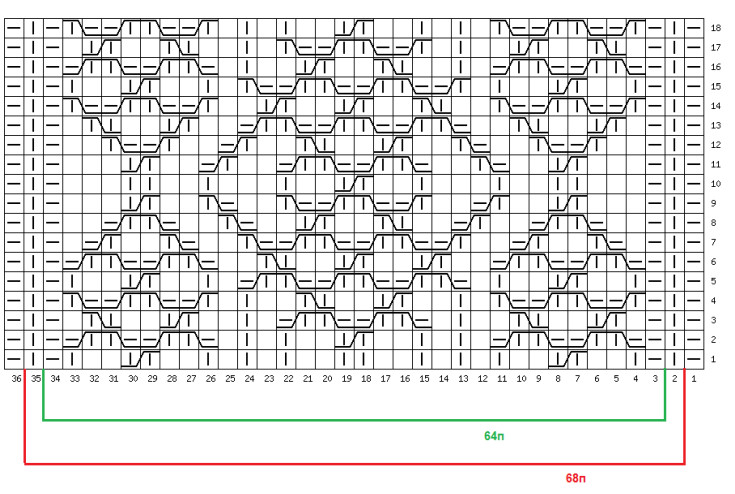
Chart B
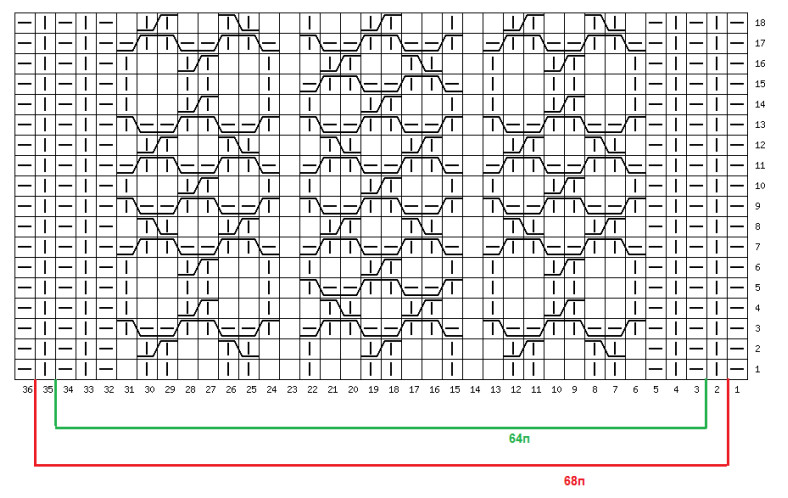
Chart V