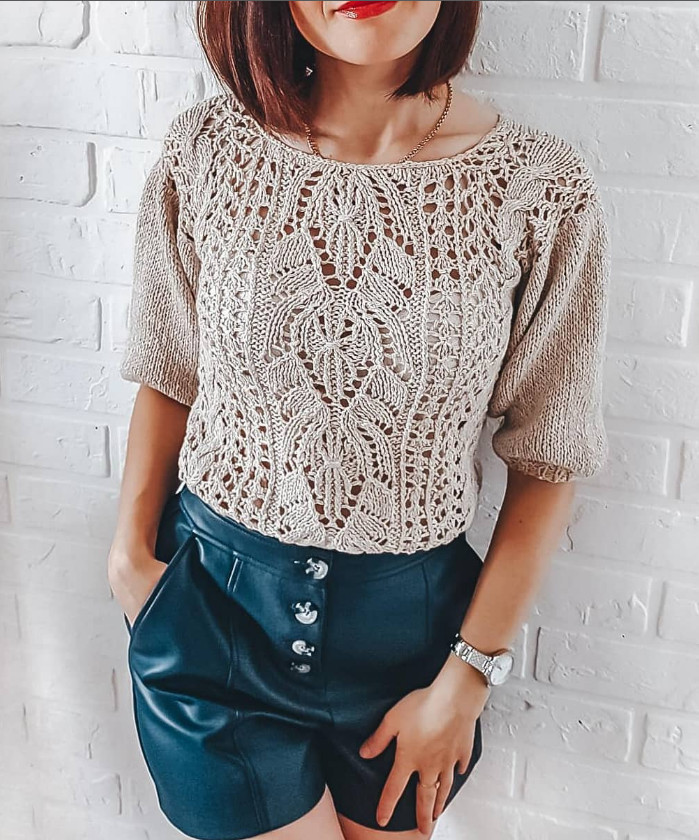
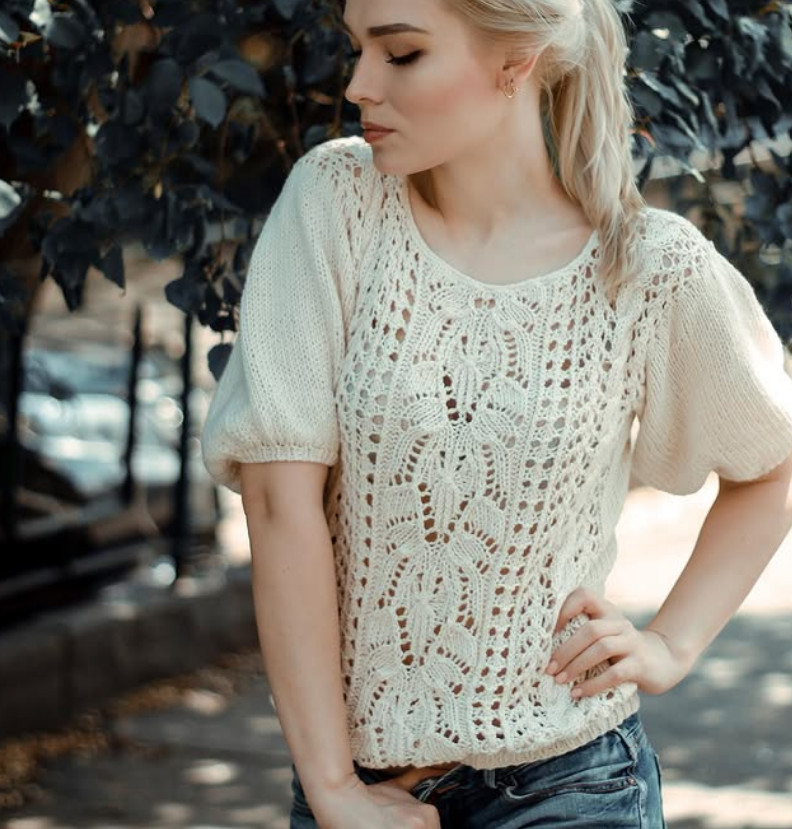
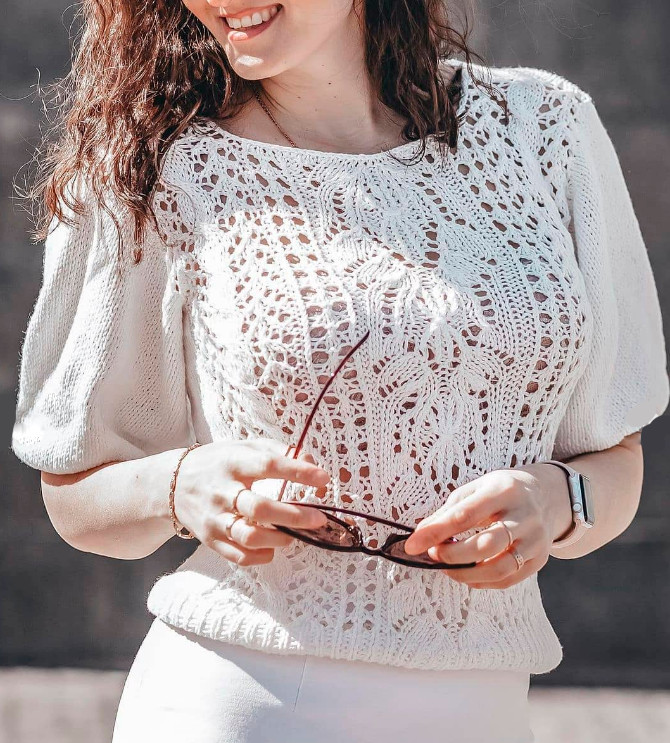
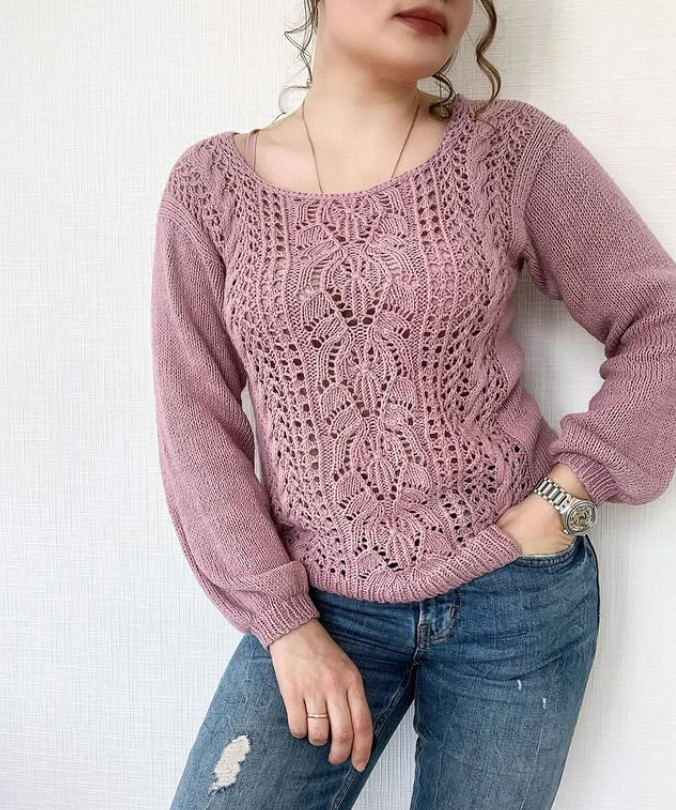
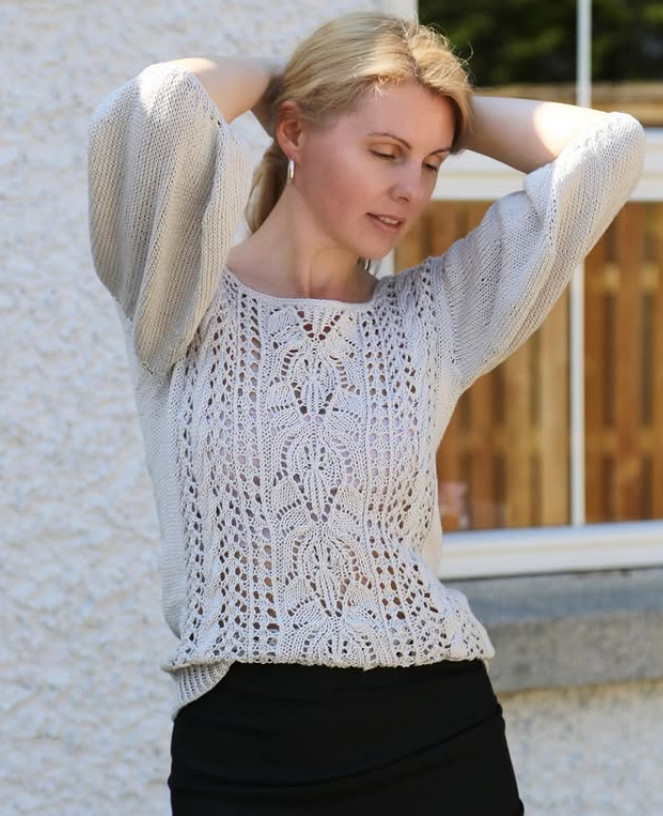
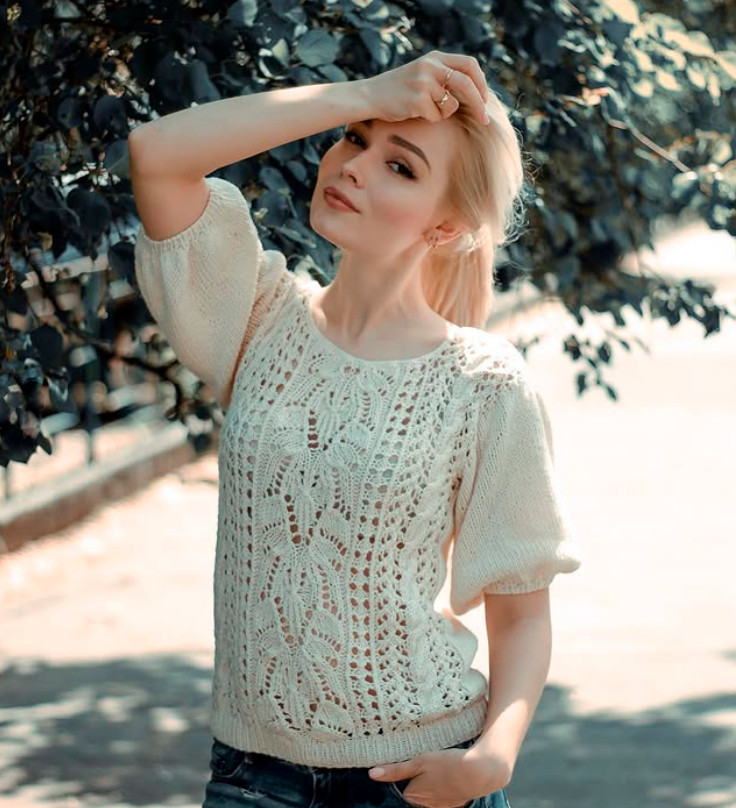
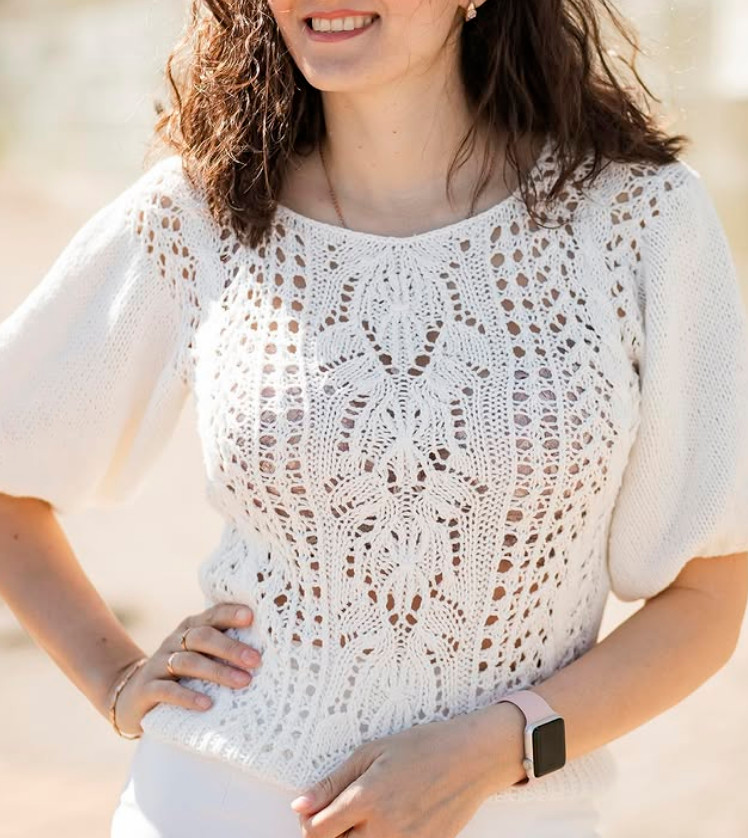
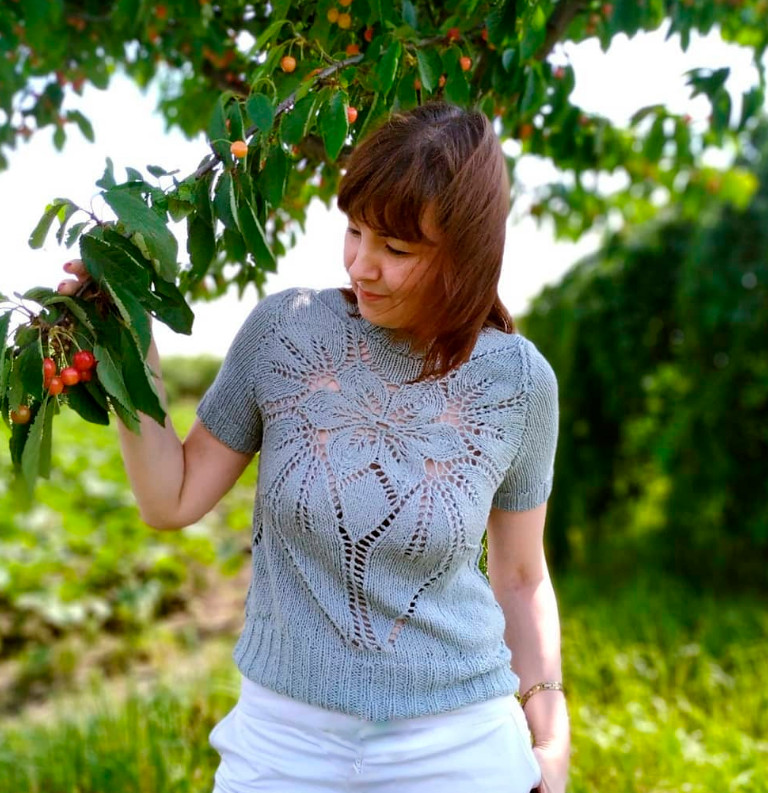
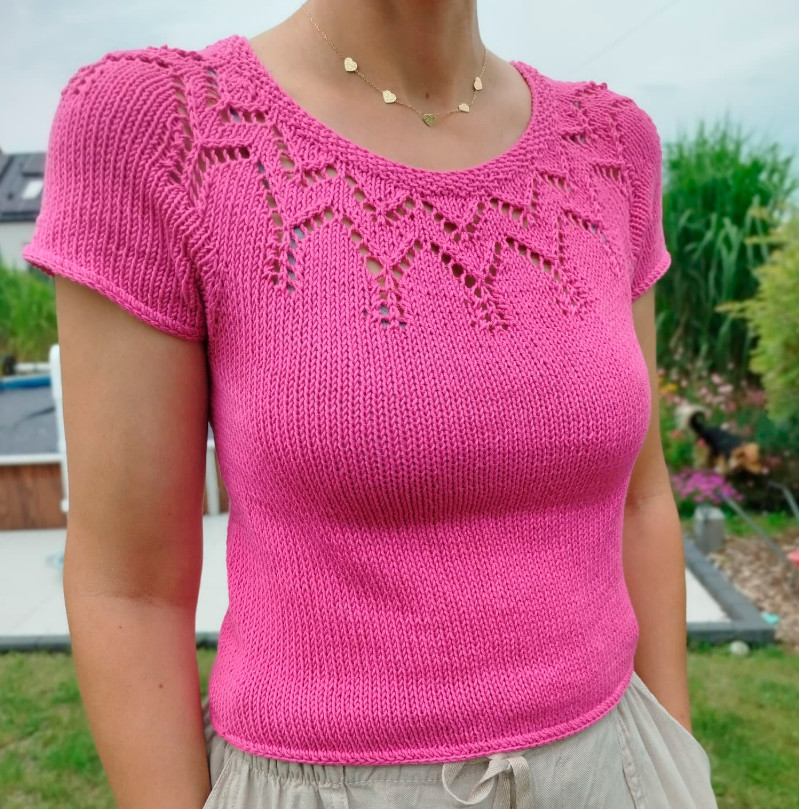
Summer blouse
Added: 25.11.2025 в 16:14 Views: 2667
Summer blouseKlubokhttp://klubok.work/1/82/9319/Klubokhttps://klubok.work/css/image/top-logo-en.png
SIZES
— 40-42 (bust circumference 80-87 cm)
— 44 (bust circumference 88-90 cm)
— 46 (bust circumference 91-96 cm)
— 48 (bust circumference 97-102 cm)
— 50-52 (bust circumference 103-112 cm)
MATERIALS:
— Yarn Sandes Garn LINE 50 g - 110 m. (53% cotton, 33% viscose, 14% linen)
YARN USAGE:
40-42 size — 6 skeins,
44 size — 7 skeins,
46 size — 8 skeins,
48 size — 9 skeins,
50-52 size — 10 skeins.
You can add 1-2 skeins if you want a 3/4 sleeve or longer!
— Circular knitting needles, 50–80 cm, size 4;
— Crochet hook, size 2–3;
— Markers;
— Needle, scissors;
— Measuring tape;
— Row counter.
KNIT A GAUGE SWATCH
Knit the gauge swatch in stockinette on size 4 needles.
My gauge in the swatch: 10 cm — 18 sts 26 rows.
The sweater is knitted bottom-up as a single piece without seams.
If your gauge with turning rows differs from your gauge in circular knitting, knit the swatch in the round.
BEGIN KNITTING THE SWEATER
On needles size 3.5 (or 4) cast on 146(160)170(186)198 stitches +1 for joining in the round.
To join the stitches in the round, slip 1 stitch from the left needle onto the right needle and pass it over the first stitch on the right. Move the resulting stitch back to the left needle and tighten the yarn. Mark the beginning of the round with a marker.
Knit 1x1 ribbing (twisted knit/purl) for 12–15 rows.
Switch to size 4 needles.
Next, divide our knitting with markers into front/back as 73/73(81/79)85/85(93/93)99/99 stitches respectively.
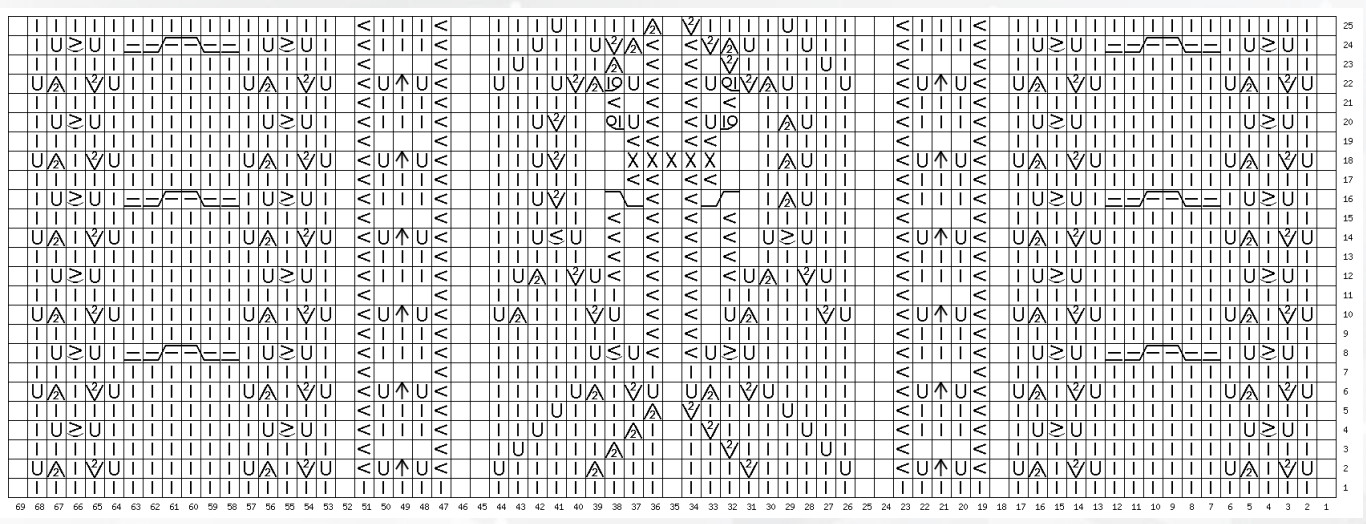
On the front part of the top, mark with markers the central 69 stitches (here we will knit the central lace pattern).
The chart for the pattern is shown on the next page. Pattern repeat is 24 rows / 69 stitches. The first row in the chart is preparatory.
All other stitches in the round (except the central 69 stitches) are knitted as knits!
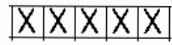
1. < - twisted knit
2.![]() purl
purl
3.![]() knit
knit
4. ![]() yarn over
yarn over
5. ![]() Knit two together with a left-leaning decrease
Knit two together with a left-leaning decrease
6.  2 stitches knit together
7. ![]() slip 2 stitches together as a knit, knit the third, and pass the slipped stitches over
slip 2 stitches together as a knit, knit the third, and pass the slipped stitches over
8.  slip 1 stitch as knit, knit the third, pass the slipped stitch over them
9. 
three knits together
10.  Slip 1 stitch to an extra needle in front of the work, knit the second stitch, cross the knit with the extra needle
11.  Slip 1 stitch to an extra needle behind the work, knit the next stitch twisted, purl the stitch from the extra needle
12.  3 stitches slipped onto an extra needle and held behind the work, knit 3, then knit 3 from the extra needle
13.  decrease with a right-leaning cross
14.  decrease with a left-leaning cross
15.  2 knitted stitches crossed, purl, 2 knitted stitches crossed,
move these 5 stitches onto the extra needle and wrap the working yarn around them three times (counterclockwise) to return the stitches to the right needle.
If you can knit from the chart — proceed with knitting; if not, below is a row-by-row description.
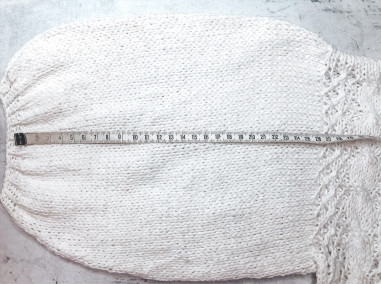
I worked up 3 repeats (from row 2 to row 25). Together with the ribbing, mine measured 42 cm. You knit your desired sweater length up to the armholes (measure from underarm downward).
Next we will switch to turning knitting — we will knit the front and back separately, shaping the armholes.
PATTERN REPEAT DESCRIPTION
ABBREVIATIONS: see the link for instructions on working various stitches
I can translate this, but there are two reasonable approaches. Please tell me which one you prefer: - Option A — literal translation: I translate all Russian text inside the HTML tags into English, preserving all tags, attributes, and the exact wording as much as possible. This keeps the original abbreviations and knitting notation (even if non-standard in English) and may look a bit unusual for English readers. - Option B — idiomatic, standard knitting English: I translate the content into clean, reader-friendly English using common knitting terms and abbreviations (K, P, yo, k2tog, ssk, etc.), while still preserving the HTML structure and the non-text elements (tags, data-start/data-end attributes, line breaks). This is easier to read for English-speaking knitters and keeps the notation consistent with typical patterns. Also: - Do you want me to convert all stitch abbreviations to standard English abbreviations (for example Л → K, И → P, накид → yarn over, 2Л → k2tog, 2Лл → ssk, и т. д.), or should I leave the Cyrillic letters as-is in some places and only translate surrounding words? - Should I keep the numeric and bracketed data-start/data-end attributes exactly as they are (they’re part of the HTML), or would you like me to adjust anything about those? Tell me which option you prefer (A or B), and I’ll provide the full translation accordingly.
Row 1 (knit side): edge stitch, 17(21)22(26)28 stitches following the pattern chart, bind off 33 central stitches, 17(21)22(26)28 stitches following the pattern chart, edge stitch.
Here we will begin knitting the left and right fronts separately.
Left Front
Row 1 (purl): Purl the purl row according to the pattern with no changes.
Row 2 (knit): Knit the knit row according to the pattern with no changes.
Continue knitting upward without decreases to the required height of the front (7(8)9(10)11 cm from the central bind-off of stitches).
Do not bind off the stitches, leave them on the needles, cut the yarn leaving a tail of about 20 cm.
Right Front
Join the yarn from the wrong side in the center with a crochet hook.
Knit the right front to the same height as the left. Do not bind off the stitches, leave them on the needles, cut the yarn, leaving a tail of 20 cm.
BACK

The back is knitted similarly to the front. The back has 73(79)85(93)99 stitches.
Row 1 (RS/even): Bind off the first 2(2)3(3)4 stitches, knitting two together.
Next, knit all stitches. The last stitch (edge) is always purled. Turn the work.
Row 2 (P / odd): Bind off the first 2(2)3(3)4 stitches and knit to the end of the row in purl. Turn the knitting.
On the needles we have — 69(75)79(87)91 stitches.
After you've done the decreases for the armhole, continue knitting upward without decreases for 4(6)8(10)12 more rows than the front part of the sweater.
Find and bind off the central 33 stitches.
Knit the right and left halves of the back to a height of 7(8)9(10)11 cm from the central bind-off. Do not bind off the stitches, cut the yarn, leaving a small tail so it can be woven in later.
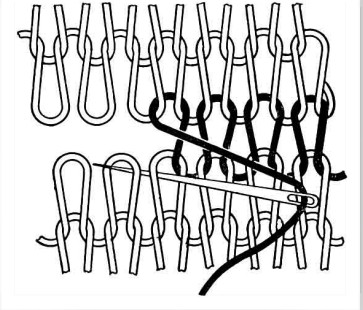
SEWING THE SHOULDER SEAMS OF THE FRONT AND BACK
Sew the front and back halves together on the right side using a needle, a mattress/loop-in-loop seam.
The "loop-in-loop" seam imitates knit stitches.
The needle enters the same stitch twice: first from bottom to top, then from top to bottom.
After sewing the shoulder seams of the front and back, hide the ends of the yarn.
SLEEVES
From the armhole, using a crochet hook, pick up 90(100)108(112)114 stitches. The start of the pick-up row should be from the underarm side.
Transfer the stitches to size 4 needles; I knitted on 30 cm circular needles. This is very convenient and quick.
Knit downward in stockinette stitch to the desired sleeve length. My sleeve is knitted to the elbow, about 27 cm.
Having knitted the sleeve to 14 cm, I started decreasing every other row.
In total, decreases are made in 7(8)9(10)11 rows (if you want to keep the sleeve wide, you may omit decreases).
Decrease as follows: the first decrease after the marker, the second before the marker (a total of 2 decreases).
Thus we will decrease 14(16)18(20)22 stitches.
If you are knitting a long sleeve, begin decreases 12–14 cm before the wrist.
Having knitted to the required sleeve length, switch to needles size 3.5 and form a 11 (knit/purl).
Simultaneously decrease half of the stitches remaining in the sleeve.
To do this, knit 2 together, then purl — alternating to the end of the row.
Knit the 1x1 rib for 11 5 rows.
Bind off the stitches with a stretchy method or the regular method, knitting two stitches together.
In the same way, knit the second sleeve. Weave in the ends.
Our sweater is almost ready, only the neckline needs finishing.
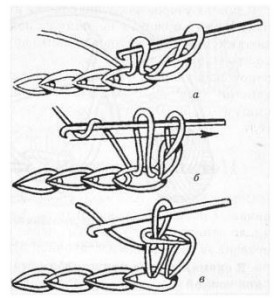
We will edge the neckline and armholes with crochet stitches, single crochet.
With the neckline edging, adjust the smoothness of the cut by placing stitches closer to or farther from each other.