English rubber band
Added: 19.12.2015 в 21:51 Views: 55811
English rubber bandKlubokhttp://klubok.work/1/89/6033/Klubokhttps://klubok.work/css/image/top-logo-en.png


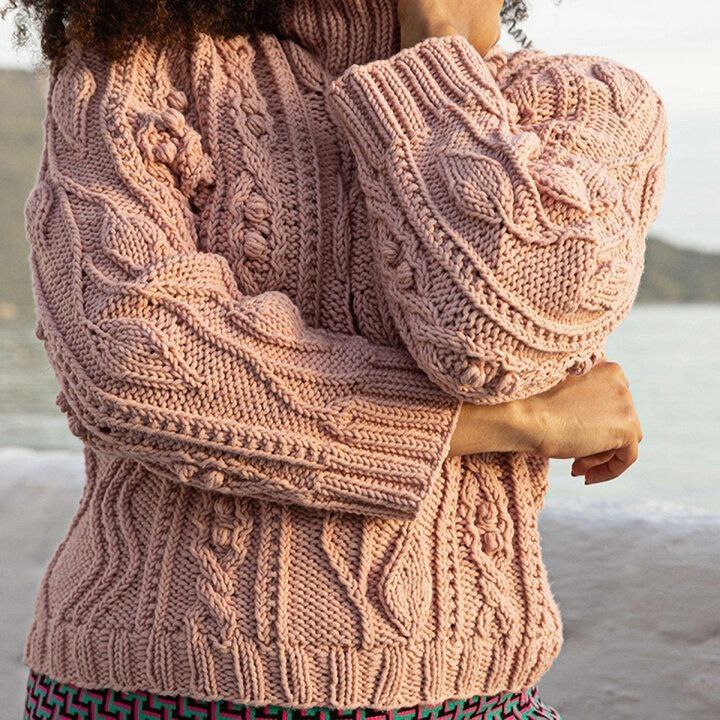
It is very easy to learn this, and such a pattern can be used when knitting a variety of items: scarves and hats, sportswear, jackets, and pullovers. Children's items knitted with English ribbing turn out especially well: voluminous and dense, yet lightweight due to the many holes, as in lace patterns.
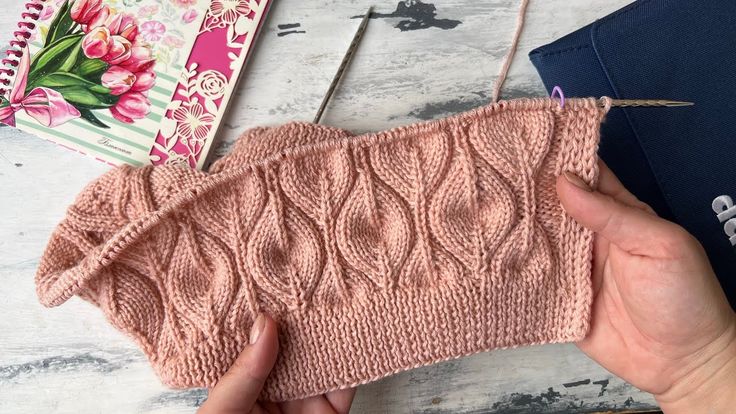
So, English ribbing: how to knit this simple, effective, and very popular pattern, which can also come in different types? Traditional or classic English ribbing To start, it is necessary to knit a sample to calculate the number of stitches. When knitting English ribbing, this is especially important, as the fabric turns out very fluffy and stretches easily. In classic English ribbing, the front and back sides of the fabric look absolutely identical. To achieve this effect, we knit the first row by alternating one knit and one purl stitch. In the second row, after the slipped edge stitch, we knit: one knit, one yarn over, one purl. Note: knit stitches are knitted over knit stitches (as per the pattern), purl stitches over purl stitches, and yarn overs between them. All subsequent rows (both even and odd) are knitted the same way: we make a yarn over, slip the knit, and purl the purl from the previous row.
Half-English or half-patent ribbing In half-English ribbing, the pattern on the front and back sides turns out to be slightly different. From the front – smoother, from the back – more textured. We cast on an odd number of stitches (plus two edge stitches). First row. We knit a knit stitch, make a yarn over (needle towards us), and slip the next stitch purlwise (the working yarn stays behind the work, that is, at the back of the stitches). We knit the entire row this way until the end. Note that in this row, the working yarn always stays on the back side of the fabric (behind the stitches). Second row. We start it with a yarn over (needle towards us). Then we slip one stitch (the one that was knit in the first row) without knitting (as in the previous row, the yarn stays behind the work). Next, the slipped stitch and the yarn over from the first row are knitted together as one knit stitch. And we knit the entire second row this way: one yarn over, one slip stitch, one stitch and yarn over together knit. Third row. Its knitting is similar to the second row: we knit the stitch and yarn over from the second row together as one knit stitch, make a yarn over, and slip the stitch without knitting. Make sure that the yarn always stays behind the work. Then we knit all even rows like the second, and all odd rows like the third.
Colored English ribbing To create a double-sided and multicolored fabric, circular needles or long straight needles with two working ends (like sock needles) are used. It is clear that for such ribbing, two balls of yarn in different colors are needed. To knit colored English ribbing (for example, with dark and light yarn) with vertical stripes, you need to cast on an odd number of stitches. The principle of knitting is the same as in classic English ribbing, except all odd rows are knitted with dark yarn, and all even rows with light yarn. First row (dark yarn): one knit, one yarn over, one slip. Second row (light yarn): one yarn over, one slip, one knit together with the yarn over. Third row (dark yarn) we shift the knitting to the opposite side, knit: yarn over together with the stitch as one purl stitch, one yarn over, one slip. Fourth row (light yarn): one yarn over, one slip, yarn over together with the stitch as one purl stitch. Fifth row (dark yarn): we shift the fabric to the other side, knit: yarn over together with the stitch as one knit stitch, one yarn over, one slip. Then we repeat the knitting from the second row.
To obtain colored English ribbing with horizontal stripes, we knit the classic version: two rows with one color, two rows with another. This way you will get narrow stripes (one stitch wide of English ribbing). For wider stripes, you need to knit more rows with one color, but always an even number of rows. By the way, for colored stripes, you can use not just two, but many more colors, and the stripes can be of varying widths. Thrifty knitters manage to create truly exclusive items from leftover multicolored yarn!
Helpful tips 1. If you are combining English ribbing with other patterns, do not forget about the different densities of the resulting fabric. 2. Items knitted with English ribbing can stretch significantly after washing. Therefore, dry them only laid flat on a horizontal surface. 3. Do not use English ribbing for finishing the edges of items (sleeves, fronts, necklines). 4. The thicker the needles you use for knitting, the more the English ribbing will stretch. 5. Keep in mind that due to the corrugated structure of the fabric, clothing knitted with English ribbing can emphasize both the advantages and disadvantages of any figure. 6. Before knitting English ribbing with needles, be sure to knit a sample to correctly calculate the required number of stitches. Otherwise, you risk getting an item several sizes too big. Try this knitting method invented by meticulous English knitters – the result will pleasantly surprise you!