Knitting with needles in patchwork technique
Added: 13.06.2016 в 04:09 Views: 326967
Knitting with needles in patchwork techniqueKlubokhttp://klubok.work/1/89/6430/Klubokhttps://klubok.work/css/image/top-logo-en.png

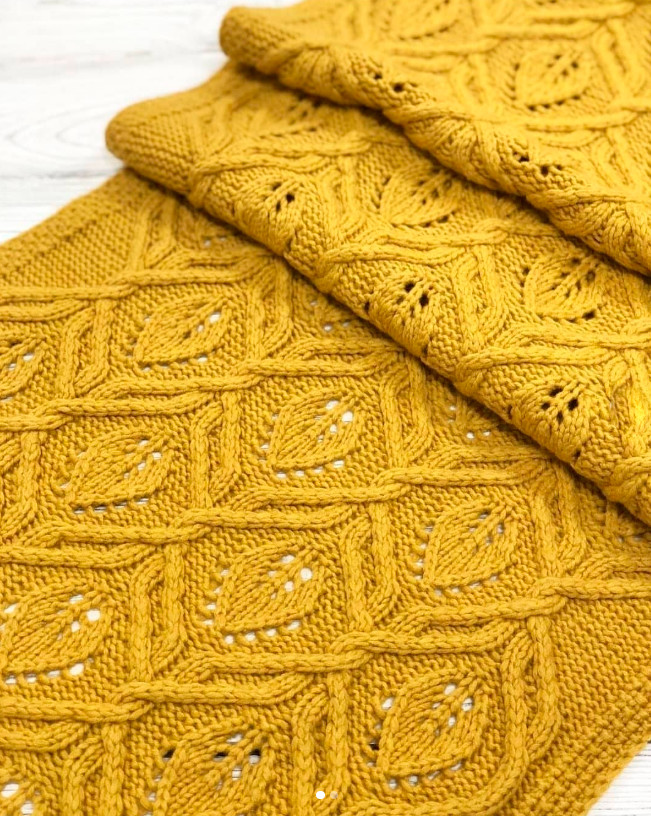
Even the most novice knitter can knit in this technique, it is enough to know how to knit knit and purl stitches.


Work by Tatiana S.
Author of the master class: NatalkaPl
Even the most novice knitter can knit in this technique, it is enough to know how to knit knit and purl stitches.
So, for knitting we will need yarn, you can take leftovers: different skeins, just match them by color and circular needles.
To knit one square, we cast on 22 stitches, 11 on each side.
First row: knit 10 stitches knit, knit the 11th and 12th stitches together knit, and knit knit to the end of the row.
Important! We always knit the first stitch knit, and slip the last one purl (yarn in front of the work), without knitting!
This is necessary so that when we knit in colored stripes, the first stitch does not shift in the row according to the color.
The purl row is knitted knit, Don't forget — the first stitch is knitted knit, the last is slipped without knitting, yarn in front of the work.
Next, in each knit row, we knit the central three stitches together until there is one stitch left on the needle.

The small square is knitted.
Now let's see how to knit half of the large square.
For this, we need to cast on 44 stitches.
Knit 1 row 10 knit, two together knit, 20 knit, two together knit, knit to the end of the row. Don't forget — slip the last stitch purl. Purl rows are knitted knit. Next, in all knit rows, we knit three stitches together where we knitted two together in the first row.

The last piece — three quarters of the square is knitted in the same principle.
For it, cast on 66 stitches.
First row: 10 knit, two together knit, 20 knit, 2 together knit, 20 knit, 2 together knit, knit to the end of the row. Slip the last stitch purl.

These are the three basic elements when knitting patchwork with needles. It is from them that all patterns are formed. Next, I will show how they are joined together.
So, let's start joining our pieces into a single piece of fabric.
From the edge of two squares, we lift 22 stitches — 11 from one and 11 from the other. And we knit the third square just like the previous ones.
Ready!
If you need to knit a square on the side, and we only have one edge, then we lift stitches from the edge (11 stitches) and cast on another 11 stitches on the needle.

Thus, we knit a piece of the desired size.
Other elements are joined into the fabric according to the same principle.
You can connect elements of different sizes, arrange them in different orders — it's all just your imagination.
To make it easier to work, I recommend first making a sketch on paper and drawing the layout of your pieces on it.
and another knitting option.

Patchwork with needles is most often knitted from square motifs.
The first option - crafters knit motifs, and then form products, not using any schemes.
The second option - squares are not sewn, but connected during the knitting process. To execute knitting in this technique, the crafter must know how to cast on stitches, knit knit stitches and make decreases.
1. First, you need to choose the yarn. It is best if the yarn is of the same type. The number of yarn colors is chosen at your discretion.
2. Cast on 21 stitches on the needles and knit garter stitch: knit and purl rows - knit stitches. Form the edges of the squares with knots, for this at the beginning of the row slip the edge stitch without knitting, yarn behind work, knit the edge stitch at the end of the row.

3. In every 2nd row, make decreases, knitting three central stitches together (swap the second and first stitches, the second stitch on top, then knit 3 stitches together).

4. In the last row of the square, knit the remaining 3 stitches together, cut the yarn and secure it.

5. Next, proceed to knitting the second square. For this, cast on 11 stitches along the edge of the first square, then cast on another 10 stitches (using the working yarn to make chain stitches on the needle).

6. Knit garter stitch, make decreases in every 2nd row, as in the first square.

7. Knit the remaining 3 stitches together, cut the yarn and secure it.

8. Knit the third square as the second.

9. Knit the first row of squares to the desired width of the product, casting on and decreasing stitches as indicated in the second square.

10. After knitting the first row of squares, move on to knitting the second row of squares. For this, cast on 10 stitches on the needle (using the working yarn to make chain stitches on the needle), 1 stitch from the corner and 10 stitches along the top side of the first square.

11. Knit garter stitch and make decreases as specified in the previous squares. In the last row of the square, knit the remaining 3 stitches together, cut the yarn and secure it.

12. To knit the second square of the second row, cast on 10 stitches along the side edge of the first square of the second row, 1 stitch from the corner and 10 stitches along the top edge of the second square of the first row.

13. Then knit all the other squares, casting on and decreasing, like the second square of the second row.

14. Next, knit the 3rd, 4th, 5th, 6th, and so on rows of squares according to the principle of the second row of squares.