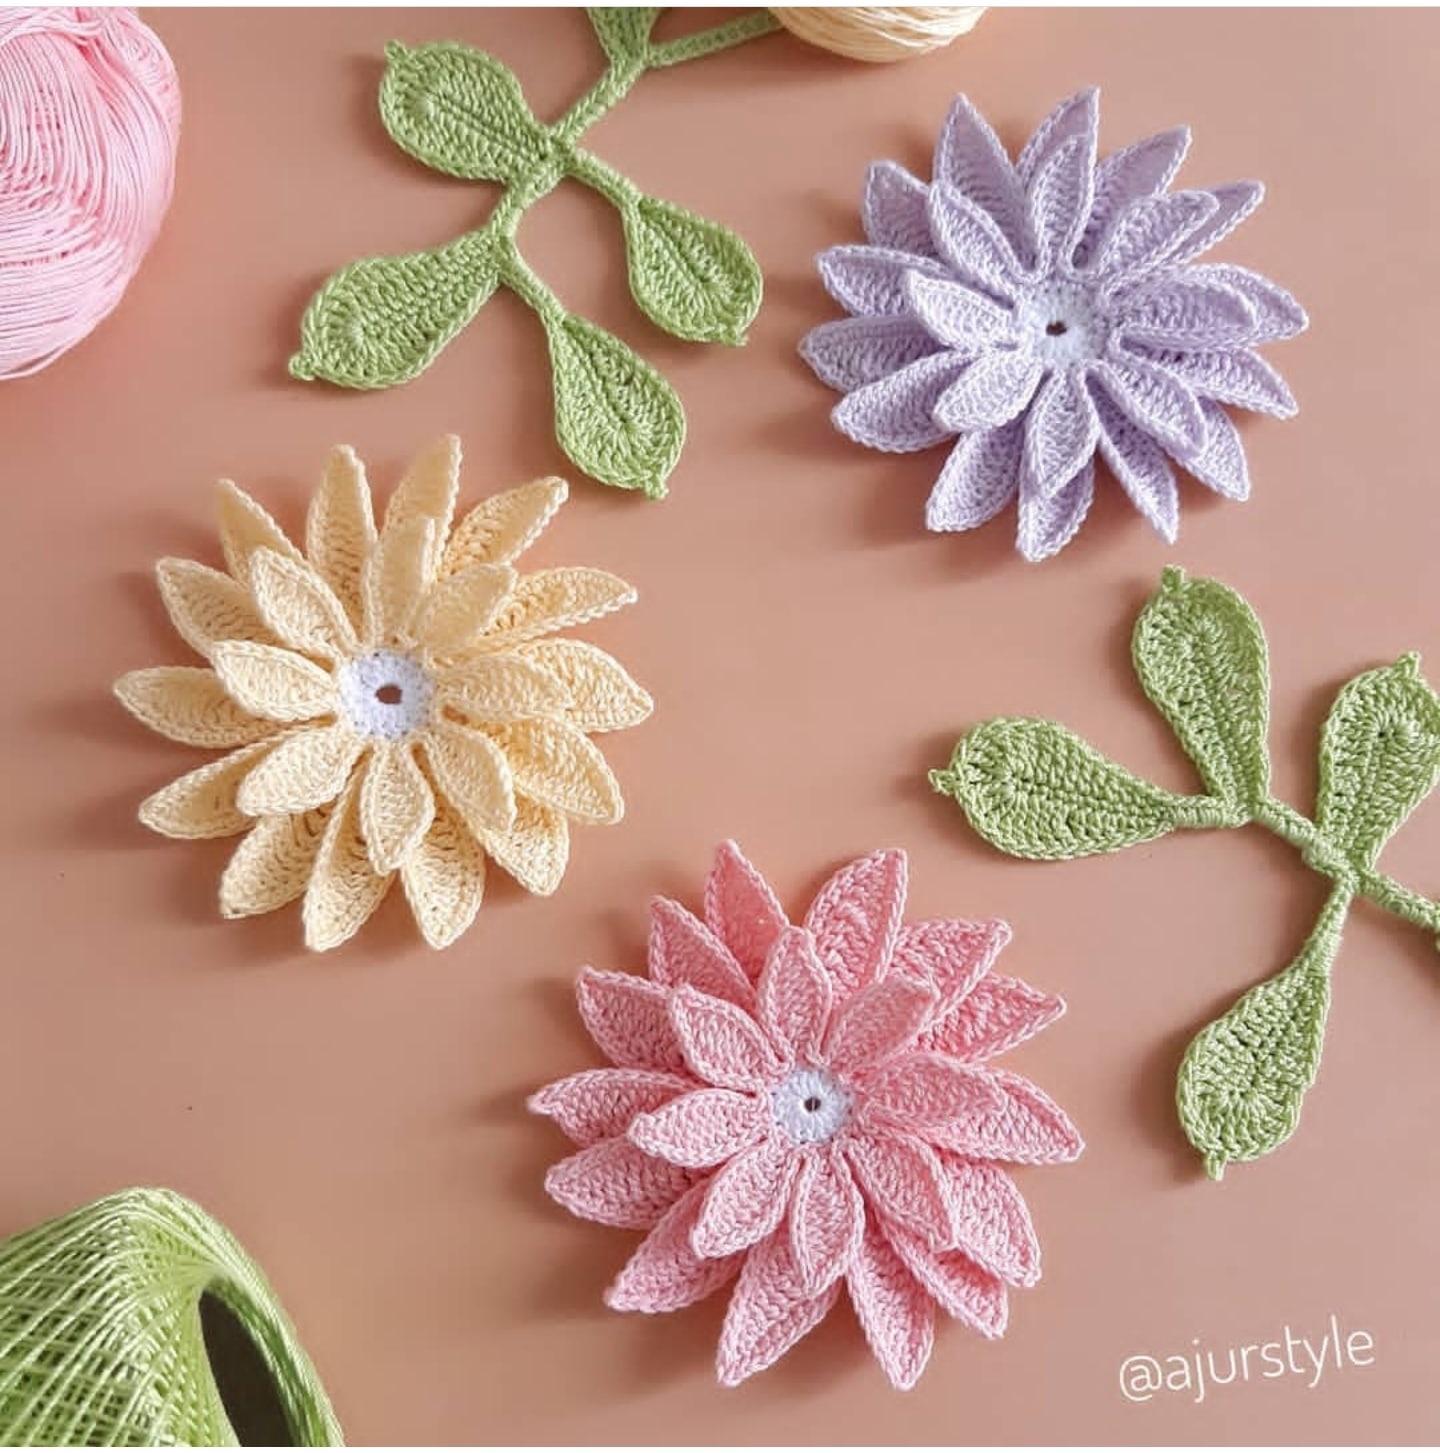
Iris crochet: description
Added: 23.02.2016 в 12:35 Views: 135188
Iris crochet: descriptionKlubokhttp://klubok.work/2/199/6235/Klubokhttps://klubok.work/css/image/top-logo-en.png
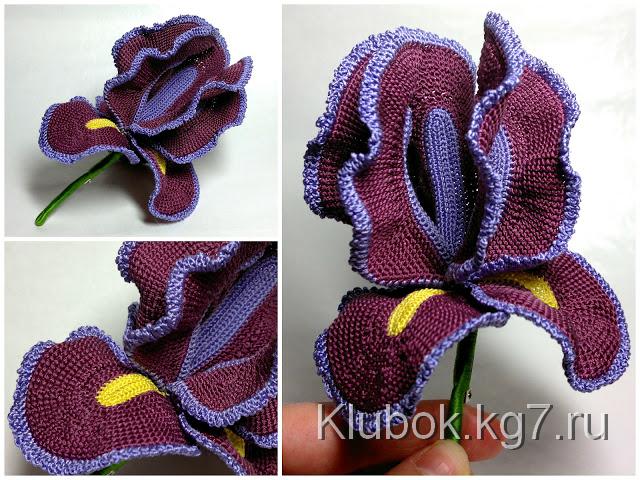
Great master class on crocheting an iris.
The iris is crocheted with a 0.5 mm hook using thin silk threads in three strands. It's convenient to rewind the threads from spools onto plastic bobbins for embroidery floss in advance.

For the outer petal, chain 22 stitches with yellow yarn. Starting from the third chain from the hook, crochet 20 single crochets to the end. Turn the work: crochet 20 single crochets, then crochet 3 single crochets into the chain from the end of the piece, then crochet 20 single crochets. Turn the work: crochet 20 single crochets, then 3 times 2 single crochets into one stitch, then 20 single crochets. Turn the work; place wire along the edge and crochet around the piece with single crochets (it should result in 46 stitches). Attach the burgundy yarn. Crochet 1 single crochet. Then continue crocheting using the Tunisian technique (photo 2). In the foundation row, the last stitch — the edge stitch — is pulled from the stitch of the yellow piece. In the return row, all stitches are worked in pairs. At the beginning of each foundation row, after the edge stitch and the first Tunisian stitch, an increase is made by pulling a stitch from the horizontal bar between the stitches of the previous row. Increases stop when there are 12 stitches on the hook, including edge stitches (photo 4). The next row should be worked in short rows (photo 5, 6): in the foundation row, do not pull stitches from the last two stitches, in the return row, make the first stitch as a single, and work the rest in pairs. Alternate full and short rows.

From the end, crochet 4 wedges. Each wedge is crocheted as follows: a short row of 9 stitches, then a short row of 6 stitches, then of 3 stitches, of 6 stitches, of 9 stitches, and finally a full row (photo 9, 10). The left part of the petal is crocheted symmetrically. 12 rows before completion, at the beginning of each foundation row, a decrease is made by pulling a stitch from two Tunisian stitches at the same time. From the front side, attach the lilac yarn, place wire along the edge of the petal, and crochet the piece with picots (photo 15-18).

The picot edging row is not shown in the diagram.

For the inner petal, chain 32 stitches with lilac yarn. Otherwise, it is crocheted similarly to the outer petal. The wedges are executed slightly differently: refer to the diagram.


For the base of the stem, take 15 cm of thick wire, twist a spiral at the end with an inner diameter approximately equal to the thickness of all the wire and thread ends coming from the three inner petals (photo 37, 38). Thread these wires/threads inside the spiral (photo 40). Position the petals with the right side facing out. Start wrapping the stem with green yarn (photo 41). Attach the outer petals one by one (photo 42, 43), and the base for the brooch (photo 44, 45).

At a height of one and a half to two centimeters after the clasp, bend the stem to form a loop, and continue wrapping in the opposite direction. When you reach the base of the petals, secure the yarn.

The clasp should be attached higher than shown in the photo: almost immediately under the petals. If the clasp is positioned low, the flower swings, especially on thin fabric.
Good luck!