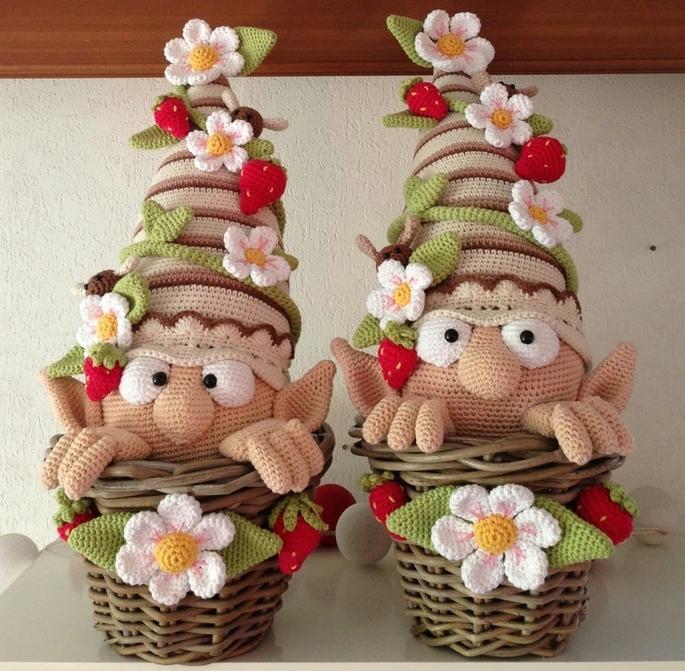
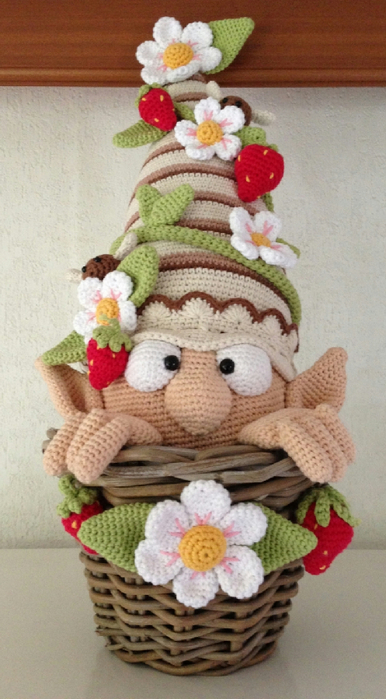
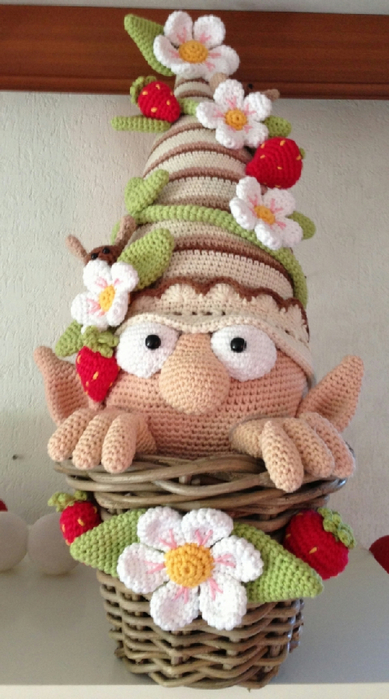
Как связать клубничного гномика
Добавлено: 15.05.2014 в 14:19 Просмотров: 358612
Как связать клубничного гномикаKlubokhttp://klubok.work/2/46/4908/Klubokhttps://klubok.work/css/image/top-logo-en.png
Как вязать голову.
Для этого нам понадобятся:
- нитки телесного цвета и цвета платья, у меня белые,
- крючок,
- набивка,
- полая трубочка.
Начинаем вязание!
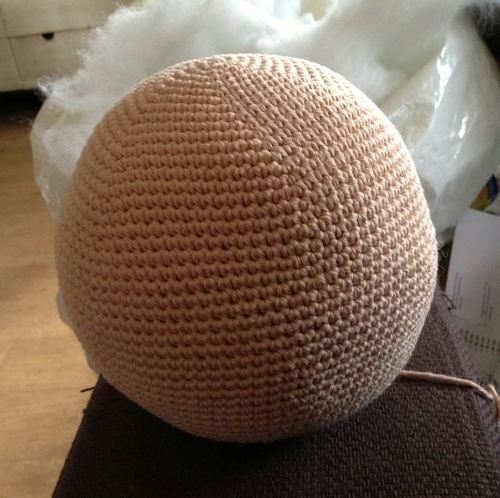
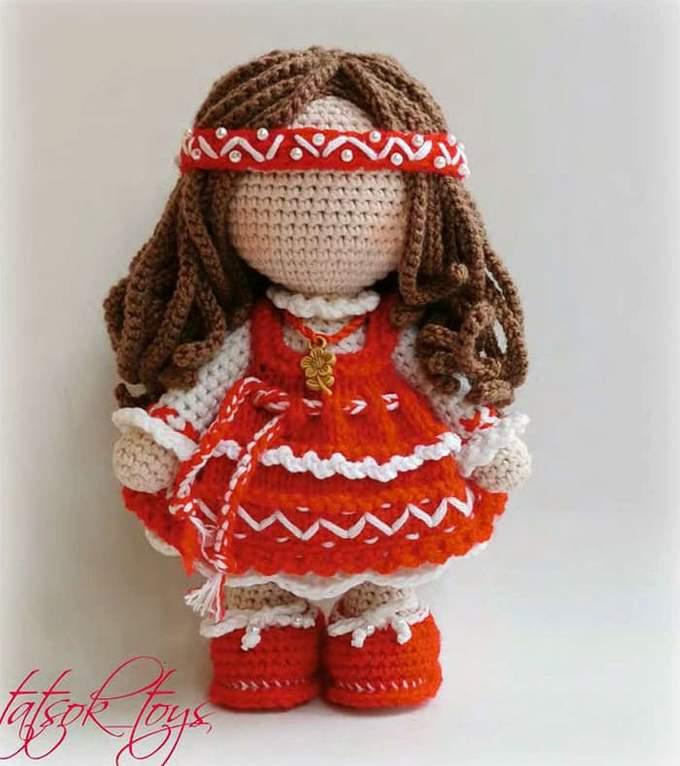
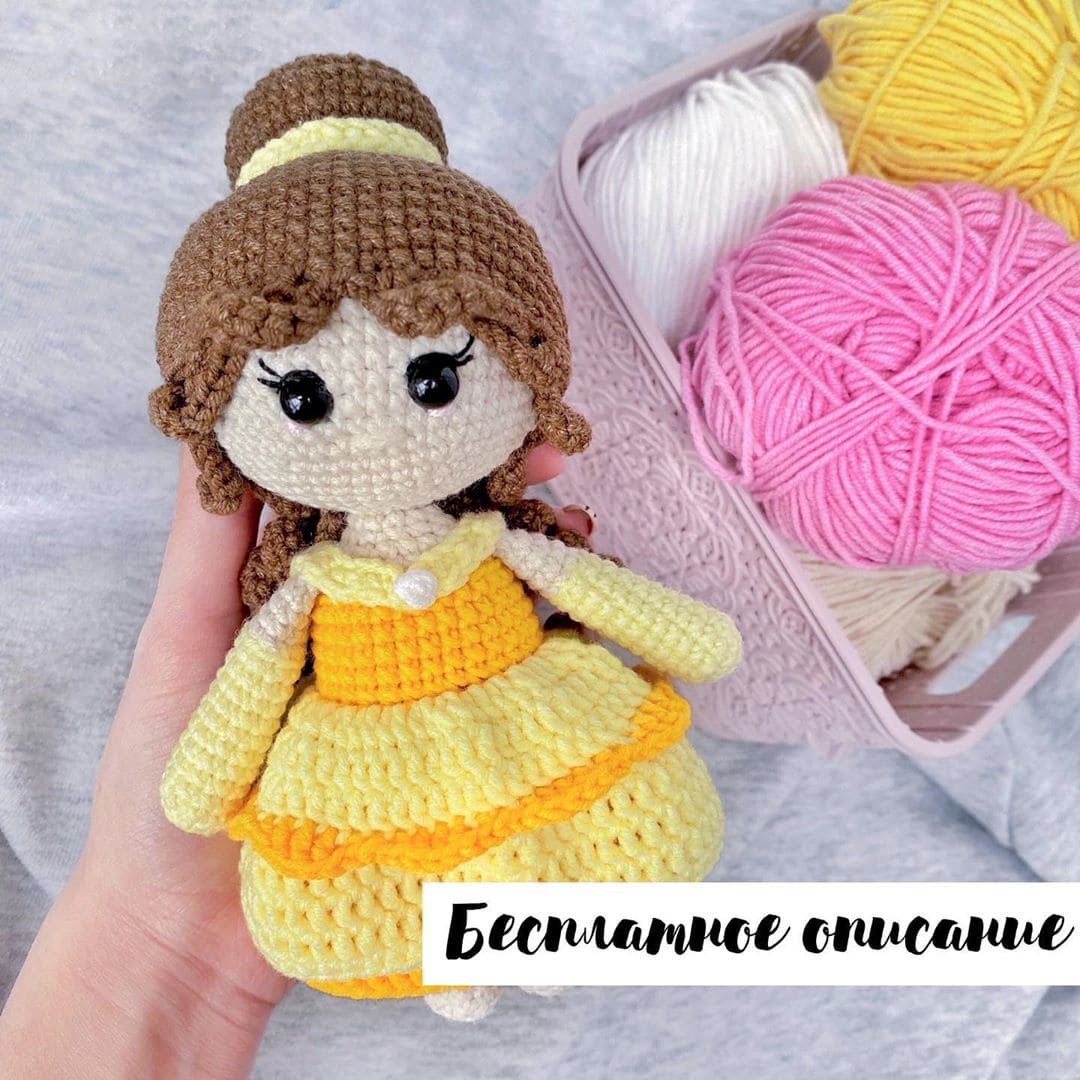
Обозначения: в.п. – воздушная петля. ст.б/н – столбик без накида. сс – соединительный столбик. пр. – прибавка. уб. – убавка. р. – ряд. Внимание: от номера крючка и толщины ниток зависит окончательный размер куклы. Начало ряда помечайте цветной нитью. Вязание идет по кругу. Когда ряд заканчивается одним цветом, а следующий ряд начинается другим, то ряд закончить соединительным столбиком. Голова. Вяжем нитью телесного цвета. 1 р. – 2 в.п., в первую петлю вязать 6 ст.б/н. (6) 2 р. – 6 пр. (12) 3 р. – (1 ст.б/н, пр.) по кругу. (18) 4 р. – (2 ст.б/н, пр.) по кругу. (24) 5 р. – (3 ст.б/н, пр.) по кругу. (30) 6 р. – (4 ст.б/н, пр.) по кругу. (36) 7 р. – (5 ст.б/н, пр.) по кругу. (42) 8-20 р. – 13 р. по кругу. (42) 21 р. – (5 ст.б/н, уб.) по кругу. (36) 22 р. – (4 ст.б/н, уб.) по кругу. (30) 23 р. – (1 ст.б/н, уб.) по кругу. (20) 24 р. – 10 уб. по кругу. (10) 25-27 р. – 3 р. по кругу. (10) Набить голову. Тело. Продолжаем вязать нитками телесного цвета. 28 р. – (4 ст.б/н, пр.) по кругу. (12) 29 р. – пр., 4 ст.б/н, 2 пр., 4 ст.б/н, пр. (16) 30 р. – (1 ст.б/н, пр.) по кругу. (24) Далее вяжем нитками белого цвета (цвета платья). 31 р. – пр., 9 ст.б/н, пр., 1 ст.б/н, пр., 9 ст.б/н, пр., 1 ст.б/н. (28) 32 р. – пр., 13 ст.б/н, пр., 1 ст.б/н, пр., 13 ст.б/н, пр., 1 ст.б/н. (32) 33 р. – по кругу. (32) 34-35 р. – 7 ст.б/н, пр., 15 ст.б/н, пр., 4 ст.б/н. Одновременно в конце этого ряда начинаем формировать тело и руки. Последние 4 ст.б/н не провязываем, а пропускаем, также пропускаем 3 ст.б/н в начале следующего ряда. Всего пропустить 7 ст.б/н. Провязать следующие 10 ст.б/н, пропустить 7 ст.б/н, 10 ст.б/н. Соответственно, на руки приходится по 7 петель, на тело 20 – петель. 35 р. – по кругу. (20) 36 р. – отметить ниткой начало ряда и вязать ряд по кругу за заднюю стенку. (20) Оборвать нить. Должно получиться так.
Советы: голову набиваем очень туго, т.к со временем синтепух расправится и станет мягче. При этом голову формируем руками в форму шара, чтобы она была ровная. Полая трубочка вставляется в шею, чтобы шея не переламываалсь и голова не заваливалась на бок, т.к. голова большая и тяжелая. Чтобы вставить трубобчку, надо вставить палочку в отверстие шеи и покрутить, чтобы получилось отверстие для трубочки. Трубочку вставяем и набиваем наивку внутрь трубочки, можно также через трубочку еще набить голову.
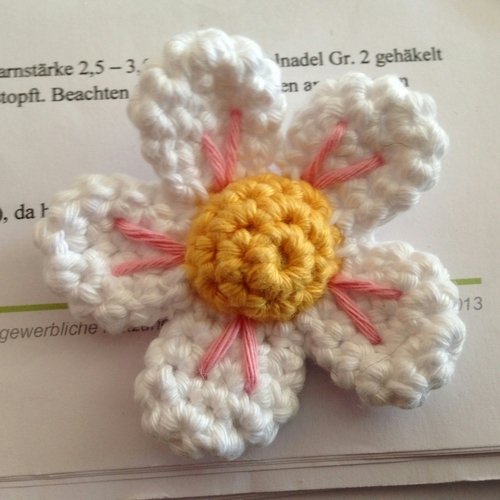
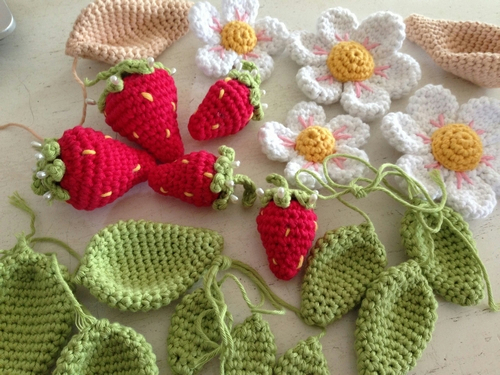
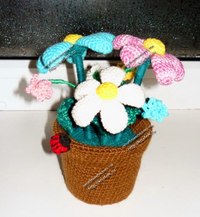
Большой цветок
1)Лепесток (5 дет.)
1 р. 6 ст. в кольцо амигуруми
2 – 7 р. 12 ст
8 р. (1 ст, А)х4
9 р. 8 ст.
2)Сердцевина
1 р. 6 ст. в кольцо амигуруми
2 – 5 р. 12 ст
6 р. 6 ст.
Деталь набить, отверстие закрыть, обрезать и спрятать нитку. 
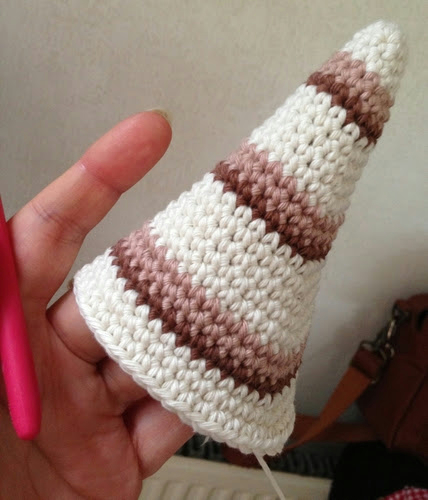
 Для колпака возьмем за основу

 уши можно у жирафа позаимствовать
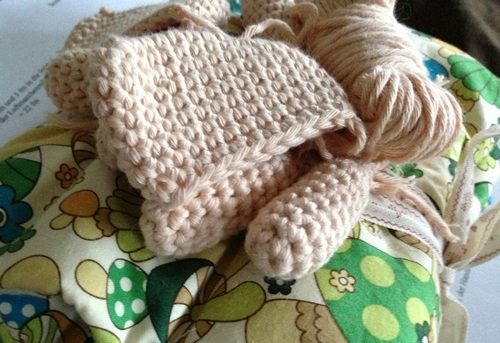
 Рука (2 шт.)
Вяжем по кругу нитью телесного цвета.
Пальчики (3 шт)
1 ряд: 2 ВП, 6 СБН во 2-ю от крючка петлю (6)
2 ряд: (2СБН, 2 СБН в следующую петлю) 2 раз (8)
3-5 ряд: 1СБН в каждую петлю (8)
Средний пальчик
1 ряд: 2 ВП, 6 СБН во 2-ю от крючка петлю (6)
2 ряд: (2СБН, 2 СБН в следующую петлю) 2 раз (8)
3-6 ряд: 1СБН в каждую петлю (8)
Собираем пальчики в кисть:
1 ряд: провязываем 4 СБН первого пальчика, 4 СБН среднего пальчика, 8СБН второго пальчика, 4 СБН среднего пальчика, 4 СБН первого пальчика (24)
2-3 ряд: 1СБН в каждую петлю (24)
4 ряд: Провязываем вместе СБН первые четыре петли ряда и четыре петли третьего пальчика, 1 СБН в каждую петлю 20 раз (24)
Заполняем все пальчики наполнителем, не очень плотно.
5 ряд: Провязываем вместе СБН первые четыре петли ряда и оставшиеся четыре петли третьего пальчика, 1 СБН в каждую петлю 20 раз (24)
6 ряд: 1СБН в каждую петлю (24)
Далее вяжем по кругу 2 ряда красной нитью, 2 ряда белой нитью.
7 ряд : (10 СБН, 2 СБН вместе) 2 раза (22)
8 ряд : (9 СБН, 2 СБН вместе) 2 раза (20)
9 ряд : (2 СБН вместе) 10 раз (10)
10ряд : (2 СБН вместе) 5 раз (5)
Заполняем ручку наполнителем.
11 ряд: (2 СБН вместе) 2 раза, 1 СБН (3), провязываем СБН оставшиеся 3 петли вместе, закрепляем нить.
Вторую ручку вяжем аналогично, отличаются только 4 и 5 ряд.
4 ряд: 1 СБН в каждую петлю 4 раза, провязываем вместе СБН четыре петли ряда и четыре петли третьего пальчика, 1 СБН в каждую петлю 12 раз (24)
Заполняем все пальчики наполнителем, не очень плотно.
5 ряд: 1 СБН в каждую петлю 4 раза, провязываем вместе СБН четыре петли ряда и оставшиеся четыре петли третьего пальчика, 1 СБН в каждую петлю 12 раз (24)
На ручки можно еще связать манжеты: красной нитью набираем 22ВП, замыкаем в круг.
1-2 ряд: 1СБН в каждую петлю (22), пришить.


