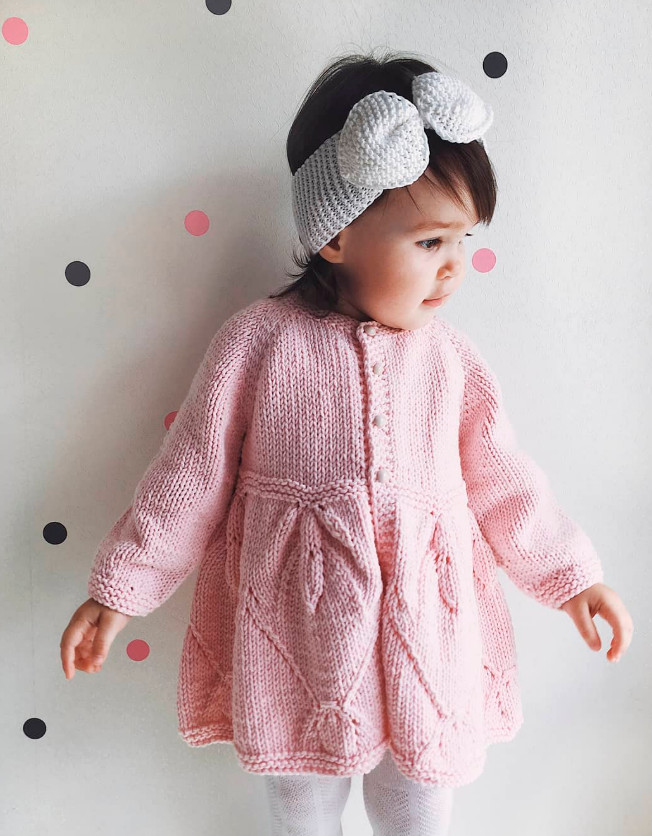
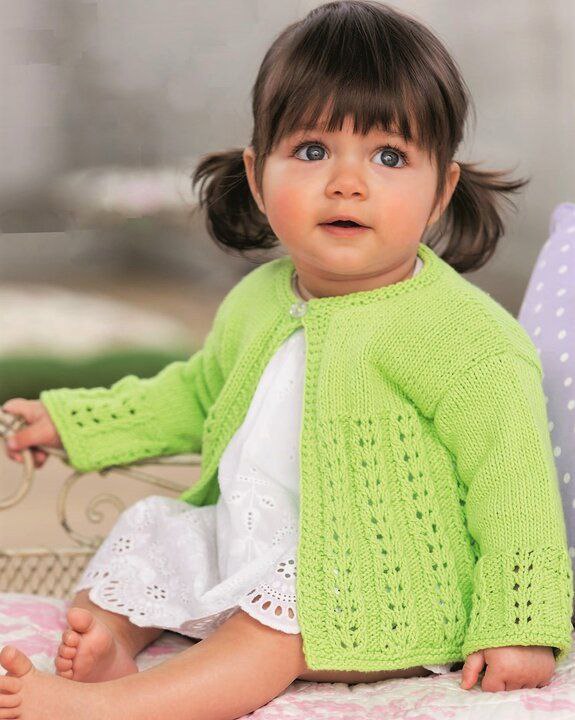
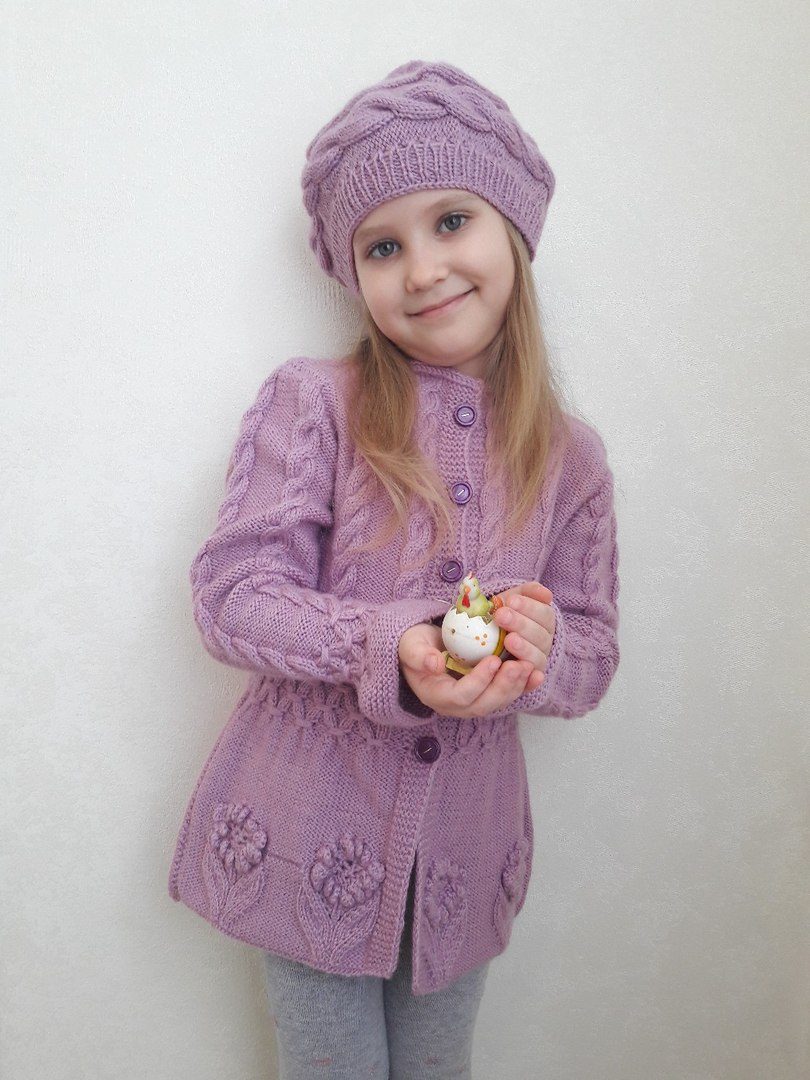
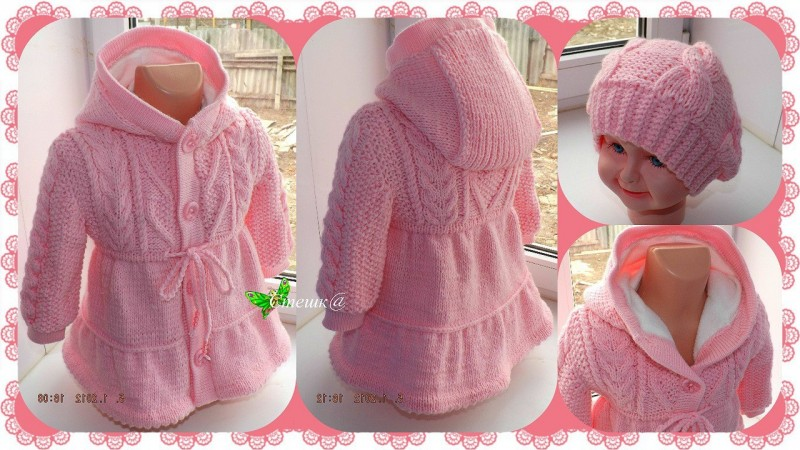
Cardigan for a girl.
Added: 08.05.2014 в 11:34 Views: 57071
Cardigan for a girl.Klubokhttp://klubok.work/23/185/4891/Klubokhttps://klubok.work/css/image/top-logo-en.png 
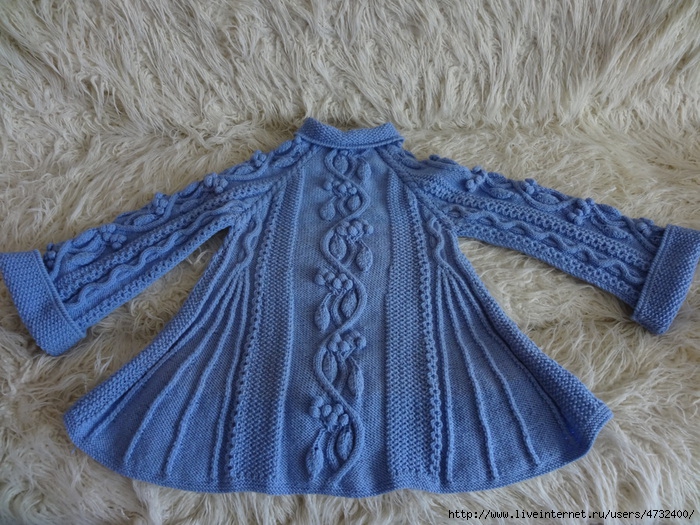
The cardigan
is knitted from thick yarn (for warmth, so to speak), and due to the features of
the knitting, it turned out like a little coat...
It is knitted
according to the "raglan" scheme (picture from the internet):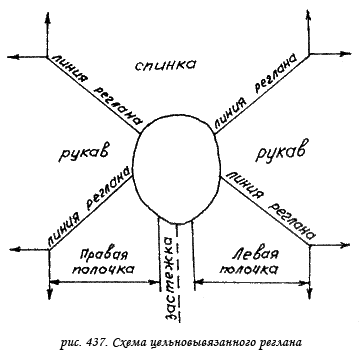
The raglan is knitted in one piece.
We calculate the number
of stitches equal to the circumference of the neck + the number of stitches equal to the width of two bands. From
this number, we subtract the number of stitches that will go to the connecting stripes
(along the raglan lines). We have 4 raglan lines.
I knitted the separating stripe
in this way: 1 purl, 4 knit, 1 purl. Every 3 rows on the front side
of the work, instead of 4 knit stitches, I knitted crossed stitches 2p x 2p.
To
determine how many stitches are needed for each part (back, 2
sleeves, 2 front pieces), the obtained number of stitches should be divided by 3.
1/3
of the stitches for the back, 1/3 of the stitches for 2 front pieces, and 1/3 of the stitches for 2 sleeves.
I do not provide the exact
number of stitches because the knitting pattern varies for everyone, and the sizes
of the item are different.
Since I have a "braided" knitting, I had to take this into account as well. I cast on a larger number of stitches (knitted a sample).
I knitted on circular needles. I started the knitting with a
helper thread. To ensure that the cardigan fits well, at the beginning, after casting on the stitches, it is necessary to use
extended rows. The back neckline should be higher than the front neckline by an average
of 6-7cm or more. If this is not done, the item will pull back,
"press" on the neck, and horizontal folds will gather at the front.
For
this, we will knit the back and part of the sleeve with extended rows (i.e. each
next row will be a few stitches longer than the previous one). To knit the neckline, we knit the next round to the center of the right sleeve, remembering to make yarn overs
before and after the raglan line. Turning the work, we knit in the opposite direction on
the wrong side to the center of the left sleeve. Turning the item again, we knit to the center
of the left sleeve (with yarn overs at the raglan lines) plus an additional 5-6 stitches and turn the knitting again. We continue to knit until we reach
the middle of the front (this should be a knit row). Then we knit the item in the round,
adding one stitch on both sides of the raglan stitches every other row, until the
raglan line reaches the desired length.
Then we place the sleeve stitches on
spare needles or on a thick thread. And we knit only the front and back as one piece. As we go, we add stitches after a certain number of rows,
without disrupting the pattern. Therefore, it is possible to make a more or less flared
cardigan.
For any
taste and color!!!
During the knitting process, we knit stitches on the right band.
To knit the collar, remove the helper thread, collect the stitches and knit as follows: 1
knit, 1 purl, 1 knit, 1 purl, and so on. Row 2: knit purls over knits, knits over purls. And so on... We gradually add stitches along the edge of the collar,
so that it slightly flares at the edge. We knit cuffs to the desired height in the same pattern. The edges of the cuffs and the collar are crocheted with a "crab stitch".
We finish the
bottom of the back and front with garter stitch. Author -Larisa
Petrovna