HOW TO SEW ELASTIC INTO ELASTIC
Added: 20.02.2016 в 22:16 Views: 41840
HOW TO SEW ELASTIC INTO ELASTICKlubokhttp://klubok.work/1/203/6226/Klubokhttps://klubok.work/css/image/top-logo-en.png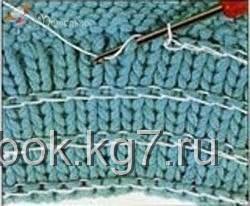
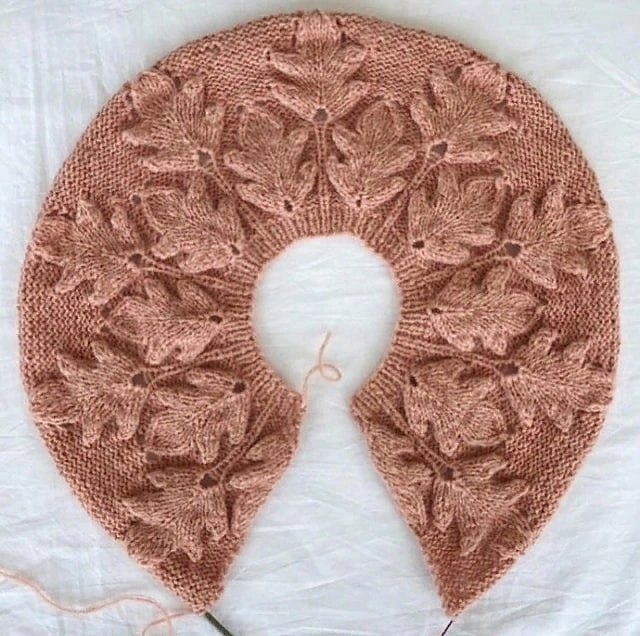
Cuffs, the bottom of the back and shelves, necklines on sweaters, jackets, cardigans, and coats are often knitted with ribbing. It not only gives the item a finished look but also maintains its shape. However, after washing, the ribbing can stretch. Generally, for items made from wool yarn, the ribbing only stretches slightly - the fibers of wool yarn are relatively elastic. The situation is worse with items made from cotton and some synthetic fibers - the ribbing can permanently lose its shape and spoil the appearance of the item.
To prevent ribbing from stretching too much, it is recommended to knit it with needles one size smaller than all the other parts of the item.
In stores, you can now find thin elastic threads that can be woven into the ribbing and are almost invisible. But if such a thread breaks for any reason, small threads will stick out from the ribbing, which will be impossible to pull out. Accordingly, the appearance of the item will be spoiled.
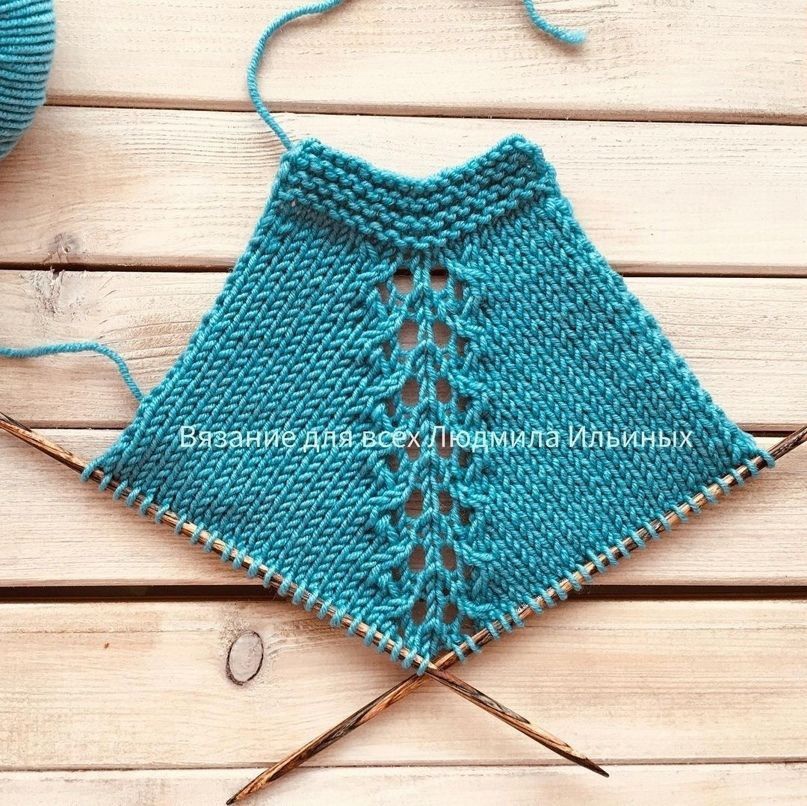
It is best to introduce a thicker elastic thread into the knitted ribbing. This can be done with a blunt needle or hook. Simply thread the yarn through the front stitches or crochet securing stitches, but not through the entire stitch, just one half. If you thread the yarn through the entire stitch, it may end up being visible from the outside. At the edges, tie the elastic thread to the edge stitches. Depending on the width of the ribbing, lay 4-6 such rows at equal distances from each other.
For a 1x1 ribbing, thread the yarn from the wrong side at equal intervals through the halves of all stitches. Tie the yarn to the edge stitch or attach it to the seam.
Or crochet securing stitches.
In a 2x2 ribbing, the first and last link of the front stitch is always captured, both when sewing with a needle and when crocheting.