Shoulder seam with braid.
Added: 17.12.2019 в 02:06 Views: 18160
Shoulder seam with braid.Klubokhttp://klubok.work/1/203/8288/Klubokhttps://klubok.work/css/image/top-logo-en.png
The shoulder seam is braided.
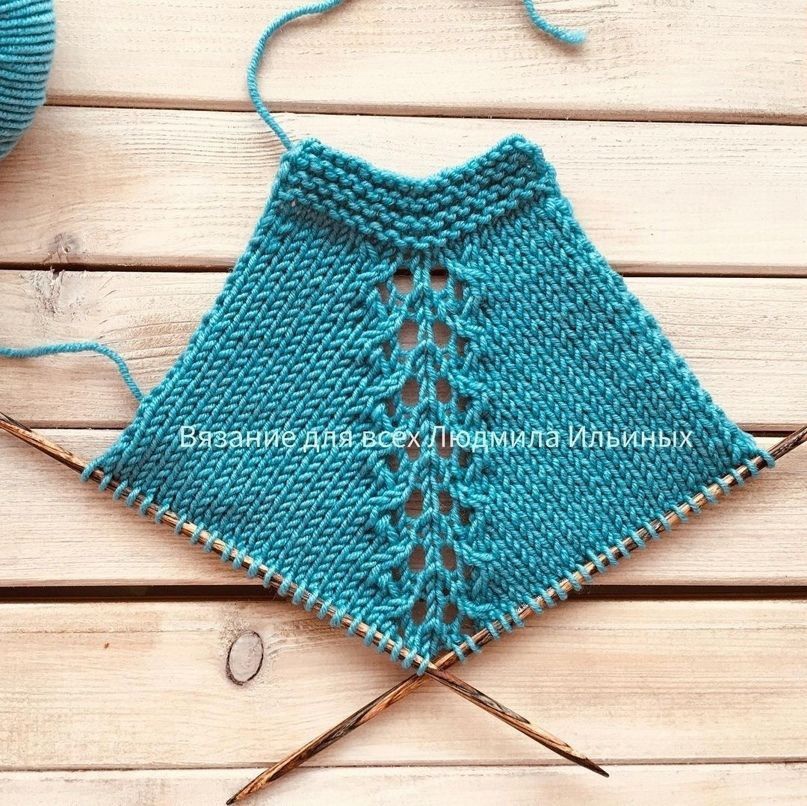
I connect the front and back, and I decided to show the way of knitting the shoulder seam with a flat braid. This method is done with three needles, but differs from the classical method in that the seam is flat , not convex.
The essence of the method
with the third needle is to close the stitches of the front needle with a regular wrap, but before knitting the stitch from the front needle, you need to remove the stitch from the back needle.
Now in detail:
Fold the front and back with the wrong sides facing each other, with the tips of the needles towards the armhole.
Needle 1 – closest to you in the left hand.
Needle 2 – furthest from you in the left hand.
Needle 3 – working needle in the right hand.
1. In the left hand, hold needles 1 and 2, with the working yarn between them, and needle 3 in the right hand.
2. With needle 3, slide a stitch from needle 2 - insert needle 3 from the front side of the piece so that the stitch is not twisted, and transfer it.
3. With needle 3, knit the first stitch from needle 1 as a knit stitch – there are two stitches on needle 3.
4. Pull the knitted stitch through the stitch that was slipped from needle 2.
5. On the right needle, there is already 1 stitch, similarly slide the second stitch from needle 2,
6. Knit the stitch from needle 3 as a knit stitch - there are three stitches on needle 3.
7. Pull the knitted stitch through the two existing stitches on needle 3.
Repeat steps 5, 6, 7 until the end.
It is harder to describe than to do Watch the video, it is all simple
As the working needle in the 3-needle method, I use a bamboo sock needle, it is short and not slippery - it is easier to work with, try it If it is more convenient for you to close the stitches with a hook, you can also use a hook instead of the working needle in this method (I checked).