Heyward
Added: 07.05.2020 в 06:39 Views: 22247
HeywardKlubokhttp://klubok.work/1/3/8478/Klubokhttps://klubok.work/css/image/top-logo-en.png2
We knit a sample from the purchased yarn - a rectangle approximately 20x20 cm, spray it with water, lay it on a fabric, cover it with a damp towel and leave it for 8-10 hours or until it dries.
3
Based on this sample, we calculate the number of stitches in 10 cm. Now it’s clear how many stitches need to be cast on for the neckline. Suppose the neckline size is 60 cm, and there are 16 stitches in the 10 cm sample. The calculation is as follows: 60 multiplied by 16 and divided by 10. We get the final number - 96 stitches.
4
Now we need to calculate the raglan. In the hayward, the sleeves are peculiar, so the calculation will be different than in a regular raglan. For the shoulders, we leave 3 cm for a slim figure, 5 cm for a full one.
Again we do the calculation: if there are 16 stitches in 10 cm, then in 5 cm there are 8 stitches, and in 3 cm there are 5 stitches.
Additionally, in the hayward, we take 1 stitch for the raglan, so we separate 7 stitches for one sleeve for slim figures and 10 stitches for fuller ones, as they are now referred to.
For two sleeves, that would be 14 and 20 stitches, and we subtract this number from 96 stitches. We get 82 or 76 stitches.
We divide this number in half - we get the number of stitches for the back and front.
But! There is one nuance: during knitting, the back will increase faster, so initially, we need to subtract 2 stitches from the back and add them to the front. The reason for this will become clear a little later. So, the calculation for slim figures turned out to be: 96 stitches minus 14 stitches will be 82 stitches. Then we divide 82 in half, getting 41 stitches. We subtract 2 - and we get 39 stitches for the back and 43 for the front. We can start knitting. For fuller figures, the calculation is the same, just use your own numbers.
5
Cast on stitches on the needles. If it’s convenient - on circular needles. Or you can start knitting on 5 double-pointed needles, then switch to circular needles of the same size. You can start knitting immediately, adding 1 stitch along the raglan line. Then it will turn out to be a regular item. If you want it to fit perfectly - you need to knit a short row. That's why we subtracted 2 stitches from the back.
How is the short row knitted? We start knitting from the back sleeve, right at the raglan line. In the diagram, this is point 1. We knit to point 2, turn the work, and knit to point 3. We turn again and knit to point 4. And so we turn the fabric and knit alternately until the last, 15th point, and only after that do we start knitting in the round. While knitting the short row, add 1 stitch on both sides of the raglan lines every 3 rows. Mark each raglan stitch with markers on both sides - this will prevent us from losing it.
6
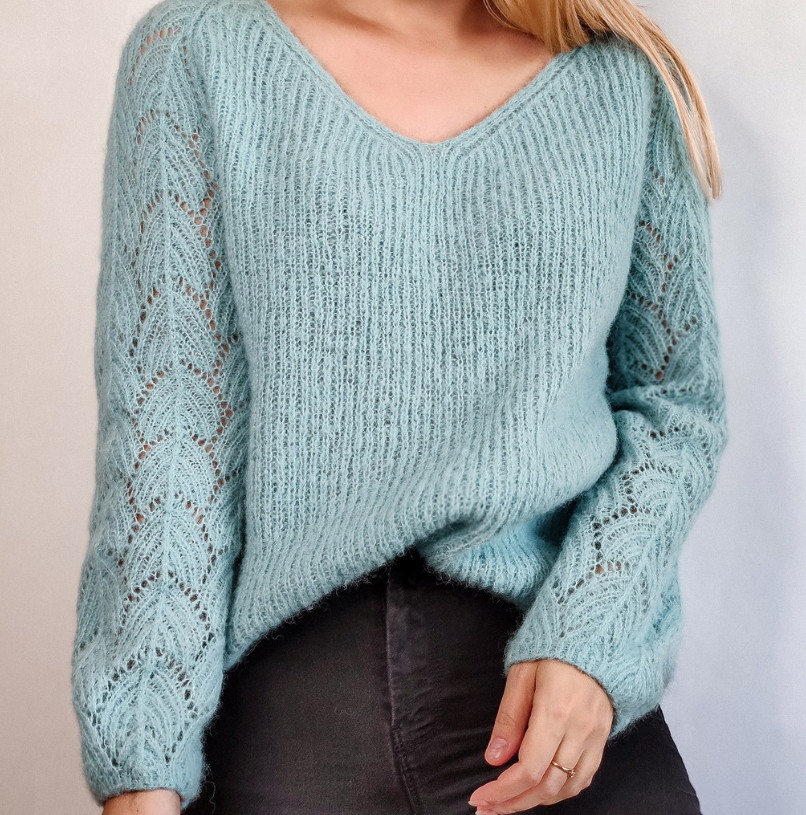
We got something like in the photo: the back is longer, the front is shorter. This is the short row. Experienced knitters recommend doing it in all knitted items - even for infants, let alone adults. The short row provides an excellent fit, and the item looks more elegant.
7
After the short row is knitted, you can knit in the round, remembering to add stitches along the raglan line.
For haywards, it is not recommended to make "fancy" raglan lines, on the contrary - they are made almost invisible. For this, the raglan is knitted from elongated stitches, twisted. Although tastes vary, you can do it however you like.
Advice on adding stitches along the raglan line: if the yarn is thin, make the increase every 3 rows. If it’s thick - every 4. Such increases ensure a stylish low armhole.
The classic length of the raglan line is considered to be 17-23 cm; in the hayward, it can reach 30 cm or more - this depends on the knitter's desire. The length of the hayward is a relative thing, not defined by anyone. It also depends on your desire, imagination, etc.
8
When knitting in the round, pay attention to the width of the item. It should not be narrow. As a rule, you need to add 10 cm to the width of the back and front for fitting. Therefore, track this moment during the knitting process. A hayward "tight-fitting" is not a hayward.
For it to turn out stylish, measure the widest part of your figure and calculate how many stitches should be in the finished item for it to fit your figure comfortably.
For example, let’s measure the hips - let’s say they are conditionally 90 cm. Therefore, for the finished item, you need 90 cm + 10 cm for the front and 10 cm for the back, totaling 110 cm.
We know that there are 16 stitches in 10 cm of our knitting. We do the calculation: 90 x 16 / 10 = 144 stitches. If your bust width is greater than your hip width - calculate based on the bust.
9
During the knitting of the hayward, you can measure it to see what length suits you best, and at what level you can finish knitting the armhole. Once the sleeve is knitted, we place the sleeve stitches on a thread and set them aside for a while.
We knit the remaining stitches to the desired length of the hayward in the round and close it in the usual way.
10
Now we knit the sleeves - with circular needles or on 5 double-pointed needles, whichever is convenient for you. We knit to the desired length and close it.
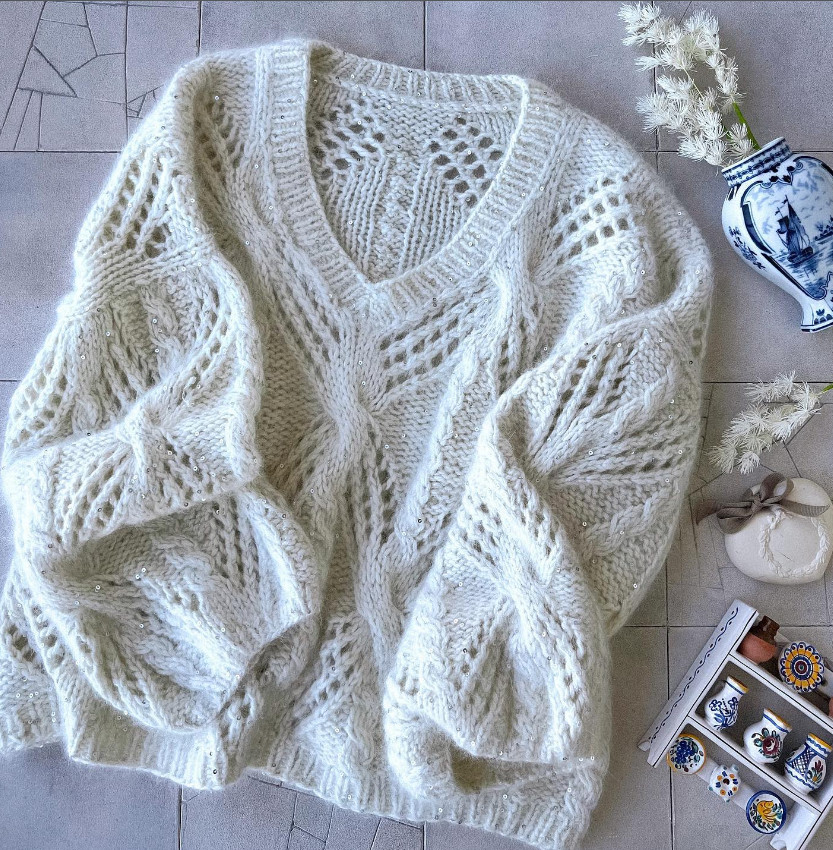
Our hayward is almost ready.
11
The last step is washing and drying the hayward. Pay attention to the yarn label and wash the hayward according to it. Then lay it out on a fabric and leave it to dry. Let it dry completely, and only after that can the hayward be worn.


 M
M