Added: 01.09.2025 в 14:43 Views: 1648
This photo shows the model in full. It is knitted crosswise, with a 3/4 length "batwing" sleeve.
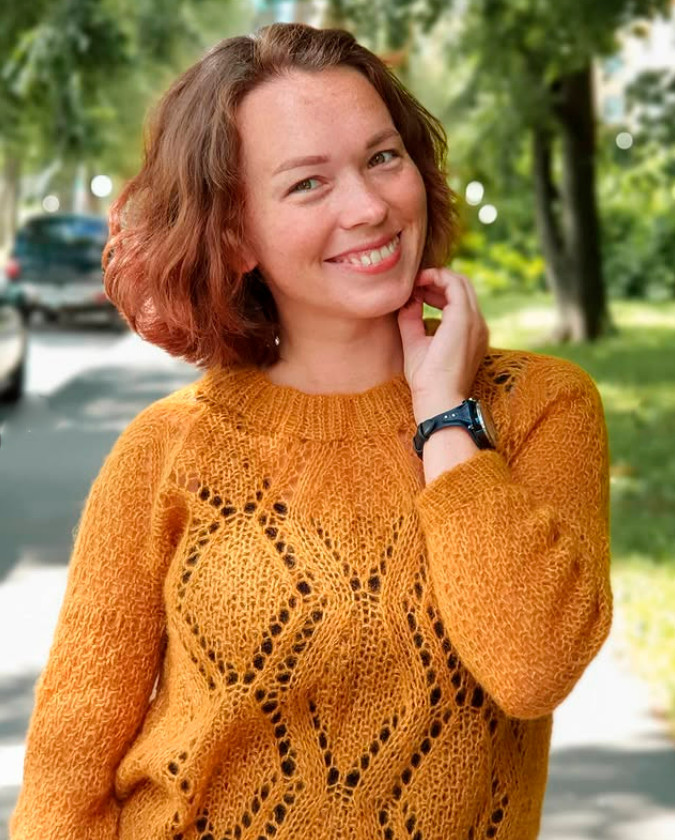
The neckline of the model is shallow and round, with its edge marked by a "horizontal rib" (2 rows of stockinette stitch, two rows of purl stitch).
The model is in a gray-brown color. The cuffs of the sleeves are knitted in 1x1 ribbing, while the back is stockinette stitch.
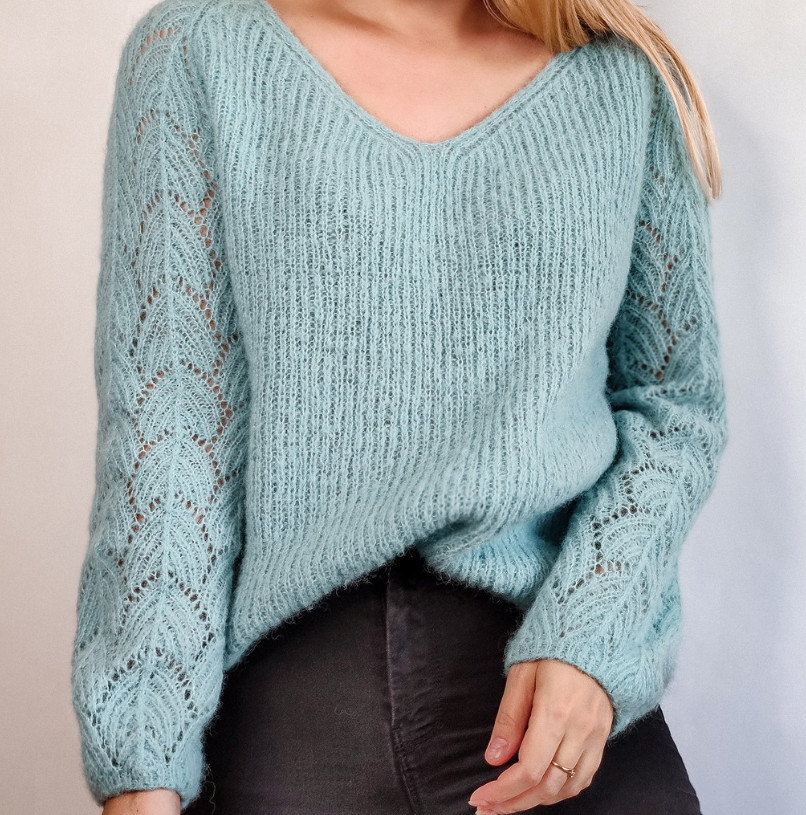
The same model in a lighter ivory color (gray-beige, or pearl):
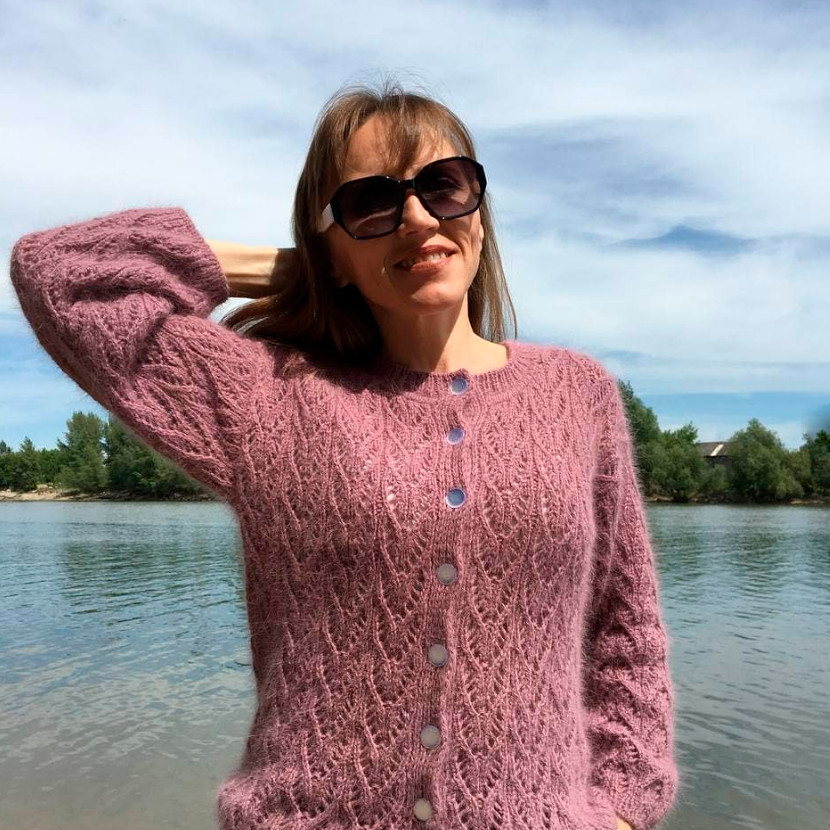
And here is a sweater in a powder color. I think this pattern looks beautiful in any color solution.
This sweater is knitted crosswise from two nearly identical pieces, with a slightly larger neckline cut in the front. It is clear that a good shoulder slope has been made, which makes the model fit beautifully.
This model can also be knitted as one piece, like in the drawing below. You can knit either the entire piece in the pattern or just the back part in stockinette stitch. But then the finished model will not have a shoulder slope and will resemble something like a wrap.
I thought, what if such crosswise models are knitted based on the principle shown in the drawing. To create a shoulder slope, the bottom needs to be uneven. First, we increase stitches (where marked in green on the drawing), then knit straight, and then decrease again (where marked in purple).
I think if you wear such a sweater, the bottom will be a straight line, and the slope will transition upward to the shoulders. At the same time, the pattern will not be distorted due to the increases and decreases along the shoulder seam. I have seen something similar in one model in a photo, but I have never tried doing it myself.
And finally, the most important thing, the pattern. In the photo, the pattern on the sweater goes from left to right. The pattern is knitted in every row, which makes it so interesting. If you only knit in the right rows, you get ordinary diamonds, while knitting in every row gives the shape of leaves.
The diagram shows one repeat of the pattern in height (47 rows). In width, we start knitting from stitch 1 to 39, then repeat the required number of repeats (stitches 14 to 39) and finish with stitches 40 to 53 (for symmetry).
purl stitch
knit stitch
yarn over
2 stitches together knitwise leaning to the right
2 stitches together knitwise leaning to the left
3 stitches together knitwise