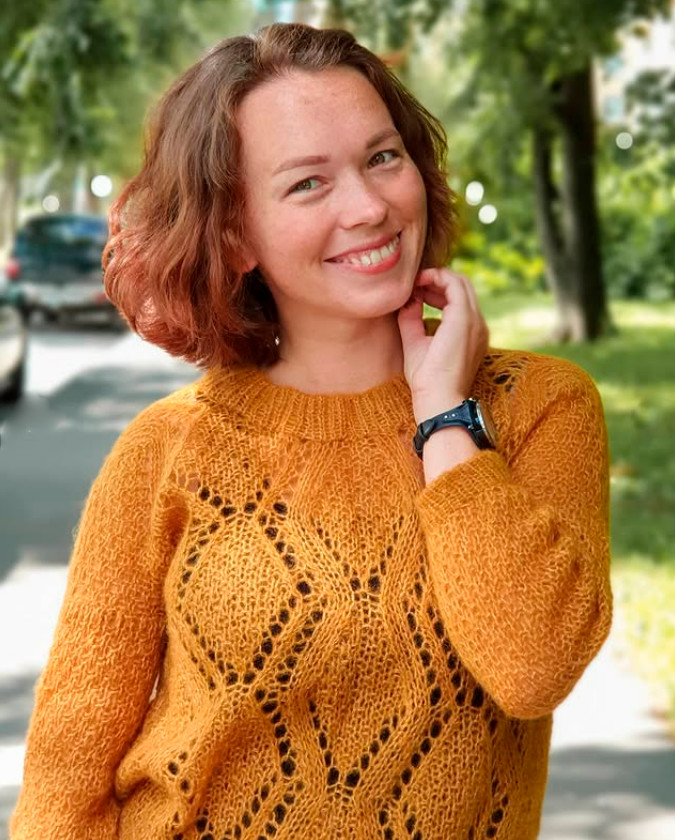
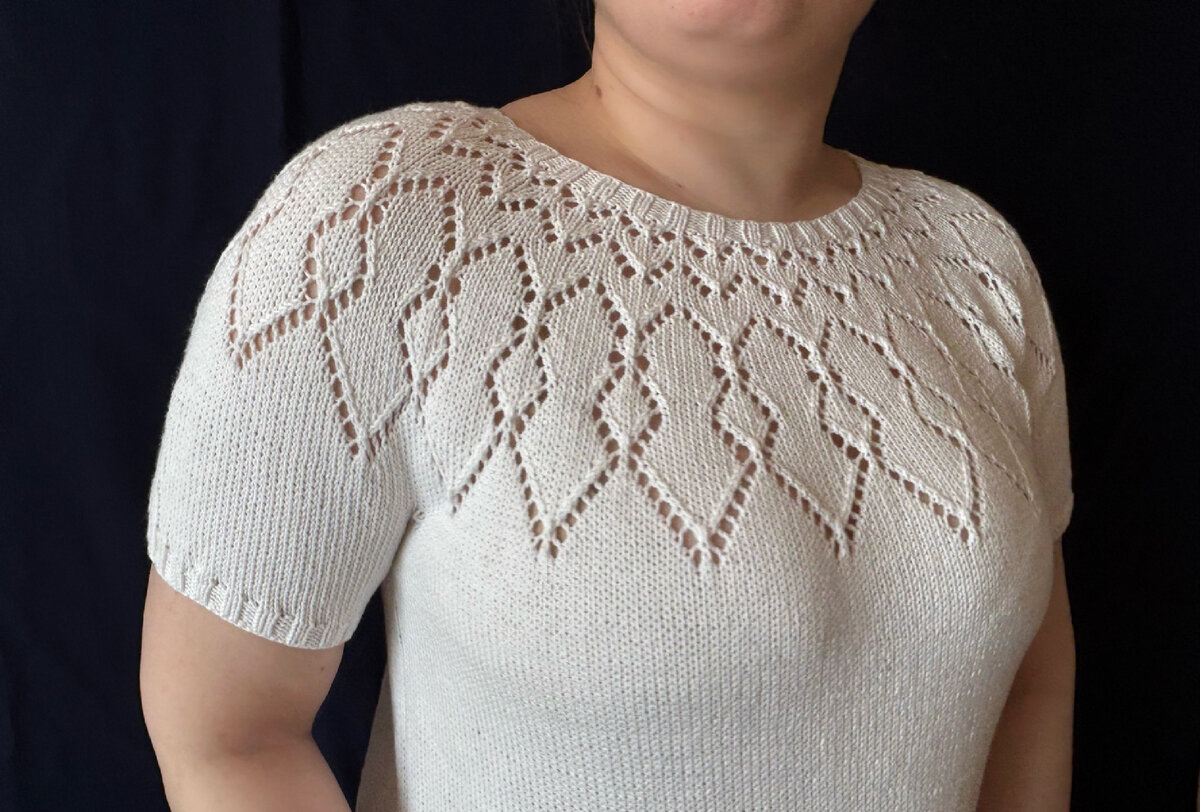
T-shirt with a lace round yoke
Added: 29.09.2025 в 19:31 Views: 762
T-shirt with a lace round yokeKlubokhttp://klubok.work/1/3/9183/Klubokhttps://klubok.work/css/image/top-logo-en.pngI knitted my t-shirt from Alize Bella yarn. Despite the large size - 50-52, the yarn consumption was less than 3 skeins. The yarn is capricious - it twists, be prepared to tame it. I changed the way I knit the stitches - sometimes using the yarn from the top, sometimes from the bottom.
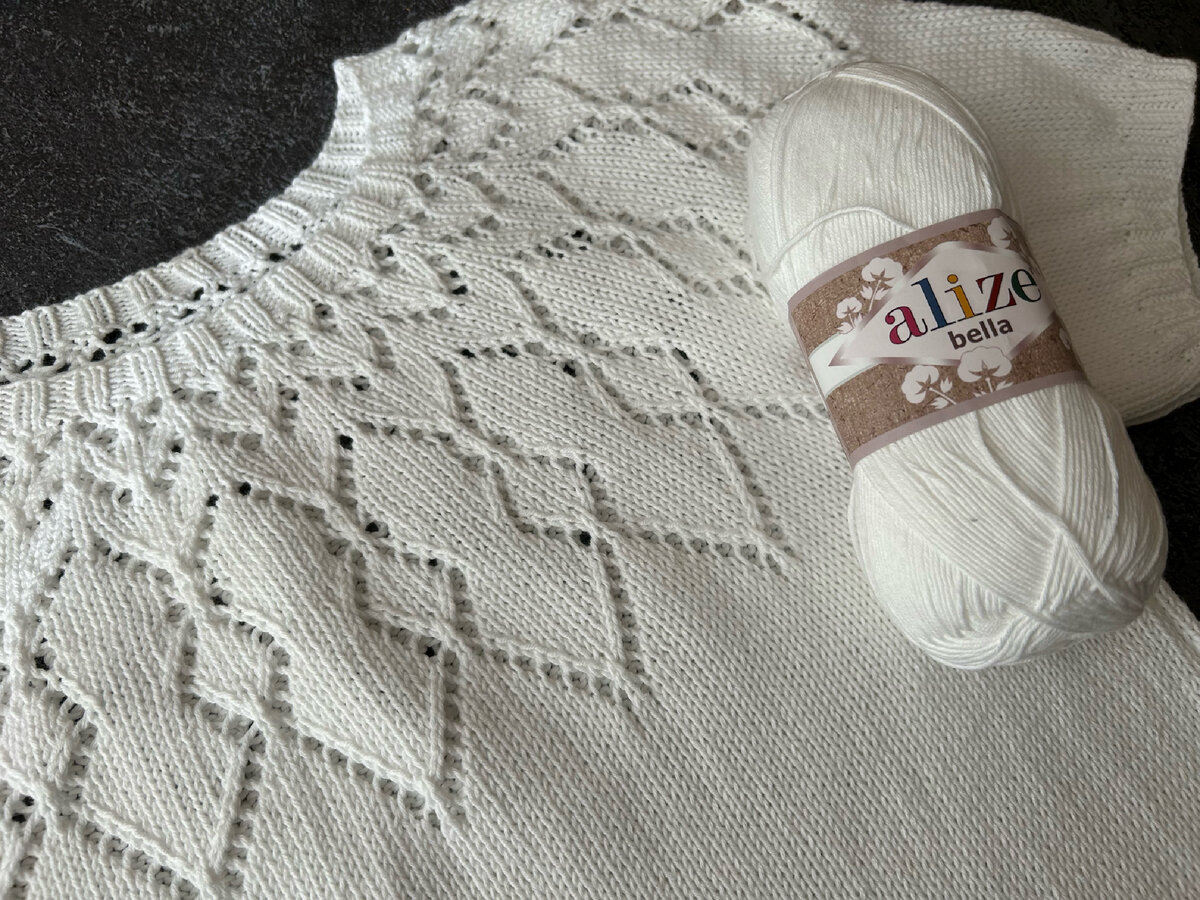
Unfortunately, I currently do not have the opportunity to take good photos, and you have been asking for the scheme for a long time. So for now, this is it. If I get other photos, I will definitely add them.
Needles - 2.75 for the neckline and ribbing on the sleeves, 3.5 for the body of the t-shirt and ribbing at the bottom. If you want a more fitted bottom, use 2.75 needles for the bottom ribbing as well.
Knitting density: 2.56 stitches in 1 cm, 3.49 rows in 1 cm.
What do you need to calculate the product for your size? Just one measurement - chest circumference. And a swatch knitted in stockinette stitch. Washed and dried.
Next, the calculation scheme is simple:
Chest circumference x 1.38 (138% of chest circumference) x knitting density
And that’s the whole formula.
As for the ease of fit, I allow no more than 4 cm. Since the armholes are not taken into account in this formula.
The back neck in this model is knitted with short rows. If desired, it can be replaced with an Asian neck. Don't be afraid that it will turn out to be a square neckline. It won’t! Your yoke has already been knitted as a circle, so the neckline will be round.
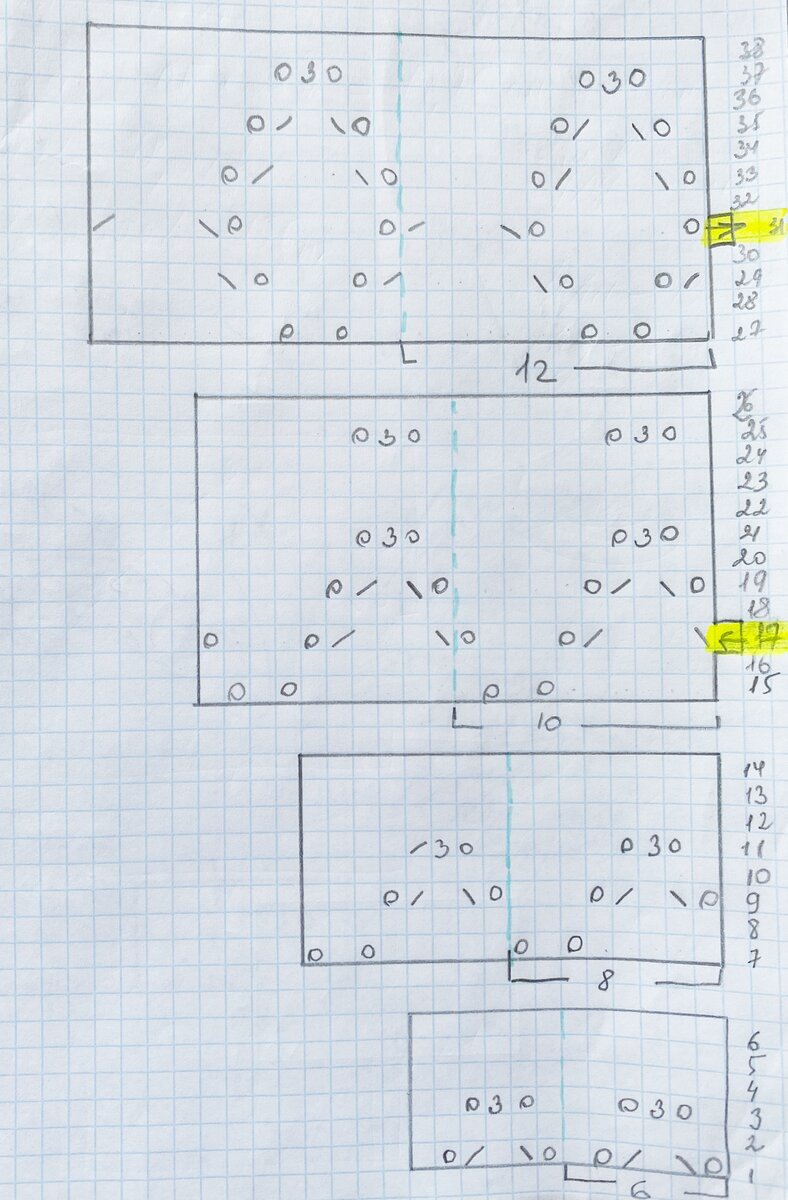
We start the calculation from the end of the yoke - the number of stitches must be divisible by 16. Round your numbers to the nearest multiple of 16. After that, it’s all simple. Knowing how many pattern repeats you have at the end of the yoke, you multiply this number by 6. The first pattern block of the yoke starts with 6 stitches.
In my case, there were 24 repeats.
On needles 2.75, cast on 144 stitches plus 1 to join in the round and knit 7 rows of 2x2 ribbing.
In the next row, reset the row counter, switch to needles 3.5, and knit the first block of the yoke (repeat 6 stitches)
All increases are already included in the diagram. So knit according to the diagrams for 52 rows of the yoke.

slant left
If the length of the yoke is sufficient for you, we move on to shaping the back neck. If not enough - continue knitting stockinette rows until the required height of the yoke.
Don't forget that your yoke will elongate by the height of the back neck!
When the height of the yoke is sufficient, we divide our knitting into the back, sleeves, and front. On the needles - 384 stitches.
In terms of stitches, I had: 118 for the back and front, and 74 for the sleeves.
Make sure that the markers separating the sections are placed symmetrically. I talked about this in the video about the back neck.
Mark the middle of the sleeve. And knit short rows only for the sleeves and the back.
To shape the back neck, I made turns 5 times every 7 stitches.
When the back neck is formed, knit one round of knit stitches and align all turning points.
Now you can separate the stitches for the sleeves.
For the underarm stitches, I cast on 18 stitches. Can I cast on a different number of stitches? Of course, you can. Focus on the features of your figure.
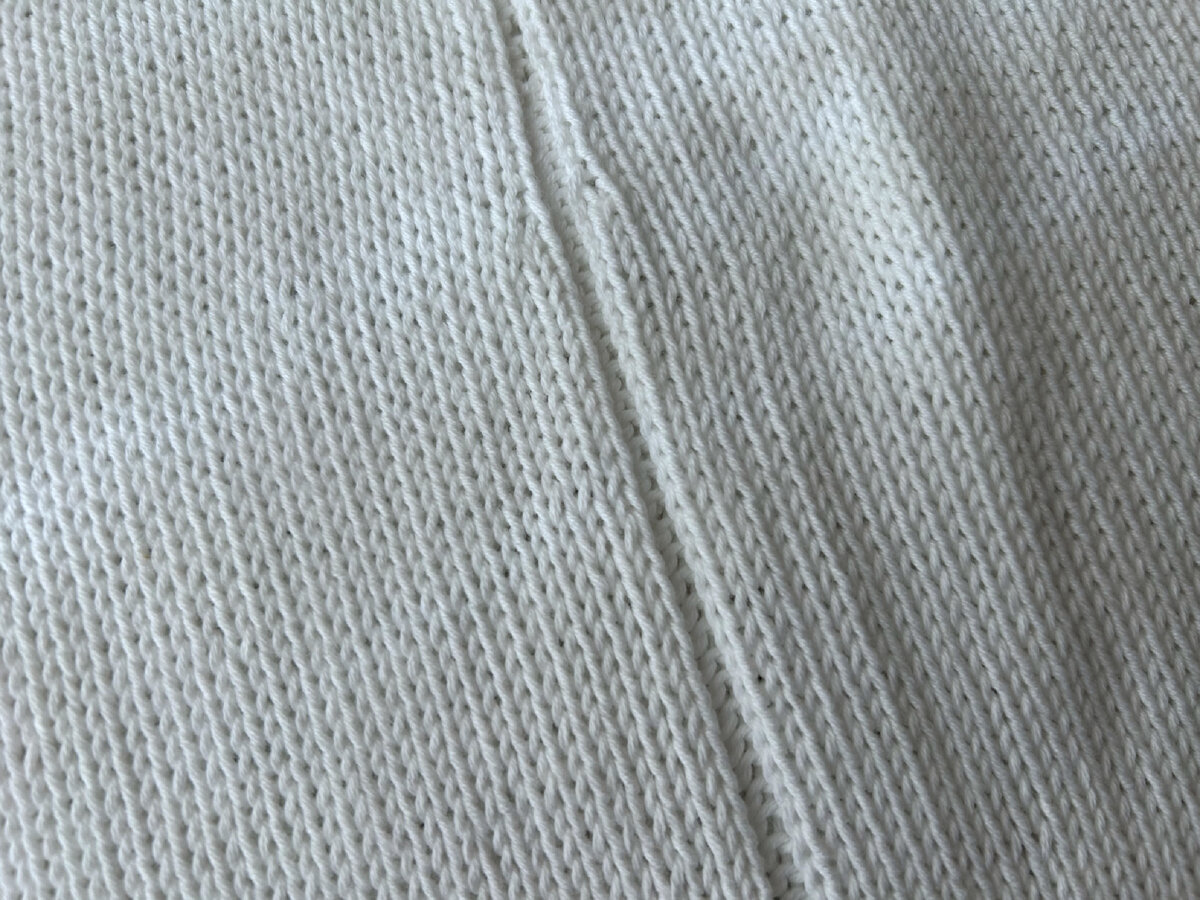
I knitted the two middle stitches of the underarm purl. These stitches imitate the side seam, and it is very convenient to hide the yarn ends in them.
If you want to give the product an A-line silhouette, make symmetrical increases before and after these stitches. If you want to taper - decreases.
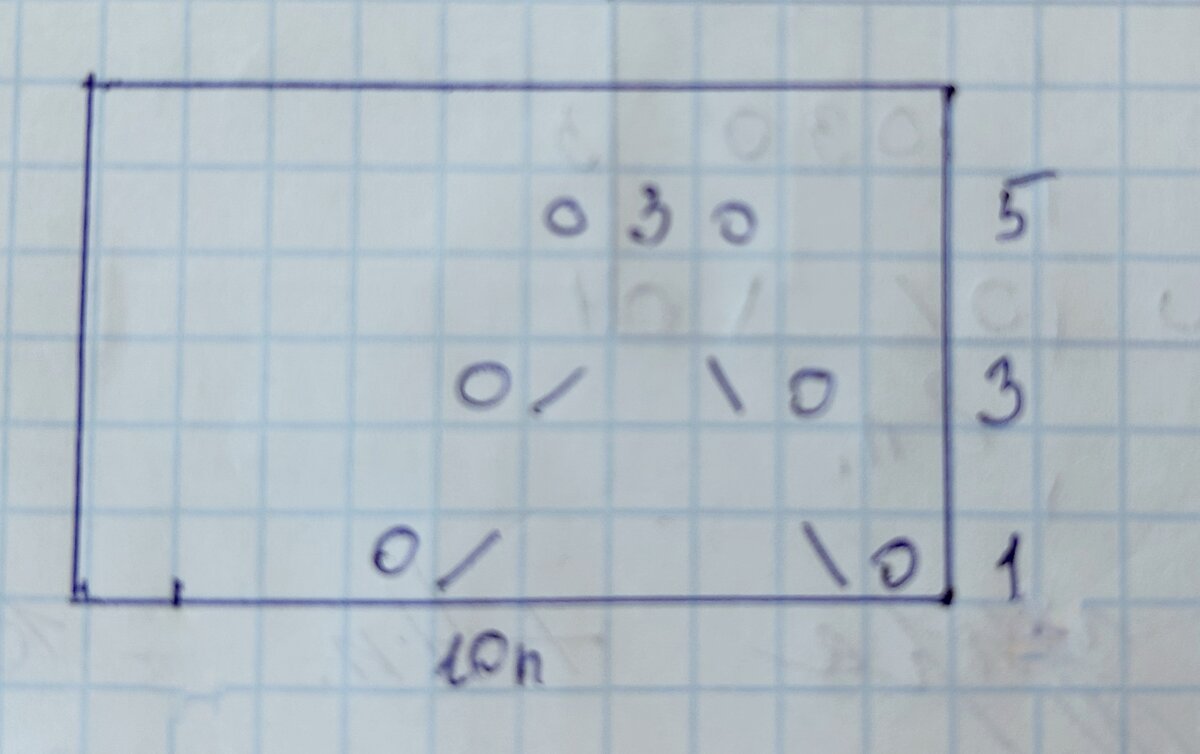
But note - there is a lace stripe at the bottom of the t-shirt - part of the yoke pattern. The pattern repeat of the stripe is 10 stitches plus 3 stitches for symmetry. Therefore, the number of stitches must "fit" from one "side seam" to the second "side seam" in the pattern repeat.
The pattern begins with 3 knits, then knit according to the chart.

Finish the bottom of the t-shirt with 2x2 ribbing.
Sleeves
Here it’s quite simple - pick up the underarm stitches (92 stitches on the needles) and knit the desired sleeve length. Finish knitting by switching to 2.75 needles - knit 7 rows of 2x2 ribbing.