SCARF OR ACCESSORY? Interesting knitting: INTERTWININGS
Added: 27.09.2014 в 13:24 Views: 114741
SCARF OR ACCESSORY? Interesting knitting: INTERTWININGSKlubokhttp://klubok.work/1/35/5317/Klubokhttps://klubok.work/css/image/top-logo-en.png


Description of the knitting sequence for the scarf.
If the yarn is too thin, it is better to knit with 2 strands, and using thick needles will help make a simple pattern textured, and the scarf warm and fluffy. Cast on a number of stitches that is a multiple of 4. I have 40 stitches. I chose a crosswise cast-on, which gives a more even, non-tight edge.
At the beginning, knit 2 rows in knit stitches. then move on to the main pattern.
Main pattern for the scarf.
We will perform the pattern "Rib 1x1 with cross stripes". You can perform any other pattern you like.
Row 1: 1 knit, 1 purl
Row 2: knit according to the pattern
Row 3: as the first
Row 4: as the second.
Row 5: all stitches knit
Row 6: all stitches knit
Repeat the pattern from the first row, edge stitches 6, slip the first stitch, knit the last one purl.
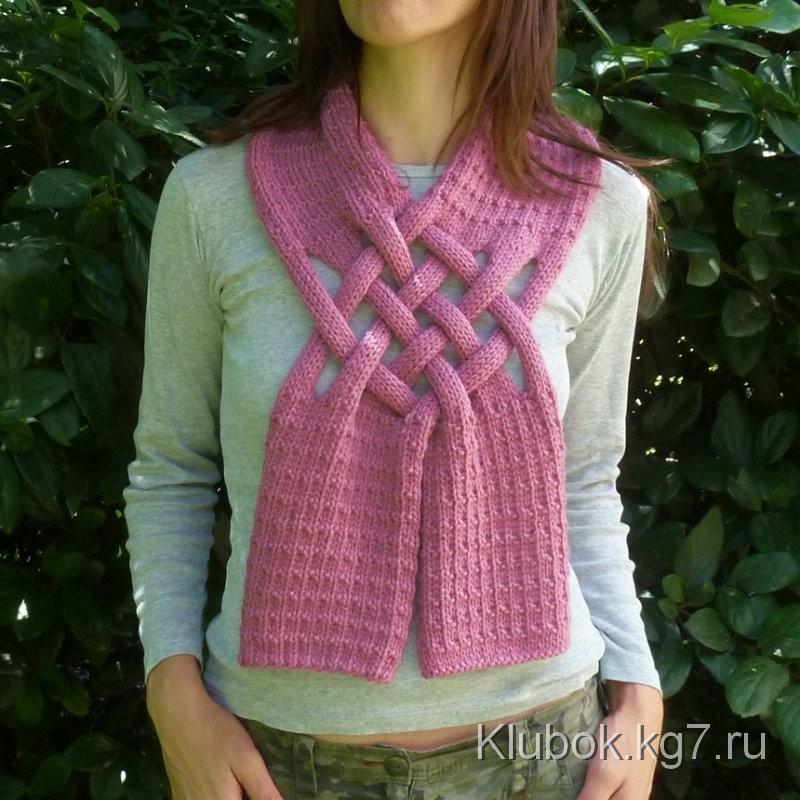
As you can see, the pattern is very simple, but looks impressive! Knit this pattern to the desired length for the braid knot. In my case, the scarf will be short, so I knitted 9 stripes, that is, I repeated the pattern 9 times.
Knitting stripes for the braid:
After that, divide the stitches into 4 parts and knit each separately in stockinette stitch. This means 1 row - all stitches knit, the second, on the purl side - all stitches purl. Each stripe is knitted separately, each time you will have to cut the yarn. In my case, the height of the stripes was only 32 rows. In size, the length of the stripes should correspond to the width of the scarf, such a square from 4 stripes.
Next, we place all stitches of the 4 stripes on one needle and knit the central part of the scarf with the main pattern, the one that will be placed around the neck. The required length is determined by trying it on.
Now our knitting has come to the future braid knot. Proceed using the method described above for knitting the stripes.
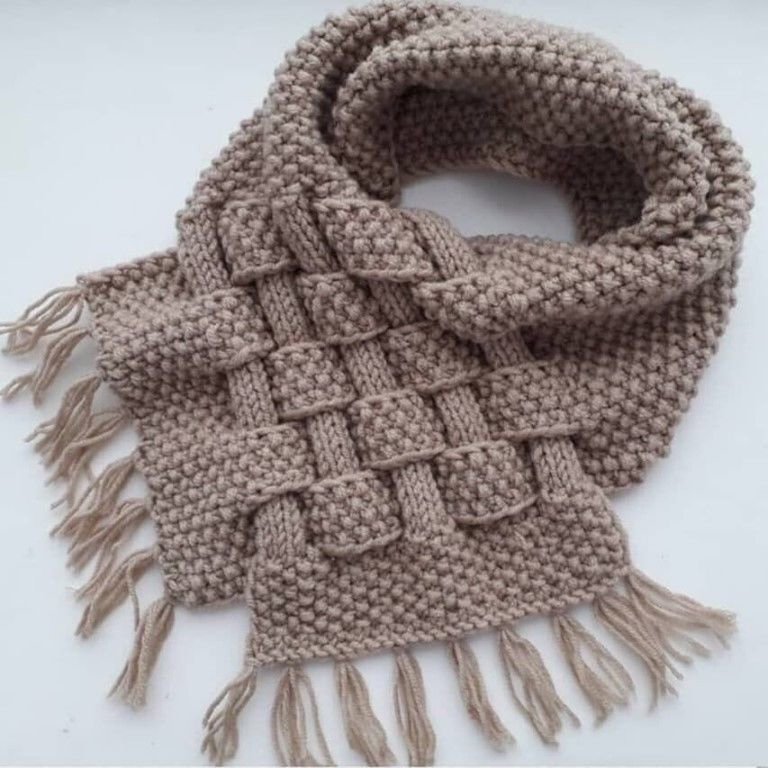
Interweaving the stripes:
We will place the stitches of each finished stripe onto a stitch holder. Interweave the stripes with each other.
Transfer the stitches of the interwoven stripes onto one needle and finish knitting the lower part of the scarf (9 motifs). » rows knit, close the stitches.
Your scarf is ready.