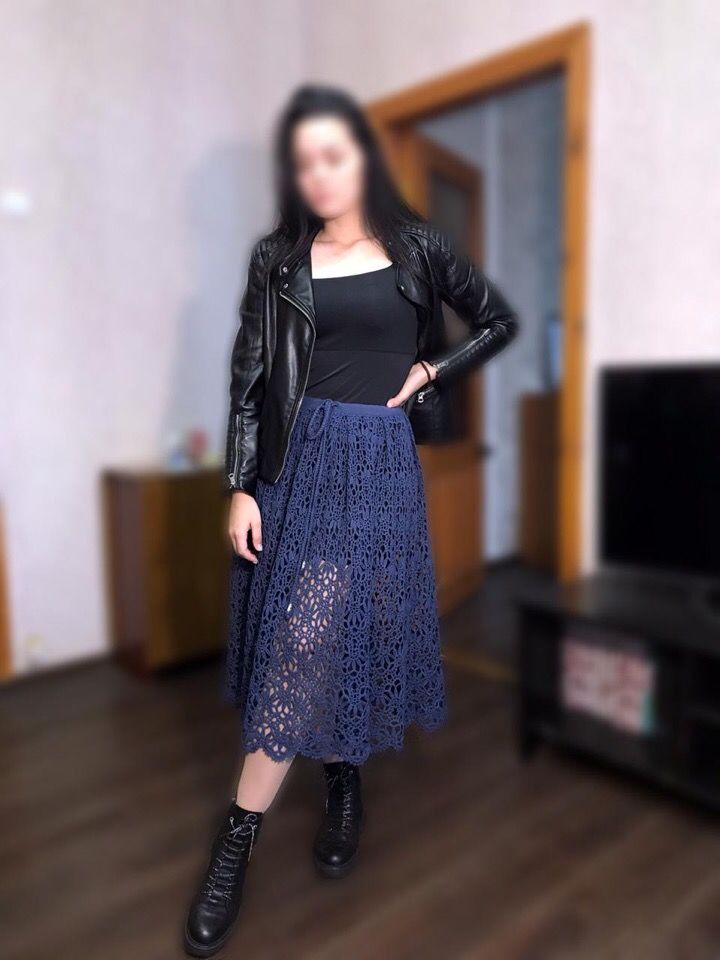
Stylish skirt
Added: 16.05.2017 в 10:25 Views: 32428
Stylish skirtKlubokhttp://klubok.work/2/153/6907/Klubokhttps://klubok.work/css/image/top-logo-en.png

Multilevel skirt. Tutorial. Crochet.
Yarn: Semenovskaya Tamara, 100% cotton, 525 m per 100 g.
Consumption: 3 skeins.
Crochet hook: 0.95 mm.
Made on 27.06.2015
The width of the skirt (the very first row) is measured by the hips. Since the mesh goes right from the waistband, it will fit the figure in any case, but if you do not match the hip width in the first line of the fans, you will need to frogging.
So, for size 48-50. Waist circumference = 75 cm. Hip circumference = 110 cm.
We tried this skirt on size 44 - perfect, the mesh lays well.
Cast on 400 stitches. Fans are multiples of 5 arcs. The mesh is made of 5 chain stitches.
To avoid a Möbius loop (fig. 2), do not close the first row. Crochet a chain very long, 10-15 stitches longer than needed. The second row is crocheted back and we check that the pattern fits as needed. Close in a circle on the second row. (It's easy to shorten excess stitches, but to increase, you will have to rip back two rows...). Immediately lay it out and check for a Möbius loop. The third row is a control row and again check for a Möbius loop.
Starting from the third row, we crochet the fan pattern, as it is easier to check the rapport and the correctness of joining in a circle.
After crocheting the first row of fans, we stop crocheting down and move on to forming the waistband. This will prevent mistakes with the length, as the waistband will already be in place.
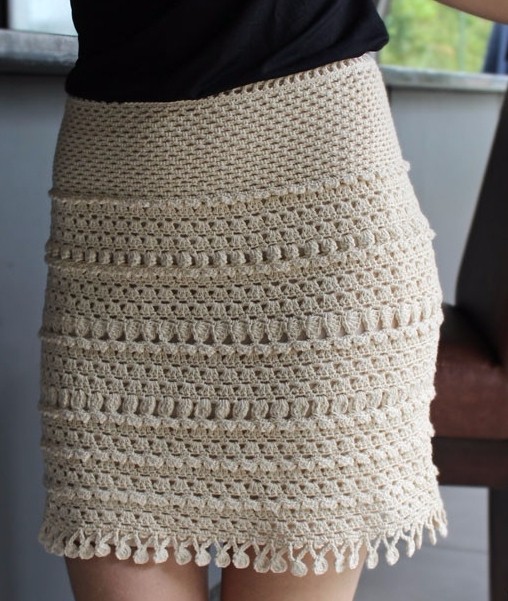
Crochet up from the first fans with the mesh. Without decreasing the crochet. Just a fabric of 12 rows up (see fig. 5).
Now it is necessary to crochet the waistband. The waistband is crocheted both for elastic and for a cord. The first row of the waistband after the mesh is crocheted in the pattern: two double crochets, chain stitch, etc.
The chain stitch between the double crochets will give elasticity to the waistband, and it will not stand stiff or pucker.
In each arch, we crochet two double crochets, chain stitch, one double crochet. continuation in the second arch: one double crochet, chain stitch, two double crochets....
Having crocheted two rows, we move to the third. The third row of the waistband is the top, and it needs to be made pretty. Therefore, instead of a chain stitch, we crochet a picot of 3 stitches. We will get small beads along the top of the waistband (see fig. 6).
The fourth row of the waistband should be the wrong side of the waistband. Therefore, we crochet it perpendicular to the third row (see fig. 7).
The fifth row of the waistband is just a row. but this row we do not close in a circle, but make a turn to form a hole (opening) for the cord or elastic. (see fig. 8).
The sixth row of the waistband: It is necessary to simultaneously crochet the sixth row and attach it to the skirt. We do this as follows. I cast on three lift stitches, insert the hook under two threads of the very first double crochet from the very first row of the waistband. We make a yarn over. The hook is inserted at the beginning of the double crochet. We pull out the yarn, as when crocheting a double crochet. We crochet half of the double crochet. And the second half we crochet together with the attachment to the beginning of the waistband. (see fig. 9 and 10).
The waistband is ready, we cut the yarn and hide the end.
Now we can confidently crochet the skirt down.
Increasing the fabric:
We start to make increases immediately after the second row of fans. Since we are already crocheting based on the hip volume, if we miss a bit, then we add after the first row of fans. We increase the number of arches by one for one fan in the first row of the mesh.
And we make the third row of fans not on 7, but on 9 double crochets. We will get an increase of 2 arches on the fan. The last increase is made
immediately after the 4th row of fans.
After the fourth row of fans, we crochet the mesh not in 12 rows, but in 7, to leave room for edging. If we crochet all 12 rows, then the first two rows of the final edging of the skirt will lengthen it and it will immediately catch the eye.
If you have slim legs, you can finish earlier after the third row of fans, instead of after the fourth.
Forming the tail. When we move on to crocheting the tail, we should already have just the fabric, without increasing. Since now we will periodically decrease the fabric at the edges.
Decrease every 5th row
.