Cap
Added: 21.09.2015 в 09:36 Views: 447439
CapKlubokhttp://klubok.work/23/189/5919/Klubokhttps://klubok.work/css/image/top-logo-en.png p_4813.jpg)


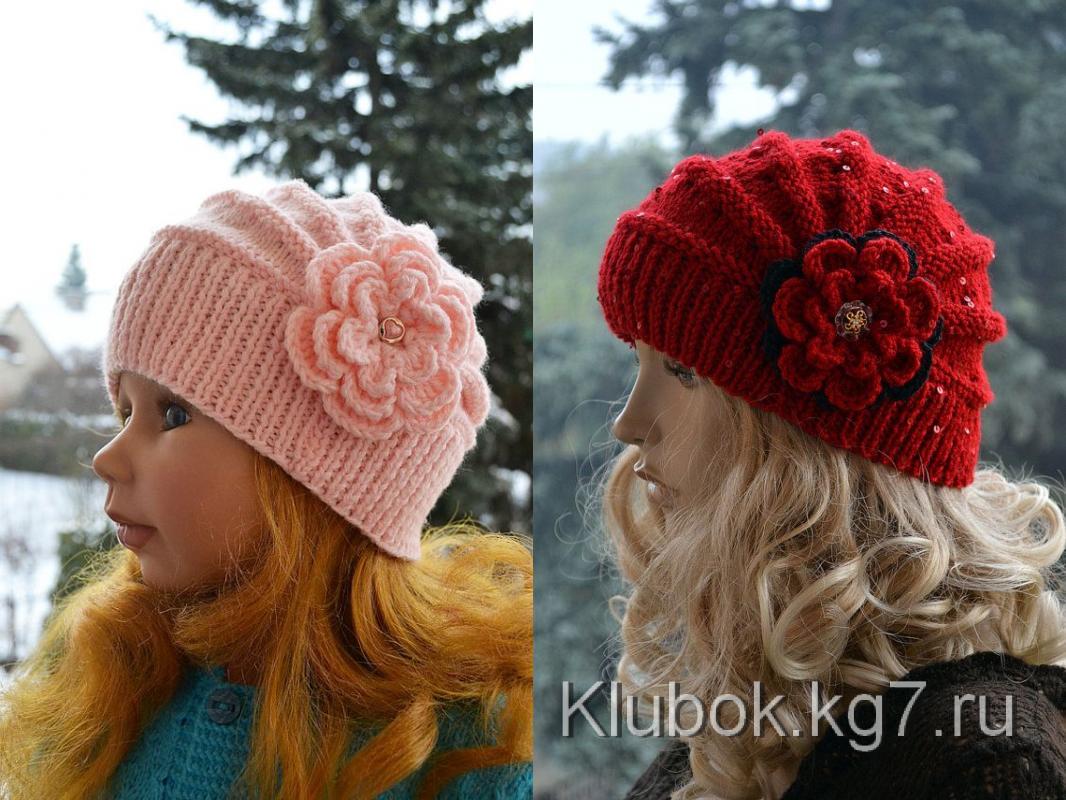
How to knit a hat
(with short rows)
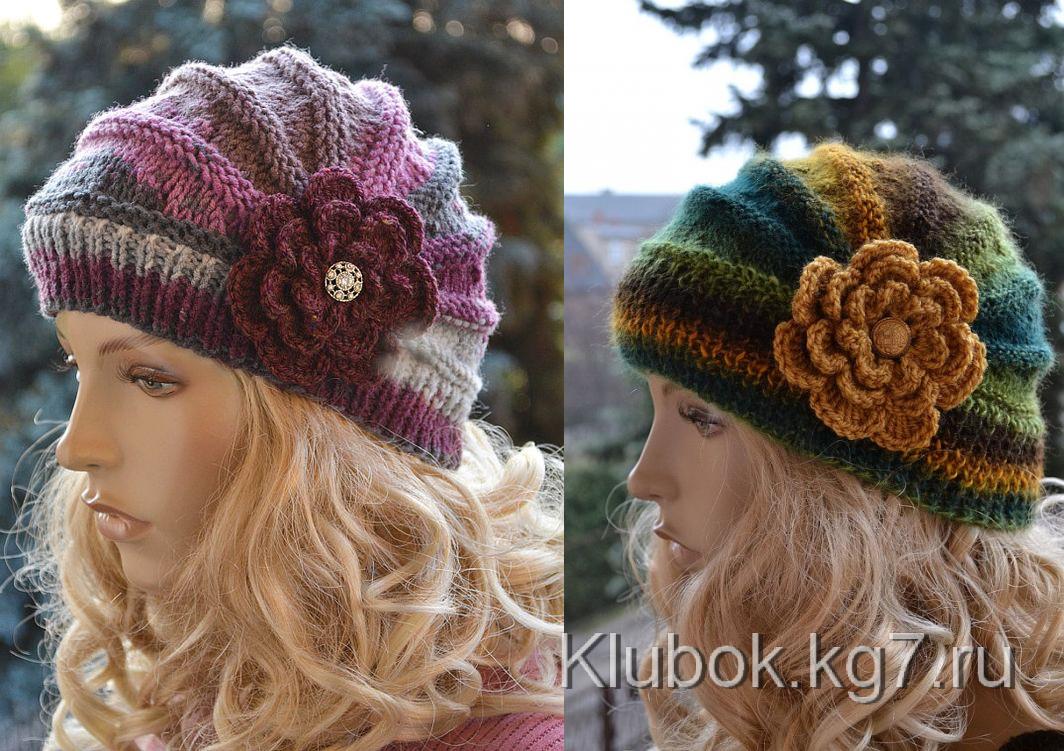
Knit the fabric with the required number of stitches, alternating yarn colors and garter and stockinette stitches. The short rows will be visible in the stockinette stitch. Then gather into a bunch, securing with a flower, as shown in the picture. Then cast on for the ribbing on circular needles and knit the ribbing.
Short rows (or unfinished stitches of the row) are used when knitting fabrics of an extended silhouette, when it is necessary to make various darts on the parts, etc. The place of their introduction and the sizes are determined by the pattern of the executed model. Short rows can be executed on both the front and the back side of the piece.
First option. Short rows are knitted simultaneously from both sides of the fabric every other row.
After preliminary calculation and dividing the stitches into groups, start knitting from the front side of the piece.
1st row—knit from the beginning to the calculated group of stitches and leave it unfinished on the left needle. Turn the fabric to the back side.
2nd row — bring the working yarn back between the two needles. Insert the right needle under the working yarn into the 1st stitch from below and slip it off the needle. The yarn over should be placed in front of the slipped stitch (that is, just like when doing a backward yarn over). Hold the slipped stitch with the yarn over with the index finger of the right hand, while placing the working yarn on the left needle and on the index finger of the left hand. Knit the back row until the next group of stitches that need to be left unfinished. Turn the fabric to the front side.
3rd row — the working yarn is behind the needle and on the index finger of the left hand. Bring the end of the right needle under the working yarn and into the 1st stitch from below and slip it off the needle. The yarn over should be placed in front of the stitch and on the index finger of the left hand. In this way, knit the calculated number of rows. It is necessary to remember that the stitch should be slipped and the working yarn placed as in the 2nd row, while in the front rows — as in the 3rd.
After the last short row on the back side, turn the fabric to the front side and slip the 1st stitch with the yarn over, and knit the rest to the end. Knit the yarn overs obtained before each group of unfinished stitches together with the slipped stitches on the front side as a knit stitch through the front loops. Pull the working yarn tight.
In the back rows, the slipped stitch of the short row is knitted together with the yarn over purlwise in the first way. Pull the working yarn tight.
Second option.
In this case, short rows are knitted separately — first on the front, then on the back side of the fabric every other row. After determining the number of stitches for shortening the rows on both sides of the fabric, divide the stitches into groups, which can have any number of stitches, and mark the starting point for executing the short row.
1st row — from the beginning of the front row, knit the calculated number of stitches for shortening. Turn the fabric to the back side.
2nd row — pass the working yarn between the ends of the needles to the index finger of the left hand and make a yarn over. Knit the back row to the end. Turn the fabric to the front side.
3rd row — at the end of the front row, leave another group of stitches unfinished. In subsequent knitting, in each front row, do not knit as many stitches as calculated for each group, and continue until all calculated stitches are left unfinished on the left needle. Then knit all the stitches of the front row from beginning to end. Knit the slipped stitches from previous rows together with the yarn over, as described above.
Short rows on the back side are knitted the same way as on the front side, that is, the stitch is slipped with a yarn over after each shortening.
Continue knitting according to the pattern.
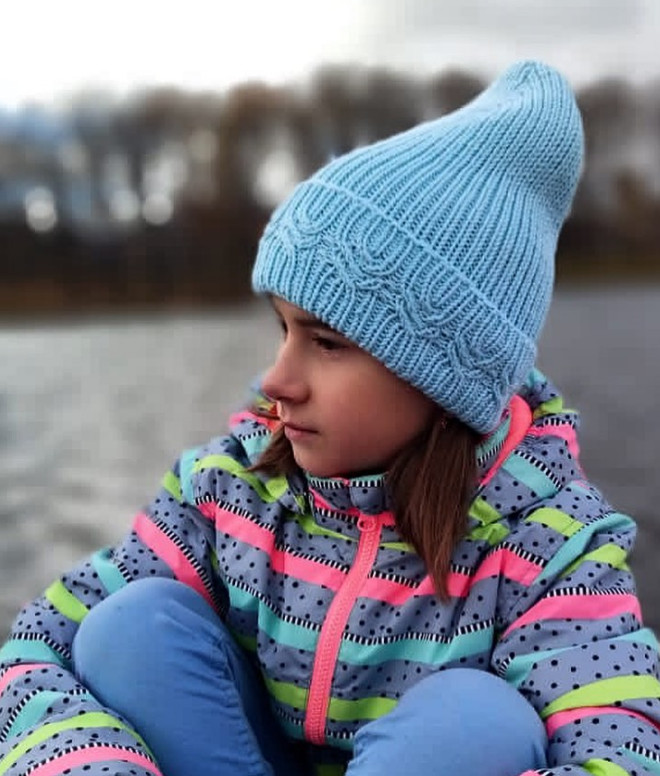
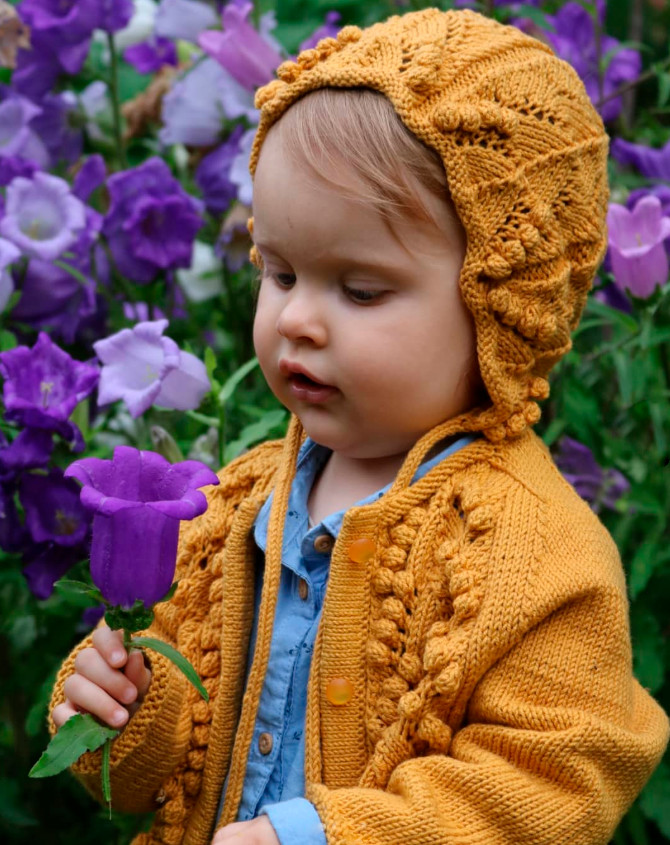
Knit from the forehead to the nape, gather the short rows, they will be on the ears, sew on flowers. Partial knitting is done on sections of stockinette stitch. Bind off with ribbing in the round.
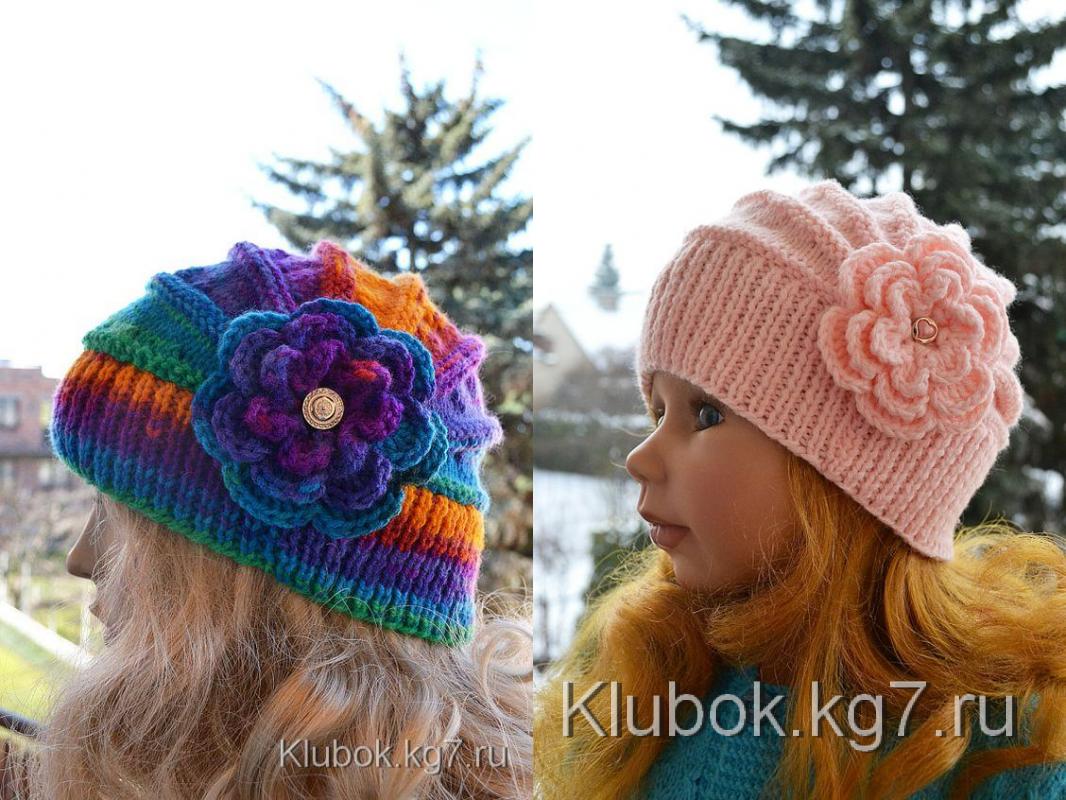
Knit a sample with stockinette and purl stripes and count from the forehead to the nape through the crown the number of rows worked. Cast on a number of stitches equal to half the circumference of the head. On the stripes of stockinette stitch, knit short rows, knit a purl stripe, on the front - short rows, etc. Perform short rows, placing them in the left and right parts of the work, and knit straight in the middle (from forehead to crown).
Between the stripes of purl stitch, there is stockinette stitch. So, it is in these sections that partial knitting is done. Knit from the forehead to the nape, gather the short rows, they will be on the ears, sew on flowers. Bind off with ribbing in the round. Knit a sample with stockinette and purl stripes and count from the forehead to the nape through the crown the number of rows worked. Cast on a number of stitches equal to half the circumference of the head. On the stripes of stockinette stitch, knit short rows, knit a purl stripe, on the front - short rows, etc. Perform short rows, placing them in the left and right parts of the work, and knit straight in the middle (from forehead to crown).
Description of the scheme (short rows):
-
Knitting goes from the nape to the forehead.
-
The central part (yellow) — this is the middle of the hat (crown).
-
The side parts (pink, blue, green) are knitted with short rows.
-
The colored stripes on the diagram — these are the areas where the knitting goes on a different number of stitches.
-
Short rows: each subsequent row is shorter than the previous one — to form a curve according to the shape of the head.
Instructions from the text under the scheme:
-
Cast on stitches according to the sample — this is half the circumference of the head.
-
Divide the stitches into 3 parts:
-
the central part (crown),
-
the side parts (left and right).
-
-
The central part is knitted straight (back and forth) without changes.
-
The side parts are knitted with short rows, gradually adding 1–2 stitches from the edge.
-
Thus, a convex shape is formed for the nape and temples.
-
After finishing the knitting, sew the side seams or make a knit seam.
-
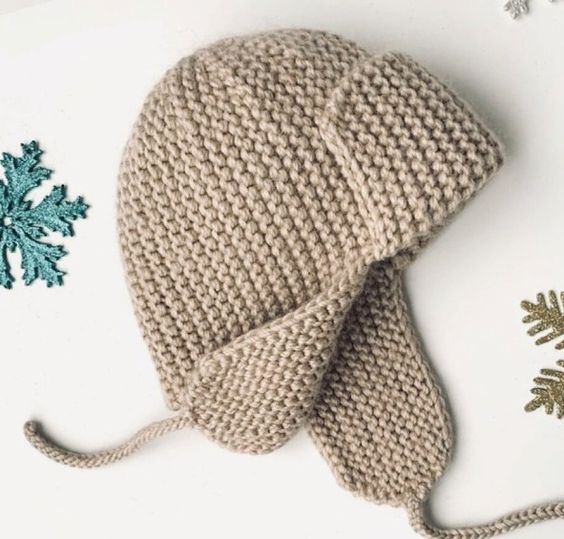
In the finished form, to the obtained "shell" (base of the hat) you can:
-
cast on stitches along the edge for knitting ribbing,
-
or sew on a band,
-
or make a hood/helmet.
-
Advice:
For better results:
-
use soft yarn with a small amount of elastane or merino;
-
make fittings during the knitting process, especially if working without a tight sample.