Hat with Cloque Pattern Knitted
Added: 23.03.2016 в 10:56 Views: 341830
Hat with Cloque Pattern KnittedKlubokhttp://klubok.work/23/189/6293/Klubokhttps://klubok.work/css/image/top-logo-en.png
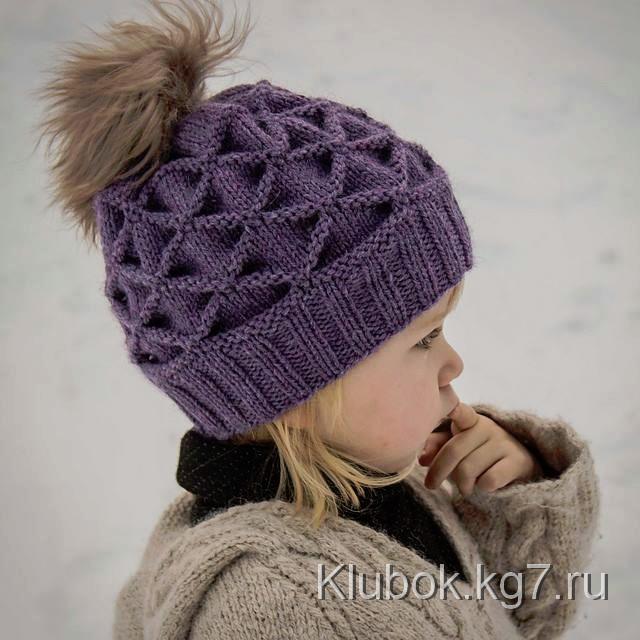

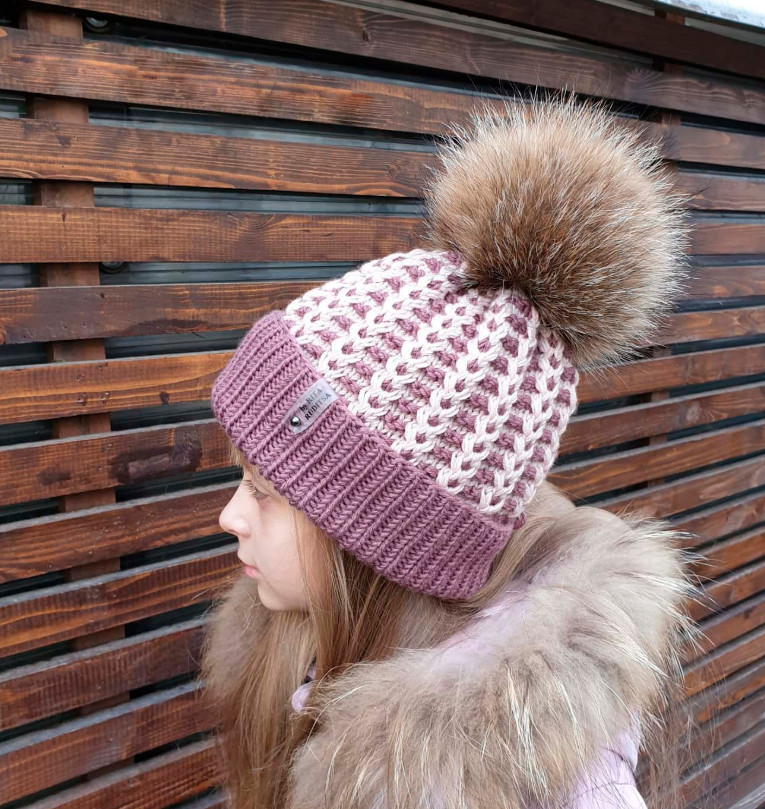
It’s not as difficult as it seems. Have you ever knitted a scalloped edge? Remember, you knit stockinette stitch, then a row - yarn over, knit two together, and again as many rows of stockinette stitch as you knitted before the lace. Then, the stitches on the needle are knitted together with the corresponding stitches from the starting row. So, the effect of "cloche" is achieved in the same way. First, we knit stockinette stitch (the number of rows is specified in the patterns), then we knit a few stitches (4, 7, etc.) like this: the stitches on the needle are knitted together with the stitches from a few rows below (this is also sometimes mentioned in the descriptions) - for example, 15 rows below. Then we knit with knit stitches - and again this technique. We will knit a row like this, and then again stockinette stitch. When we knit the next row with the cloche effect, we knit the connections in a checkerboard pattern, i.e., where we knitted together - we knit stockinette, where we knitted stockinette - we knit the stitches from the needle and the underlying ones together. It looks like the skin of a Shar Pei.
1.
2.


Folding the fabric into pleats with a "cloche" effect
Knit the fabric in stockinette stitch.
Count down the number of rows that is twice the size of the pleat (fig. 121).
On the wrong side, determine the row that corresponds to the specified depth (fig. 122).
On the wrong side of the fabric, cast on stitches to a certain row. It is more convenient to do this with a helper needle - spiral (fig. 123).
Align the stitches on the main needle with the cast-on stitches and knit them together: one stitch from the main needle, the second from the helper (fig. 124).
To achieve the "cloche" effect (fig. 125), short pleats should be made in the fabric over a few stitches, as shaded.
Securing the stitches of the last row with a chain
Securing the stitches of the last row is done with a needle. If the front piece is knitted right, it is easier to secure from left to right.
Use a helper needle - spiral. Insert the needle into the first stitch and pull the yarn through, as in knit stitching. Repeat this motion for each subsequent stitch in the next row (fig. 122), folding the knitting to the wrong side.


Decoding symbols:
| Symbol | Designation | Explanation |
|---|---|---|
I |
Knit stitch | Knit |
— |
Purl stitch | Purl |
O |
Yarn over | Increase |
/ |
Knit two together with a right slant | Decrease (simple method) |
\ |
Knit two together with a left slant | Decrease (with a left slant) |
⊗ or ⊕ (if it were) |
Three stitches together | Sometimes this denotes a triple decrease |
3.

4.


WORK BY D. MELNICHUK