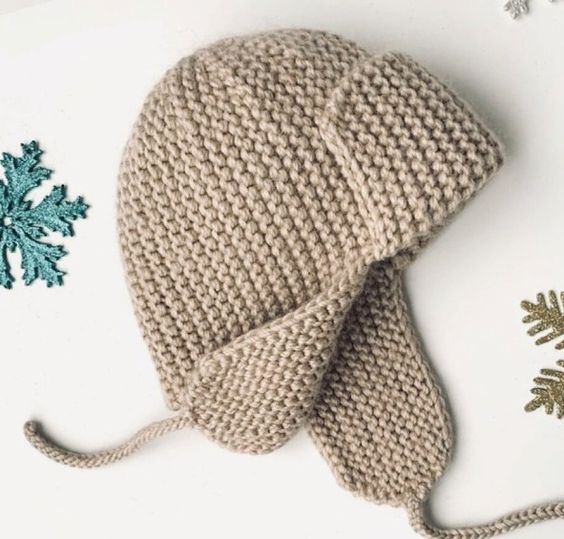
Baby hat
Added: 02.03.2017 в 13:40 Views: 79037
Baby hatKlubokhttp://klubok.work/23/189/6749/Klubokhttps://klubok.work/css/image/top-logo-en.png 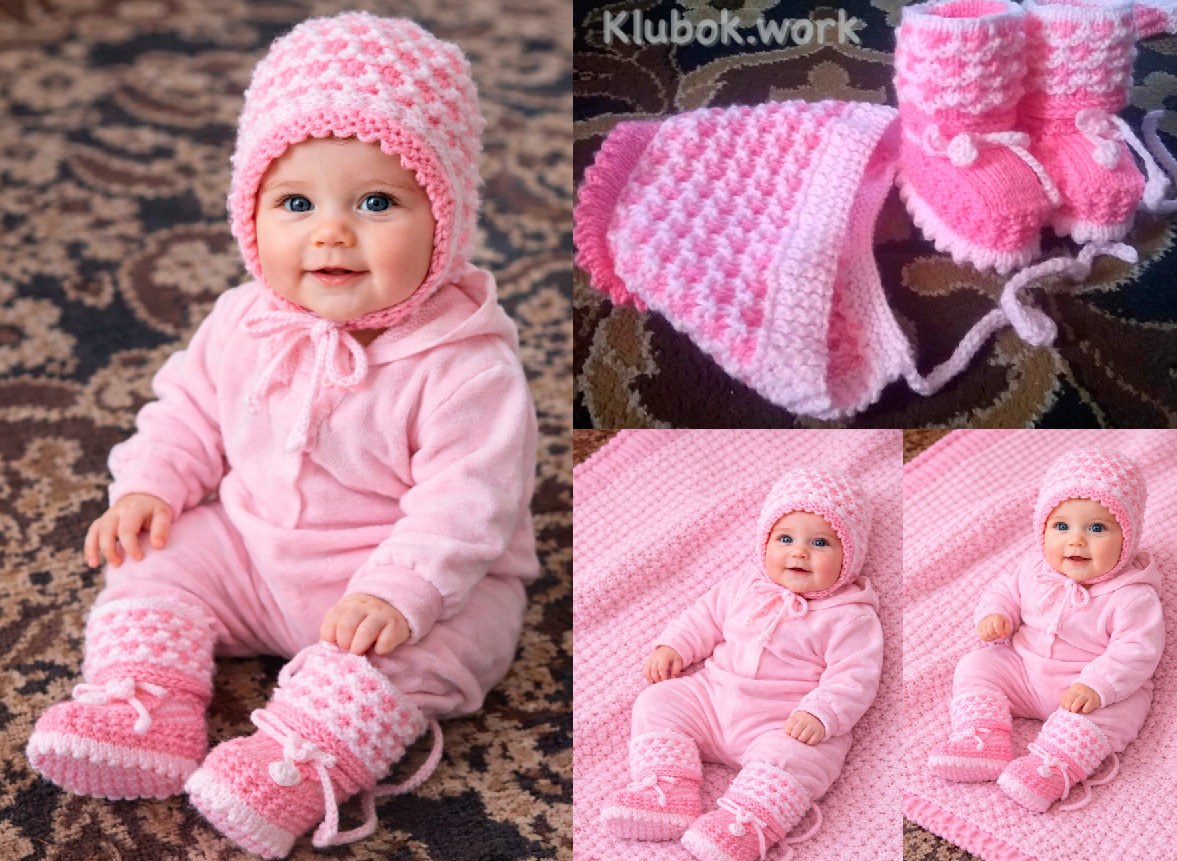

This knitted bonnet is suitable for both a boy and a girl aged from 0 to 3 months.
To knit this dressy bonnet you will need needles (size 3), yarn in two colors.
For a boy it is best to use blue and white, for a girl – red and white. Other color combinations are also possible (at your discretion).
So, ready? Let's begin! Cast on 70 stitches (2 of them are edge stitches). Knit in ribbing for 6 rows. The ribbing is simple: 1 knit, 1 purl. Then with white yarn and knit 2 rows in stockinette.
Next, work the main pattern:
Row 1: 3 knits, slip 1 stitch without knitting – yarn in back (blue color);
Row 2: slip 1 stitch without knitting – yarn in front, 3 purls (blue color);
Row 3: 1 knit, slip 1 – yarn in back, 2 knits (white color);
Row 4: 2 knits, slip 1 – yarn in front, 1 knit (white color);
Row 5: 3 knits, slip 1 – yarn in back (white color);
Row 6: slip 1 – yarn in front, 3 knits (white color);
Row 7: 1 knit, slip 1 – yarn in back, 2 knits (blue color);
Row 8: 2 purls, slip 1 – yarn in front, 1 purl (blue color);
Row 9: 3 knits, slip 1 – yarn in back (white color);
Row 10: slip 1 – yarn in front, 3 knits (white color);
Row 11: 1 knit, slip 1 – yarn in back, 2 knits (white color);
Row 12: 2 knits, slip 1 – yarn in front, 1 knit (white color).
Repeat from Row 1.
Then decrease (about 10 stitches) and proceed to knitting the “teeth.” For this, knit 4 or 6 rows in stockinette, then 1 row – 2 together knit, 1 yarn over, and so on to the end of the row.
Finish the “teeth” by knitting 3 or 5 rows in stockinette.
Next, knit the back part of the bonnet using the same technique as for turning the heel on socks.
Finish the cords. The dressy bonnet is ready!
VARIATIONS FOR DECORATING THE BONNET.
You can use different color combinations when knitting the bonnet. Instead of the “teeth,” you can make a fluffy edge along the back edge of the bonnet (option for girls). The ruffle is made with a crochet hook.
In the first row attach a braid at the junction between the main and back portions of the bonnet.
Row 2: In each stitch crochet 3 double crochets.
Row 3: In each stitch crochet 4 double crochets.
The bonnet can be completed with a scarf to make a set. In this case, knit the scarf in the main pattern. The edges of the scarf can be finished with ribbing, 'teeth' or a ruffle (at your discretion).
Let your imagination run wild! And may your children be the MOST BEAUTIFUL!