NEW SIMPLE WAY TO KNIT A HAT IN THE ROUND STARTING FROM THE TOP
Added: 05.12.2019 в 00:44 Views: 18617
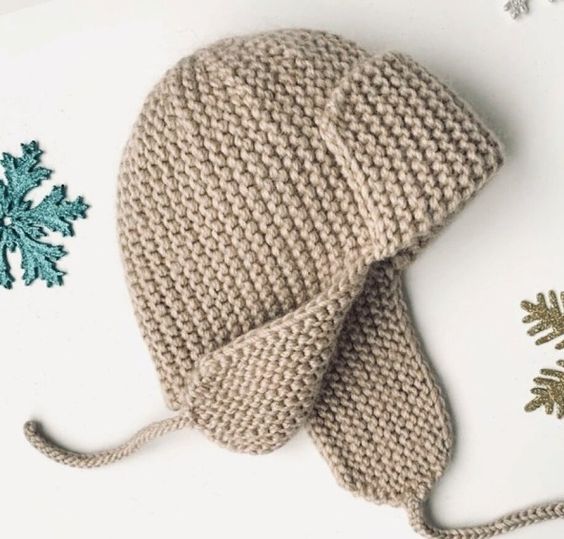
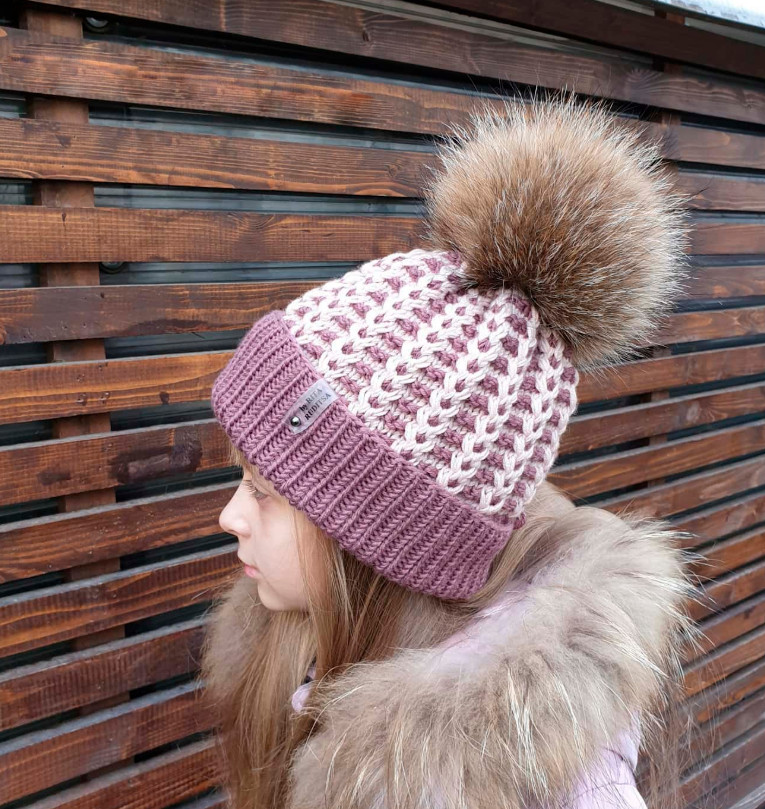
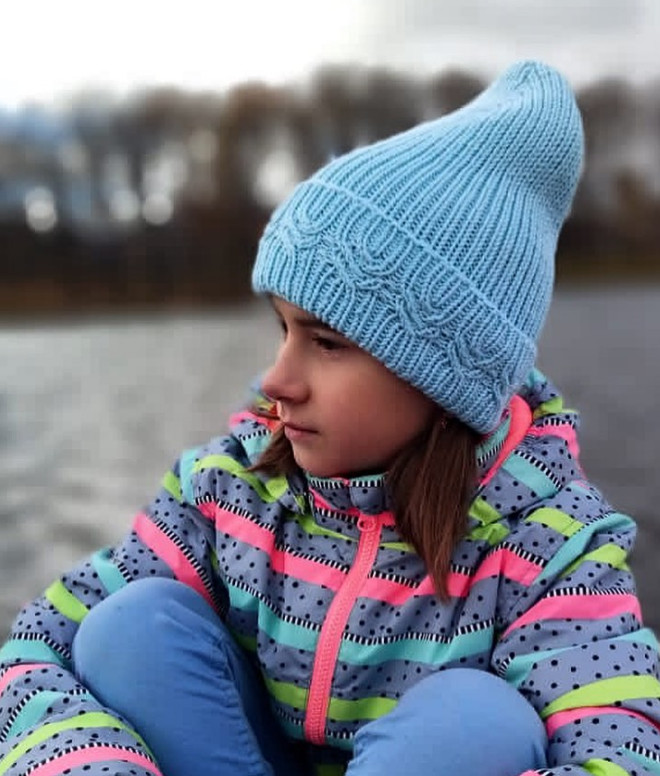
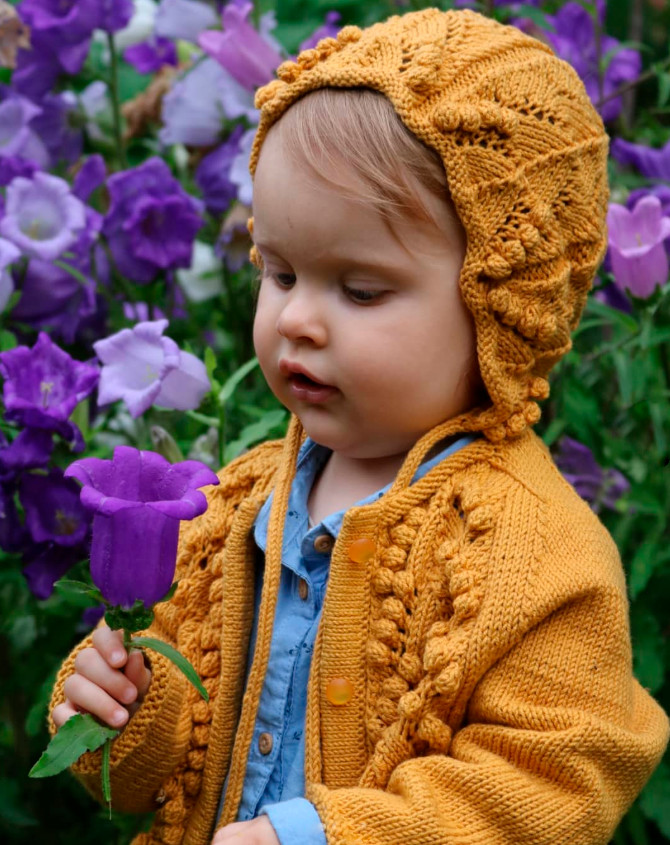
NEW SIMPLE WAY TO KNIT A HAT IN THE ROUND STARTING FROM THE TOPKlubokhttp://klubok.work/23/189/8235/Klubokhttps://klubok.work/css/image/top-logo-en.pngA NEW SIMPLE WAY TO KNIT A BEANIE FROM THE TOP Knitting a classic beanie from the top is not very common, it’s all about tradition. Moreover, a beanie knitted in the round is considered so easy to work with that not every craftswoman will bother with calculations. It’s no secret that with the usual knitting from the lower edge, the distance from the edge where the decreases start is crucial. This point needs to be determined very precisely, because if you start earlier, the beanie will be short and you will have to keep adjusting it, if later – it will slide down your face or fall back. All of this can be easily avoided when knitting from the top, as you can try on the beanie during the process, and the calculations involved are not so complex that they would be consciously avoided. To knit a seamless beanie, you will need a set of 5 needles typically used for socks, and circular needles approximately 40 cm long. To start, cast on 8 stitches, distributing them onto 4 needles and joining them into a circle. Using the fifth needle, begin the first row by knitting 2 stitches from each cast-on stitch. This results in 16 stitches, on which you knit one more row. Then, you increase the stitches for the second time: (*) knit 2 stitches from one, 1 knit stitch; repeat from the asterisk to the end of the row - you will have 24 stitches on the needles. The next row is without increases, and then you need to increase again: (*) 2 stitches from one, two knit stitches; repeat from the asterisk to the end of the row - you will have 32 stitches on the needles. Continue to increase every second row, increasing the number of stitches between increases by one stitch, that is, for the fourth increase row: (*) 2 stitches from one, 3 knit stitches; repeat from the asterisk to the end of the row. The fifth increase row: (*) 2 stitches from one, 4 knit stitches; repeat from the asterisk to the end of the row, and so on. If you plan to knit the beanie entirely in ribbing, then the added stitches are knitted not in stockinette stitch but included in the rib pattern. As you work, the lines of increases will spread out in eight spirals from the center of the knitted disk. This disk is the top of the beanie, and when it will cover the head like a tubeteika, you should stop the increases and continue knitting the beanie as a tube in any ribbing or pattern. When there are enough stitches in the work, it’s better to switch from the double-pointed needles to circular needles. Before trying it on, it’s very convenient to knit a row on 80 cm circular needles, try on the beanie, and in the next row, switch back to the 40 cm needles. If a cuff is not needed, simply knit the beanie to the earlobe and close the stitches. For a classic beanie with cuffs, knit approximately 18 cm from the last row with increases. The total height of the beanie is usually 25 - 28 cm. The top of the beanie is finished by simply pulling together the initial eight stitches with the end of the yarn left from casting on and weaving it in from the inside. You can add a pom-pom, a knitted flower, or any other decoration to your liking.


Category: Hats, gloves, scarves