HOW TO CONNECT THE PERFECT CROWN OF A HAT
Added: 25.03.2017 в 07:37 Views: 44113
HOW TO CONNECT THE PERFECT CROWN OF A HATKlubokhttp://klubok.work/1/203/6807/Klubokhttps://klubok.work/css/image/top-logo-en.png

This method is best suited for a hat with knit stitches.
Moreover, it is very easy to understand.
So, let's knit the crown of the hat with needles:
1. After you have knitted the required height of the hat with circular needles using knit stitches, we begin to form the crown of the hat.
To do this, you need to switch to double-pointed needles of the same or smaller size (for example, if the hat was knitted with 3.5 mm needles, use double-pointed needles that are also 3.5 mm or smaller).
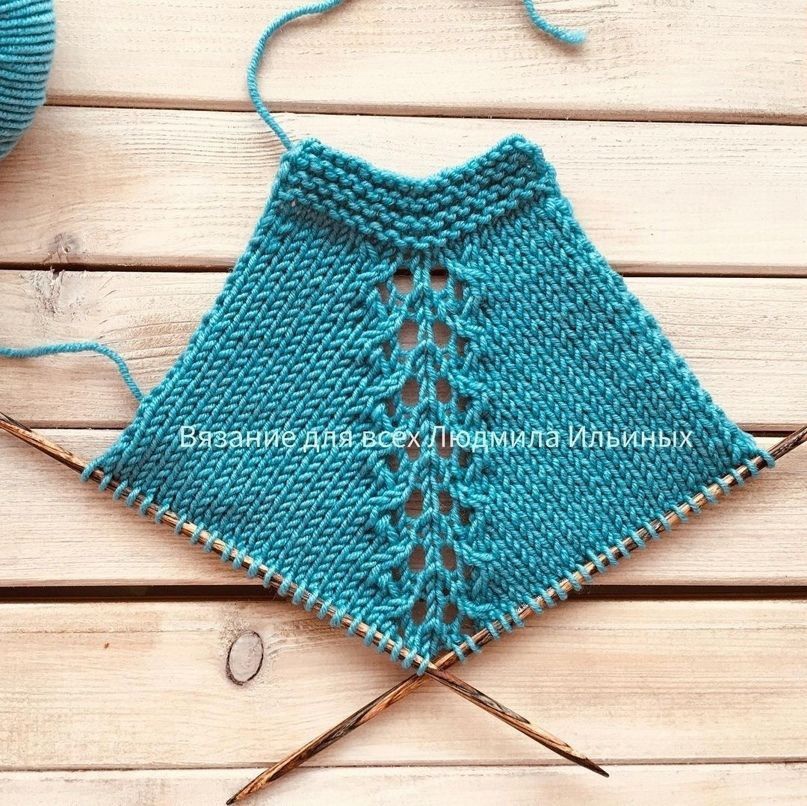
2. To switch to knitting with double-pointed needles, we need to divide all the stitches of the hat into 4 equal (or nearly equal) sectors.
For example, if your hat has 80 stitches, distributing them evenly, we will get 20 stitches for each sector.
If the number of stitches in the hat is not evenly divisible by 4, you can divide them into approximately equal sectors, for instance, if the hat has 86 stitches, you can divide them into 4 sectors like this: 21 stitches for 2 sectors and 22 stitches for the other 2 sectors:
мш2 (300x350, 13Kb)
3. After moving the stitches to 4 needles, we start knitting a row with decreases, for this:
— knit the first 2 stitches together through the front loop;
— then knit the stitches normally, leaving the last 3 stitches unknitted;
— When there are 3 unknitted stitches left on the needle, knit them as follows: slip the first stitch purlwise, knit the second stitch normally, then lift the stitch you just slipped and pull the knitted stitch through it, performing what is called a "pull-through". Knit the last of the three stitches knitwise.
Repeat this sequence of actions for each needle throughout the row.
4. The next row is knitted without decreases, just knit all the stitches.
5. Then again, a row with decreases as specified in the pattern.
Thus, we alternate rows (one with decreases, one normal), or we can say we perform decreases every second row.
6. As soon as there are 4 or fewer stitches left on each needle, the crown can be tightened.
This can be done with a needle, or you can pull it together with a hook, pulling the thread through the open stitches.
Especially for you, I have prepared a video tutorial on how to knit the crown of the hat, watch it, everything is very simple, and the finished product turns out to be very neat:
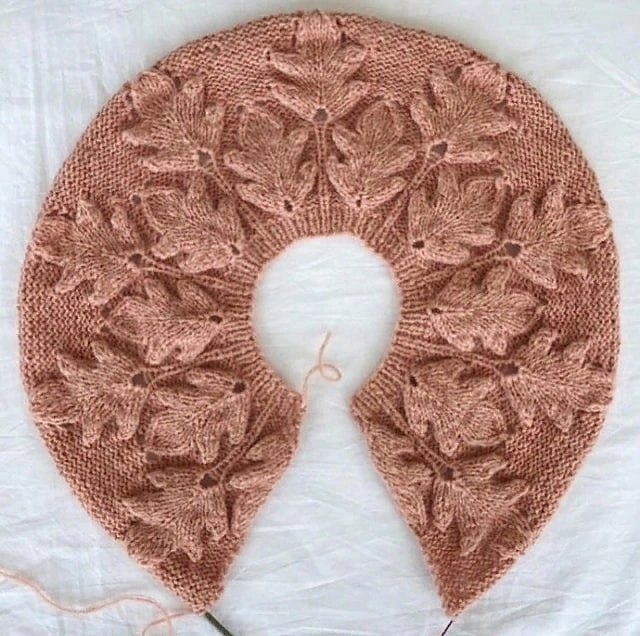
In the photo below, a children's hat with a knitted lining is shown, the decreases for the crown were made using the method from the video tutorial.
мш3 (700x700, 254Kb)
A few tips:
1. To form the crown, you can divide all the stitches of the hat not only into 4 sectors, but also into 5, 6, etc., but in this case, the rhythm of decreases needs to be calculated individually, since decreases every second row are suitable for a hat with 4 wedges.
2. For a hat with a garter stitch pattern, this method is suitable, but you need to divide all the stitches of the hat into more than 4 sectors (how many exactly should be calculated individually, as much depends on the yarn, needle size, knitting style, and the vision of the finished result).
3. If you need the hat to fit snugly on top of the head, then you should start decreases around the upper ear tips (±1 cm), if, on the contrary, you want a longer crown, then decreases should start later, depending on the length of the crown (for example, 3-5 cm from the ears).