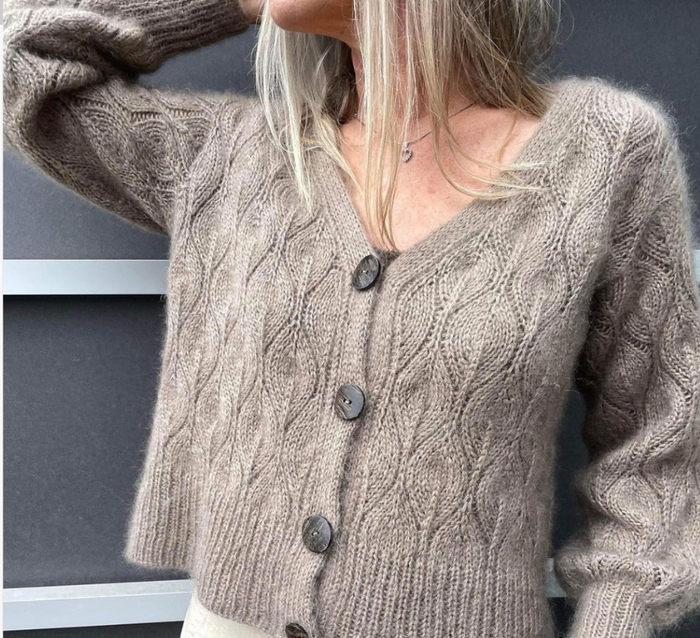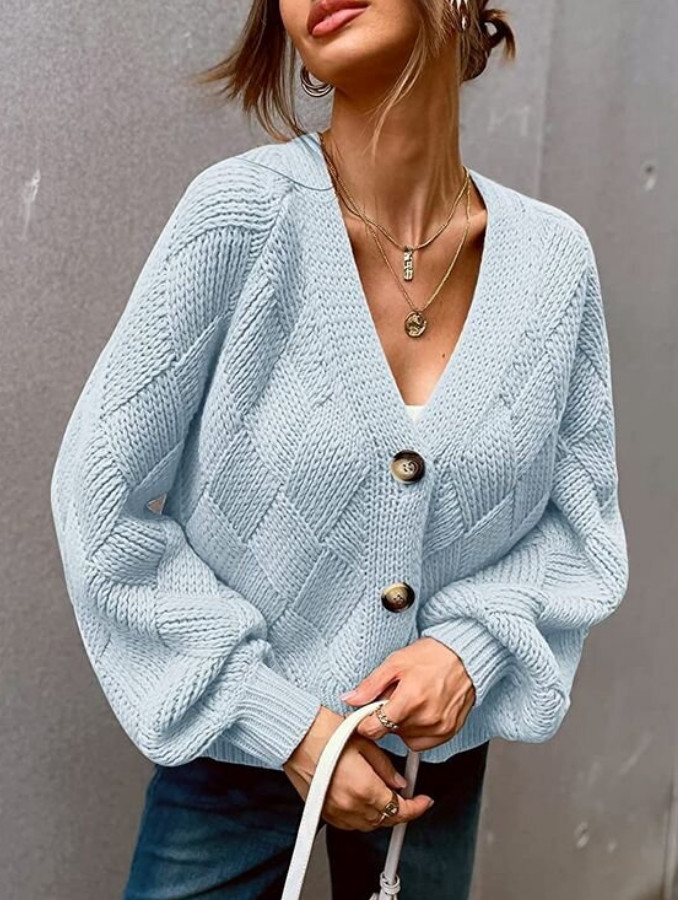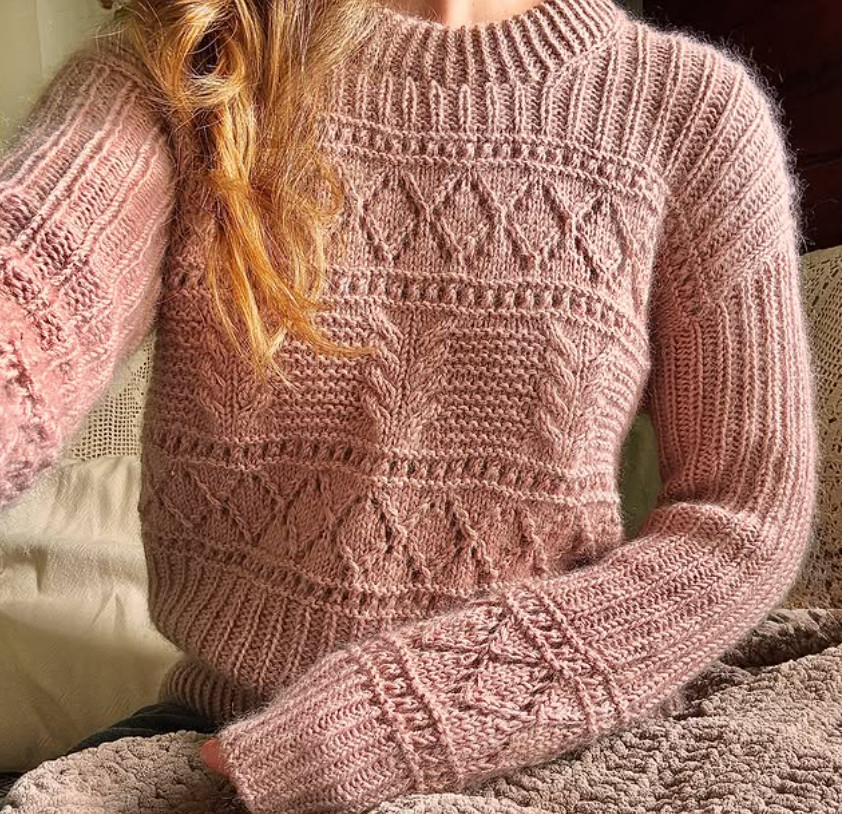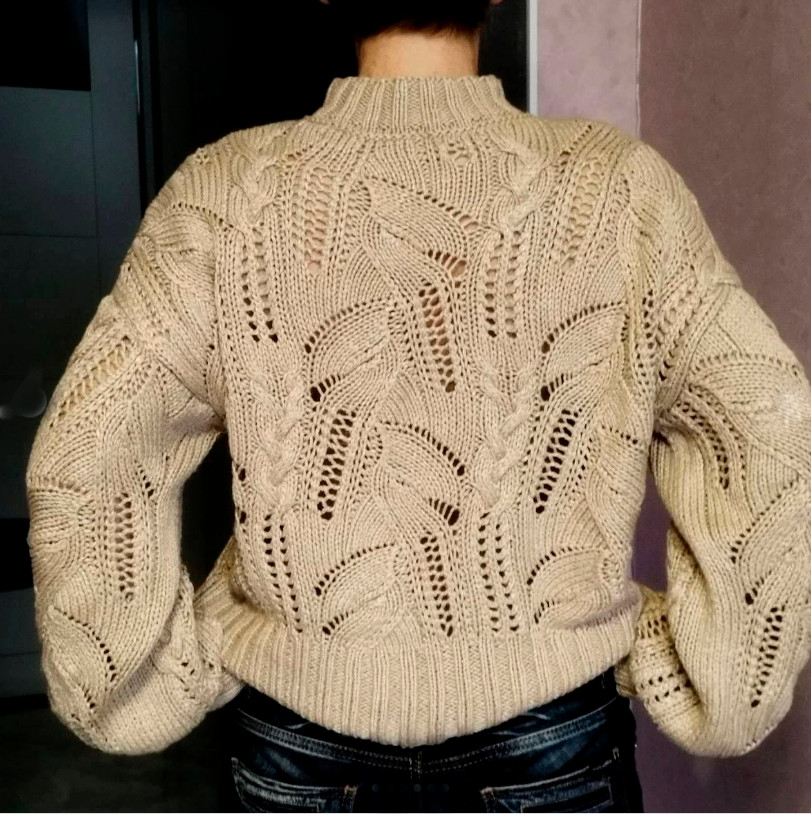





Sizes:
42(46)/50
Materials:
375(500)/625 g of yarn Kashmir (100% cashmere, 25 g = 112 m),
needles No. 2.5; No. 3 and No. 3.5
Patterns:
Pattern A: chart A. For the small size — medium 41 sts for the sleeves of all sizes. The repeat is 2 times, finish with the stitches after the second * /for larger sizes add stitches at the edges according to the chart/.
Even rows knit according to the pattern, yarn overs — purl.
Pattern B: chart B. Even rows — according to the pattern. 10 rows of the chart, then repeat from the 3rd row.
For 6 sts crossed to the right — leave 3 stitches behind the work, knit 3, then the left stitches.
For 6 sts crossed to the left — leave 3 stitches in front of the work, knit 3, then the left stitches.
Pattern C: chart C. Even rows — according to the pattern, yarn overs — knit. 18 rows of the chart, then repeat from the 3rd row.
Pattern D: chart D. Start with stitches before the first * of the repeat, then to * and finish with stitches after the second *.
Even rows knit according to the pattern, yarn overs — purl.
Pattern E: chart E. For small and large sizes — repeat from * to *, finish with stitches after the second *.
For the medium size — first from A to B, then repeat from * to * and finish with stitches after the second *.
16 rows, then repeat.
Knitting density:
Pattern A: 28 sts × 36 rows = 10 × 10 cm
Stockinette: 27 sts = 10 cm
Right front:
Using needles No. 3, cast on 52(57)/63 sts.
Distribute the stitches:
1 selvedge, 3 knit, 19 sts of pattern C (make 1 increase as indicated on the chart),
3 knit, 19 sts of pattern C, 3 knit, 1 selvedge.
Make increases and knit according to the description. At a height of 23(24)/25 cm — increase on the left side of the work by 1 st in every 14th row 4 times.
At a height of 39(41.5)/44 cm — for the armhole, close on the left side:
1 × 2 sts, 1 × 1 st (1(2)/2 times 1 st).
Left front:
As the right one, but in a mirror image.
Back:
Using needles No. 2.5 — cast on 103(115)/127 sts.
Knit a ribbing of 3 cm. Switch to needles No. 3.5, distribute the stitches:
1 selvedge, 3 knit, 19 sts of pattern C, 3 knit, 3(5)/7 sts of stockinette, 19 sts of pattern C, 3(5)/7 sts of stockinette, 19 sts of pattern C, 3 knit, 1 selvedge.
Make increases, armholes, decreases as specified in the description.
Charts:
Include:
-
Chart A: main pattern with crossings
-
Charts B, C, D, E: decorative inserts
-
Legend (bottom right): knit, purl, yarn over, 2 together purl/knit, pass over, twisted stitches, etc.
-
Right front (continued):
At a height of 23(24)/25 cm start increasing on the left side of the work by 1 st in every 14th row 4 times and knit the increased stitches purl.
At a height of 39(41.5)/44 cm from the beginning of the work close on the left side for the armhole:
-
1 time 2 sts.
-
1(2)/2 times 1 st.
Attention: at a height of 42(44)/47 cm decrease on the right side for the neckline:
-
in every 2nd row 1 time 2 sts.
-
8 times 1 st. (2 times 1 st.; 7 times 1 st.)
At a height of 56(58)/61 cm close the remaining 27(31)/35 sts. of the shoulder.
Left front:
As the right one, but in a mirror image.
Back (continued):
Using needles No. 2.5 cast on 103(115)/127 sts.
Knit 3 cm ribbing and switch to needles No. 3.5.
Distribute the stitches of the patterns as follows:1 selvedge, 3 knit, 19 sts of pattern C,
3 knit, 3(5)/7 sts of stockinette,
19 sts of pattern C, 3(5)/7 sts of stockinette,
19 sts of pattern C, 3 knit, 1 selvedge.At a height of 15 cm, having knitted the 62nd row of pattern A,
continue pattern A from arrow A to B, then repeat from * to * and finish with stitches after the second *
(for all sizes — see the note in pattern A). -
-
Sleeve:
Using needles No. 2.5 cast on 47(53)/59 sts. and knit 1 purl row. Then — ribbing for 2 cm.
Switch to needles No. 3, evenly increase 4 sts = 51(57)/63 sts.
Distribute the stitches as follows:-
For large size only: knit 7 sts of pattern C, knit the stitches after B/, make 1 increase between the first two knit sts of the 106 central stitches and knit these 3 sts knit,
-
19 sts of pattern C, 3 knit, 19 sts of pattern C, make an increase between the next two stitches and knit 3 knit, 19 sts of pattern C.
Increases:
At a height of 6 cm from the start, increase by 1 st on both sides in every:-
12th row 6 times and
-
14th row 5 times =
a total of 12(14)/15 increases.
At a height of 47(47)/61 cm — a total of 75(85)/93 sts.
Sleeve cap:
-
close 2 sts on each side,
-
then in every 2nd row:
-
2(2)/3 times 2 sts,
-
13(14)/17 times 1 st,
-
2 times 2 sts.
-
Close the remaining 15 sts. at a height of 57(61)/65 cm.
Collar, right part:
Using needles No. 3 cast on 116(122)/128 sts.
Knit ribbing (1 knit, 1 purl), starting and ending with knit.
At a height of 2.5 cm close for the neckline 15 sts.:Closing:
-
Knit 2 together, pass the 1st stitch over the 2nd stitch on the right needle,
-
1 knit, pass the 1st stitch over the 2nd, etc.
— repeat a total of 3 times,
then 2 together knit, 1 knit, pass — 4 times,
then — 2 together knit, 2 knit, pass — 2 times,
and 2 together knit, 3 knit, pass — to the end.
Total:
Remain 28(31)/34 sts. — knit straight for 2 cm, close.
Collar, left part:
As the right one, but in a mirror image.
Assembly and finishing:
-
Make shoulder seams.
-
Using needles No. 2.5 pick up 60(62)/64 sts. along the armhole, starting from the bottom of the armhole, and knit stockinette:
-
100(104)/108 rows,
-
finish with 2 rows of garter stitch and close the stitches.
-
Insertion:
-
Insert the sleeves into the armholes,
-
Sew the side seams and sleeve seams.
Fastening:
-
For the placket on the right front:
using needles No. 2.5 cast on 110(114)/118 sts.,
knit ribbing (1 knit, 1 purl) for 2.5 cm,
then close. -
For the left front — make buttonholes:
every 18 sts — 5 buttonholes.
Binding:
-
Sew the collar and plackets along the edge.
-
Make 3 pleats, folding the fabric at the mark.
-
Fold the collar in half along the crease line and sew to the neckline.
-
Sew the inner and outer collars together.
-
Sew on the buttons.
-
✅ Legend (bottom right):
Symbol Meaning Empty cell 1 knit Dash —1 purl Circle OYarn over ⊃ or ∨ 2 together purl /2 together knit with a left lean \2 together knit with a right lean ^ 3 together knit Downward tick 1 pass over (slip, 1 knit, pass) Left triangle with the number 6 Cross 6 stitches to the left: 3 leave in front of the work, 3 knit, then knit the left stitches Right triangle with the number 6 Cross 6 stitches to the right: 3 behind the work, 3 knit, then from the auxiliary needle
🔷 Chart A — main lace diamond pattern:
-
Knit according to the chart from bottom to top, odd rows — from right to left, even — according to the pattern.
-
After the 62nd row, the pattern repeats from the 3rd row.
-
Based on — diagonal lines of yarn overs and decreases, crossings of stitches.
-
The large motif forms a diamond, inside which are located other diagonal patterns.
Used on the back and fronts, as well as partially on the sleeves.
🔷 Chart B:
-
A small diamond motif with crossings.
-
Used in decorative zones (for example, on the back or between elements A).
🔷 Chart C:
-
Vertical stripes with simple lace.
-
Used on sleeves or side parts of the item.
🔷 Chart D:
-
Very simple ribbing or small pattern.
-
Starts with stitches before the first arrow, then the repeat between
*...*, finishes with stitches after the second arrow. -
Even rows according to the pattern.
🔷 Chart E:
-
Used for side inserts: the pattern varies for small and large sizes.
-
Also knitted: start to the first arrow, repeat between arrows, finish — after the second.
✨ Pattern C — description from the text:
Even rows knit according to the pattern, yarn overs — knit.
After 18 rows — repeat from the 3rd row. -
-